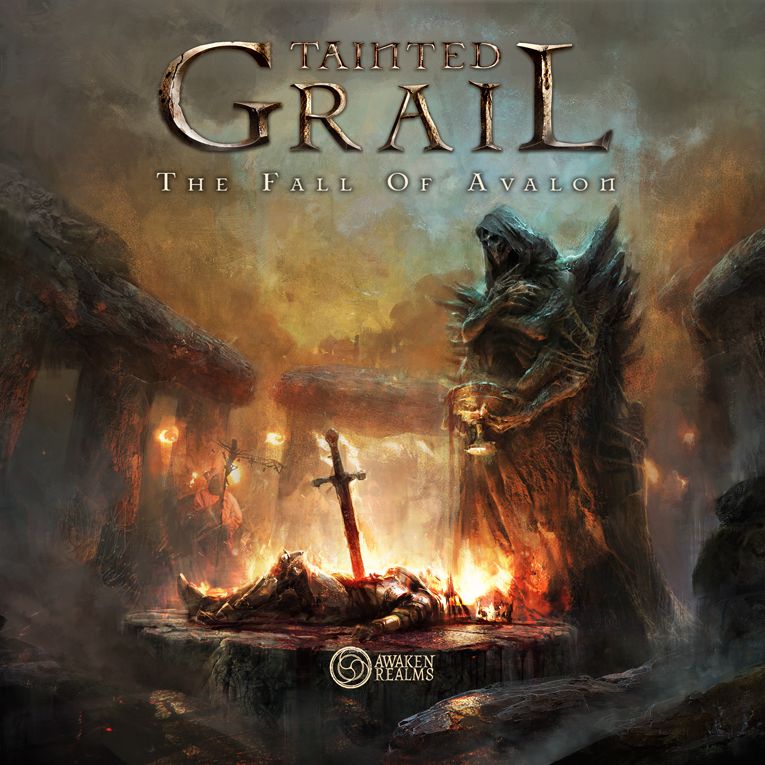
How to Play Tainted Grail: The Fall of Avalon
Awaken Realms, Albi, Arclight Games · Board game · 2019What do you want to do now
Ask anything about Tainted Grail: The Fall of Avalon: rules, setup, components, complexity, price, or whether it fits your group.
Video: How to Play
Start here, then follow the written guide
Step by step
Game Objective: Surviving the Fall of Avalon!
Prepare for an epic and dark adventure in Tainted Grail: The Fall of Avalon! On this cursed island, where Arthurian legends blend with Celtic mythology and a sinister touch from Awaken Realms, your objective is simple yet challenging: survive and prevail where other champions have failed. You and your friends will control unlikely heroes, fighting against the wicked Wyrdness, resource scarcity, and constant conflicts. Each day, the Menhirs, guardian statues of the island, fade, and the land succumbs to chaos. Your mission is to unravel the mysteries of Avalon, complete the campaign's Demands, and perhaps reverse the Fall before madness or death reaches you. The game is a complex narrative journey where your choices matter, and each session is a new story. You will win or lose together, so planning and logistics are crucial!
Setup: Unraveling the Mysteries of Avalon
Let's set up the table and dive into this adventure! The setup for Tainted Grail is divided into two parts: Character setup and World setup.
Character Setup (For each player):
- Choose your Hero: Take the cardboard standee and the corresponding color Character Board. Each character has a unique Action and negative trait, as well as survival tracks and exclusive cards.
- Record Starting Energy and Terror: Place universal markers on the starting spaces of the Energy and Terror tracks on your Character Board (indicated by red arrows).
- Position the Health Marker: Place the T-shaped marker (Health) on the starting space of the Health track (also with red arrows). Remember that your Health cannot exceed your Energy.
- Record Starting Attributes: Note down the initial values of your Attributes, which are on the back of your Character Standee.
- Record Starting Resources: Place the universal markers on the Resource spaces of your Character Board, as indicated on the back of your Character Standee.
- Separate Combat and Diplomacy Cards: Find the 80 Combat and Diplomacy cards of your Character Board's color (50 basic and 30 evolved with your Character's name).
- Assemble Starting Decks (15 cards each): Take the 15 basic Combat cards and 15 Diplomacy cards identified by a flag of your board's color. Shuffle them and place them to the left (Combat) and right (Diplomacy) of your Character Board.
- Assemble Evolution Pools (25 cards each): Take the 15 evolved Combat cards with your Character's name and the remaining 10 basic Combat cards (without a flag). Shuffle them to form your Combat Evolution Pool. Repeat for Diplomacy. Place them in Salvage Bays or cover them with an "Evolution Pool" card.
- Insert the Character Standee: Place your Character Standee on the Character Board, with the Character Action facing up.
- Read the Introductory Message: Discover more about the initial situation and your Character Number.
- Take your Adventurer's Map: A valuable aid for navigating Avalon, but beware, it might be outdated!
World Setup:
- Set up the Starting Location: Place Location card 101 in the center of the play area. Place your Character miniatures on it.
- Starting Menhir: Place a Menhir miniature on the Starting Location and insert a Disc into its base, rotating it to indicate the duration: 8 (1 player), 7 (2 players), 6 (3 players), or 5 (4 players).
- Assemble the Starting Map Sector: Check the Directional Links of the Starting Location. Find the four corresponding Location cards (102, 103, 104, 105 for the "The Fall of Avalon" campaign) and attach them to the appropriate edges.
- Prepare Conflict Cards: Separate all Conflicts into four piles by color (green, gray, purple, blue), each with 31 cards, including "Your First Conflict."
- Prepare Secret and Item Decks: Place the Secret cards (organized numerically) and Item cards (shuffled) in separate piles.
- Take a Salvage Sheet: To record campaign progress.
- Distribute Reference Cards: Each player receives the Icon Glossary and the Order of the Day. Leave the Combat/Diplomacy Reference card on the table.
- Optional: Choose a Chronicler: One player can volunteer to manage maintenance tasks and the narrative.
- Prepare the First Chapter: Follow the instructions on the Chapter 1 Setup card to assemble the Incident deck and the Conflict decks. Shuffle the Random Incident cards and place them aside.
- The First Day Begins: Now it's time to play!
The Game Turn: A Day in Avalon
In Tainted Grail, the game unfolds in "days," which are complete turns divided into three stages:
I. Start of Day: Morning Maintenance
This stage sets the groundwork for the day ahead. The Chronicler (if any) is responsible for these tasks:
- Remove Exhausted Menhirs: Any Menhir without an inserted Disc is removed from the table.
- Remove Out-of-Reach Locations: Discard Location cards that are not adjacent (orthogonally or diagonally) to a Location with an Active Menhir. Characters in these locations lose 2 Energy, gain 2 Terror, and move to the nearest active location.
- Adjust Menhir Discs: Reduce the Disc of each Active Menhir by 1 point. If it reaches 0, remove the Disc, but the Menhir will only be removed at the next Start of Day.
- Adjust Time Discs and Remove Time Tokens: Reduce the Discs under Time Tokens by 1 point and remove one Time Token from each Location that has them. Demand Discs are not adjusted here.
- Reveal and Read a New Incident Card: If it has a Demand (red padlock symbol), place it on the Active Demands pile.
- Move Guardians: If there are Guardians on the table, roll the directional die for each and move them according to the rules. If a Guardian enters or remains in a Location with Characters, a Conflict is triggered.
- Discuss your Plans: This is the time for the group to cooperatively plan their actions.
- Prepare your Equipment: Ensure your Character does not have more than 1 Item with the same keyword face up.
II. During the Day: Actions and Adventures
In this stage, players perform Actions, spending Energy, until they have no more or decide to Pass. The order is decided by the players; in case of a tie, the Character with the lowest Number acts first.
Every Action has a special icon indicating its cost (usually in Energy, but can be in Terror or other resources). Costs in Terror increase your Terror, unlike others that reduce it.
Collective Actions: Players in the same Location can perform the same Action together as a Group. The cost is paid once (divided among members) and the result is received once (divided, if it's a reward). In Collective Actions, you can exchange Food, Wealth, Items, and Secrets, and even spend your Energy or Magic in place of another member (with the exception of the Character Action, where the active player always pays at least 1 Energy).
The 6 most important Actions are:
- EXPLORE (Cost: 1
 ): Flip the Location card where you are and read the text on the back or in the Exploration Log. This reveals information, secrets, and tasks. In a Group, the cost is 1 for each member.
 - TRAVEL (Cost: 1 ): Move your miniature to a Location orthogonally connected to your current Location. Upon arriving at a new Location, reveal new adjacent Location cards (if they are within range of an Active Menhir) and resolve any instant effect (lightning bolt symbol
 ). In a Group, the cost is 1 for each member and instant effects are resolved as a Group.
 - LOCATION ACTION (Cost: Variable): Activate an Action printed on the front of the Location card. These Actions usually allow you to collect or exchange Resources. Some are "once per day" and can be covered with a Time Token. In a Group, the cost is paid once and the result received once.
- CHARACTER ACTION (Cost: Fixed, varies by Character): Activate the personal Action on your Character Standee. Only your Character can use it, but other Group members can help pay the Energy cost (you always pay at least 1 ).
- INSPECT A MENHIR (Cost: Free): If the Location has the Menhir seal, flip the card and read the Menhir part to learn the Resources and criteria needed to activate it. Activating Menhirs requires group collaboration, and costs are adjusted by the total number of players.
- PASS (Cost: Free): Your Character rests. This decision is irreversible for the day.
The process repeats until everyone has Passed or run out of Energy.
III. End of Day: Recovery and Development
When all Characters finish their Actions, the day ends. For each Character, perform the following steps:
- Rest: You can consume 1 Food to recover 1 Energy and lose 1 Terror. If you have no Food or choose not to consume it, reduce your Energy to 0. If it's already 0, lose 1 Health.
- Recover your Energy: Return the Energy marker to the starting space. If you are Exhausted (marker on red space), recover only 4 Energy points. Remember that your maximum Energy is limited by your Health.
- Evolve your Character: Spend Experience (Exp) points to increase Attributes, acquire new Skills, or add Combat and Diplomacy cards to your decks.
- Develop Character Decks: Customize your Combat and Diplomacy decks with cards from the Evolution Pool. You can remove cards, but each deck must have at least 15 cards.
- Dream: If the Location has a Dream seal, read the corresponding Dream in the Exploration Log. If you are going mad (Terror marker on red space and "YOU ARE GOING MAD" card attached), read the Nightmare.
End of Game and Scoring: The Fall and Victory
The game in Tainted Grail is a narrative campaign, and "end of game" usually occurs upon completing the objectives of a chapter or the main campaign. Demands are the most important story branches and always lead to the end of the chapter, allowing you to advance in the campaign. To win, you need to follow and complete these Demands, which are found on Incident or Secret cards. The "The Fall of Avalon" campaign is not about a traditional final score, but rather about the conclusion of the narrative and the survival of your heroes. Success is measured by your ability to handle challenges, activate Menhirs, explore the island, and ultimately achieve the story's final objective. The death or madness of all Characters will result in defeat.
Tips for Winning: Don't Succumb to the Wyrdness!
- Prioritize Menhirs: Menhirs are your lifeline in Avalon. Keep an eye on the Discs of each Active Menhir and plan ahead for the Resources you'll need to activate or reactivate them. Without Menhirs, the island succumbs to the Wyrdness, and your Characters will suffer the consequences. Group collaboration is essential to keep them lit!
- Manage your Survival Tracks: Energy, Health, and Terror are crucial. Maintain a balance. Becoming Exhausted (low Energy) or Going Mad (high Terror) will have negative effects. Remember that your maximum Energy is limited by your Health, and high Terror can lead to Panic in Conflicts. Exchange Food with your companions to recover and use Location Actions to collect essential Resources.
- Follow Demands, but Explore Tasks: Demands are the main path to advance in the campaign, but don't ignore the
More videos
More rules explanations from the community
In English
-
 Game in a Nutshell - Tainted Grail (how to play)
-
 Tainted Grail: How to Play by All You Can Board
-
 Do it Yourself Sundrop: Guide for (easily) Painting Miniatures
-
 Tainted Grail: Last Knight Expansion | EVERYTHING NEW (and DIFFERENT) and How to Get STARTED!
-
 Tainted Grail | Rules: Combat & Diplomacy
-
 Tainted Grail Painting Series - Ep 5 - Dials
-
 Tom Teaches Tainted Grail (Introductory Game Setup)
-
 How to Paint Tainted Grail: Part 1
-
 How to Play Tainted Grail Part 1 - Everything Except Combat / Diplomacy - Bored Online? Board Offline #500
-
 How to Play Tainted Grail | Part 1
-
 The Plastic Canvas - Tainted Grail - Ep 2 - Arev
Rules manual
Official PDF file
Frequently Asked Questions
Quick answers about the rules
What is the objective of Tainted Grail: The Fall of Avalon?
How do you set up Tainted Grail: The Fall of Avalon?
How does Tainted Grail: The Fall of Avalon end, and how do you score?
What are some tips for winning Tainted Grail: The Fall of Avalon?
Expansions
Published additional content
 Tainted Grail: Age of Legends & Last Knight Campaigns
 Tainted Grail: Forever Autumn Promo Cards
 Tainted Grail: Modular Campsite
 Tainted Grail: Past And Future Alternative Encounters Card Pack
 Tainted Grail: Story Dice Expansion
 Tainted Grail: The Fall of Avalon – Echoes of the Past
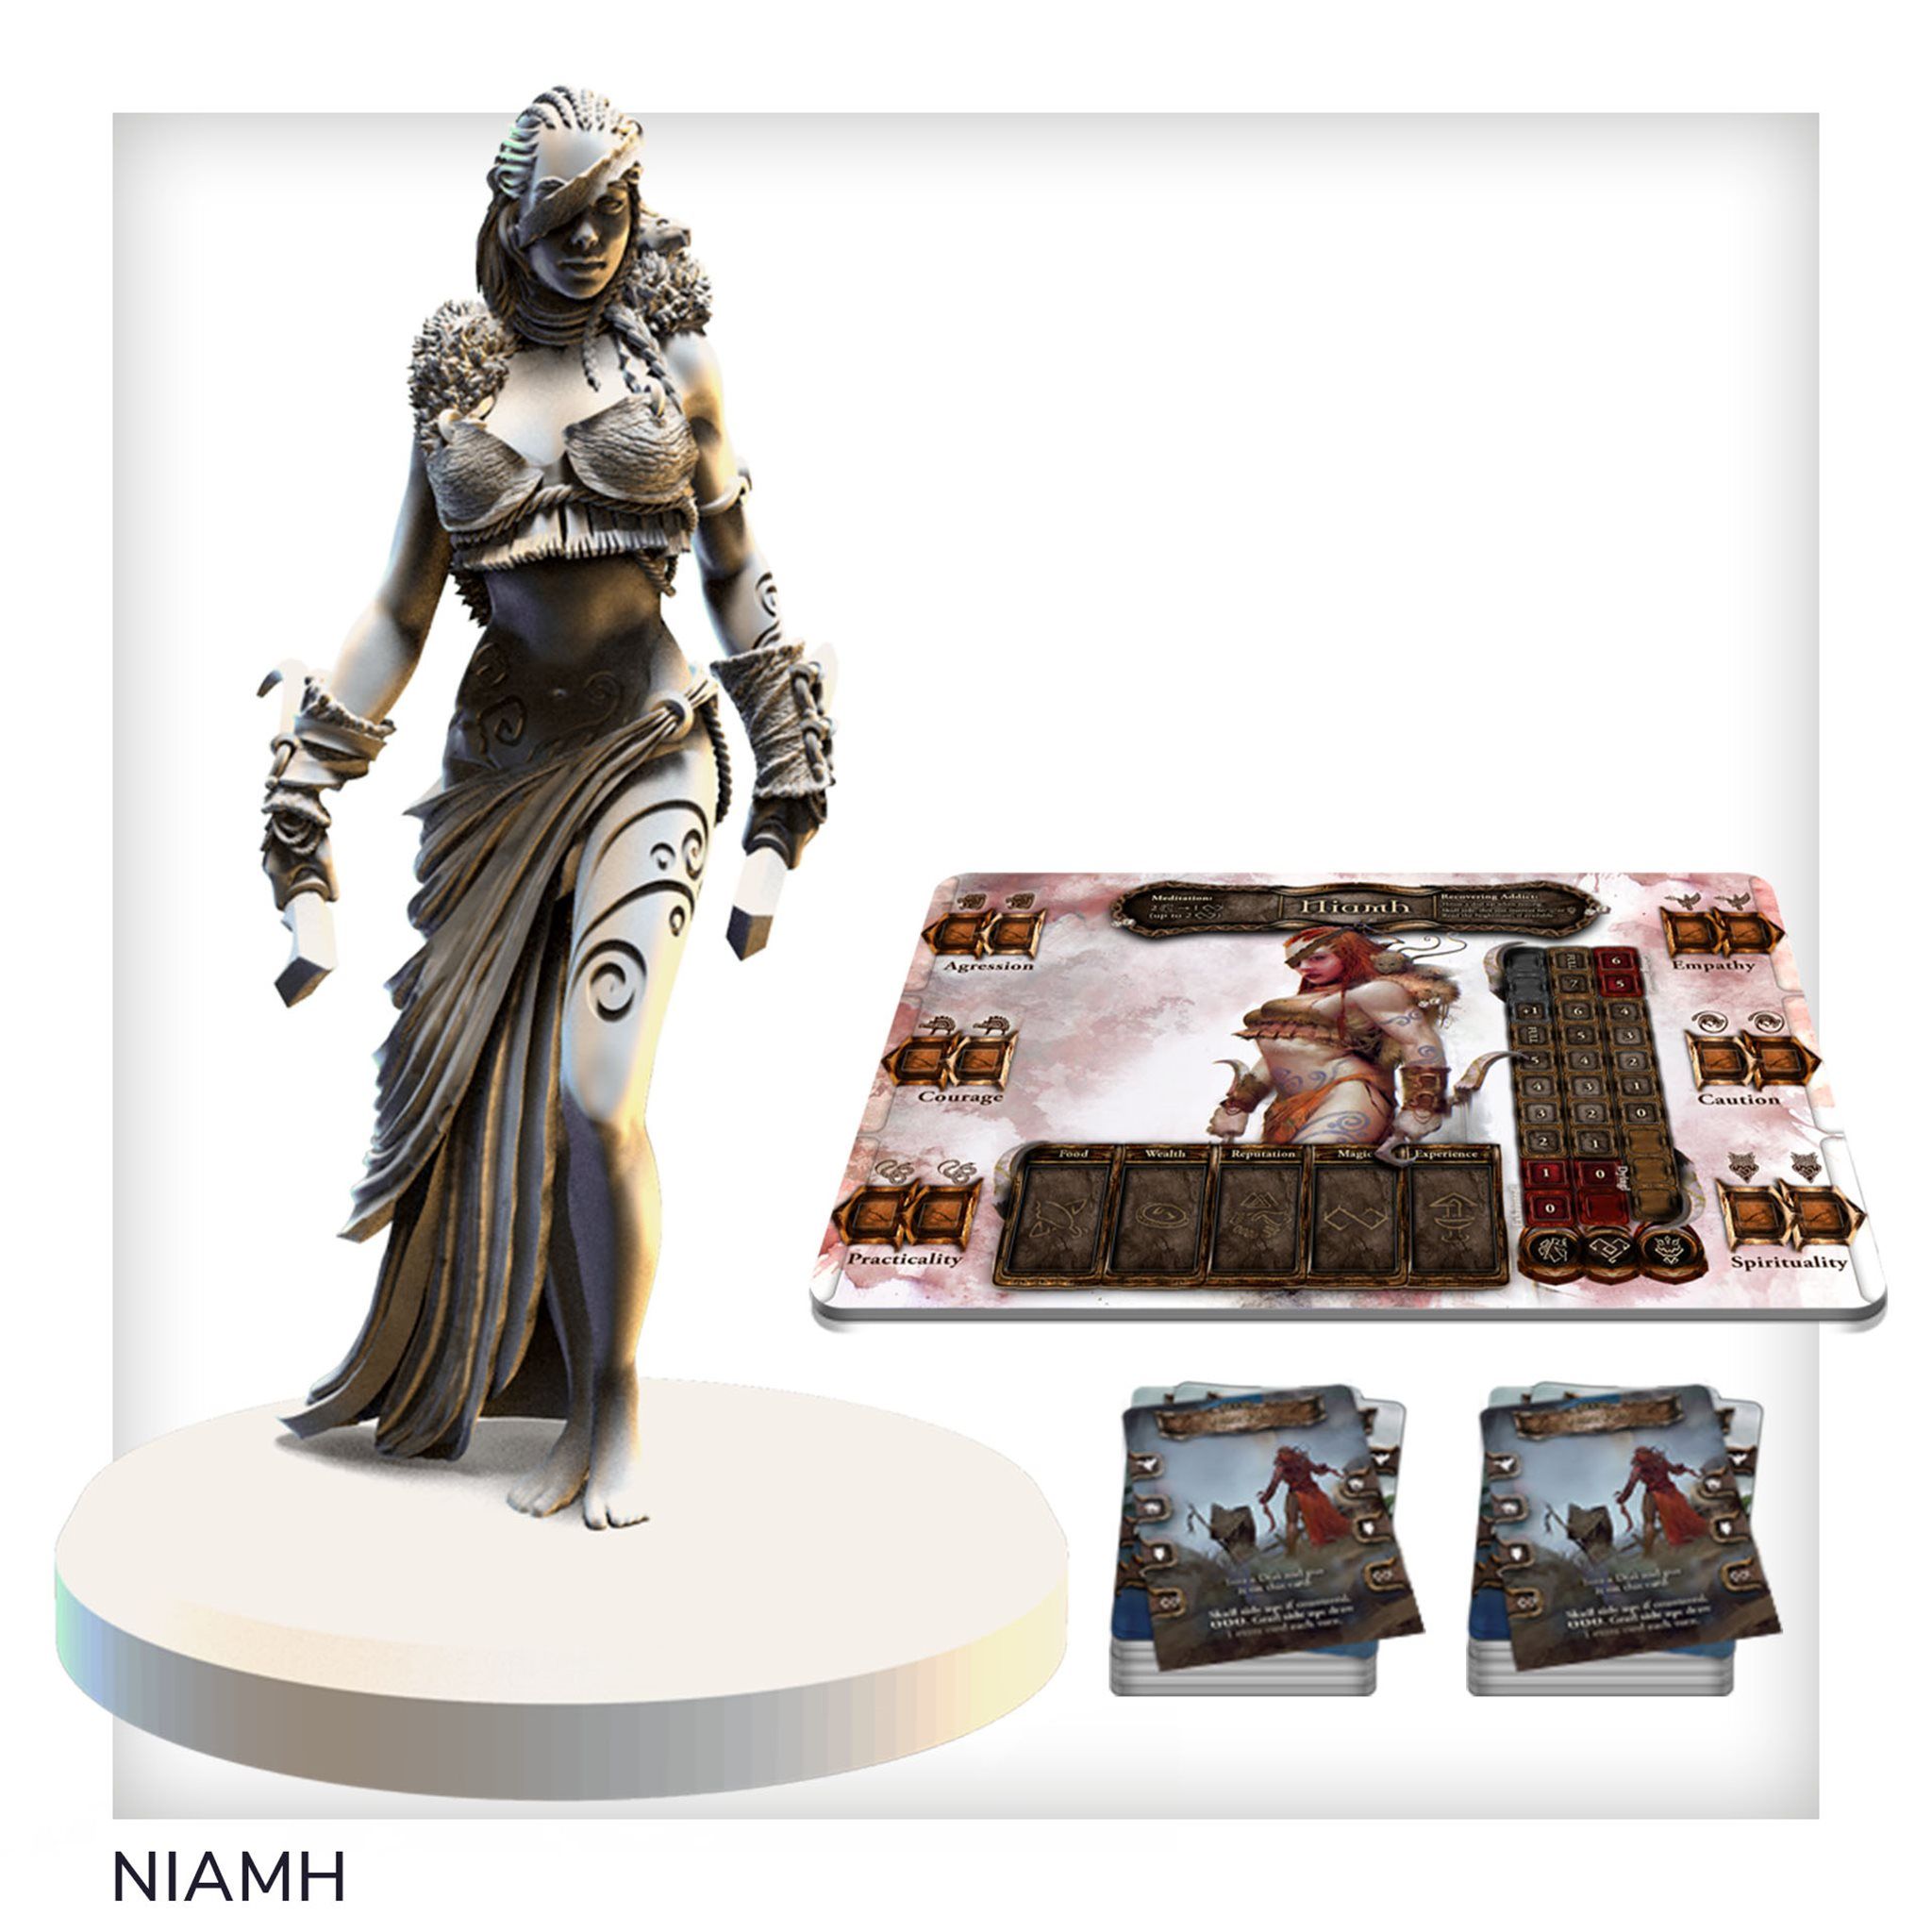 Tainted Grail: The Fall of Avalon – Niamh
 Tainted Grail: The Fall of Avalon – Red Death Expansion
Other Games You'll Like
Based on mechanics and theme