
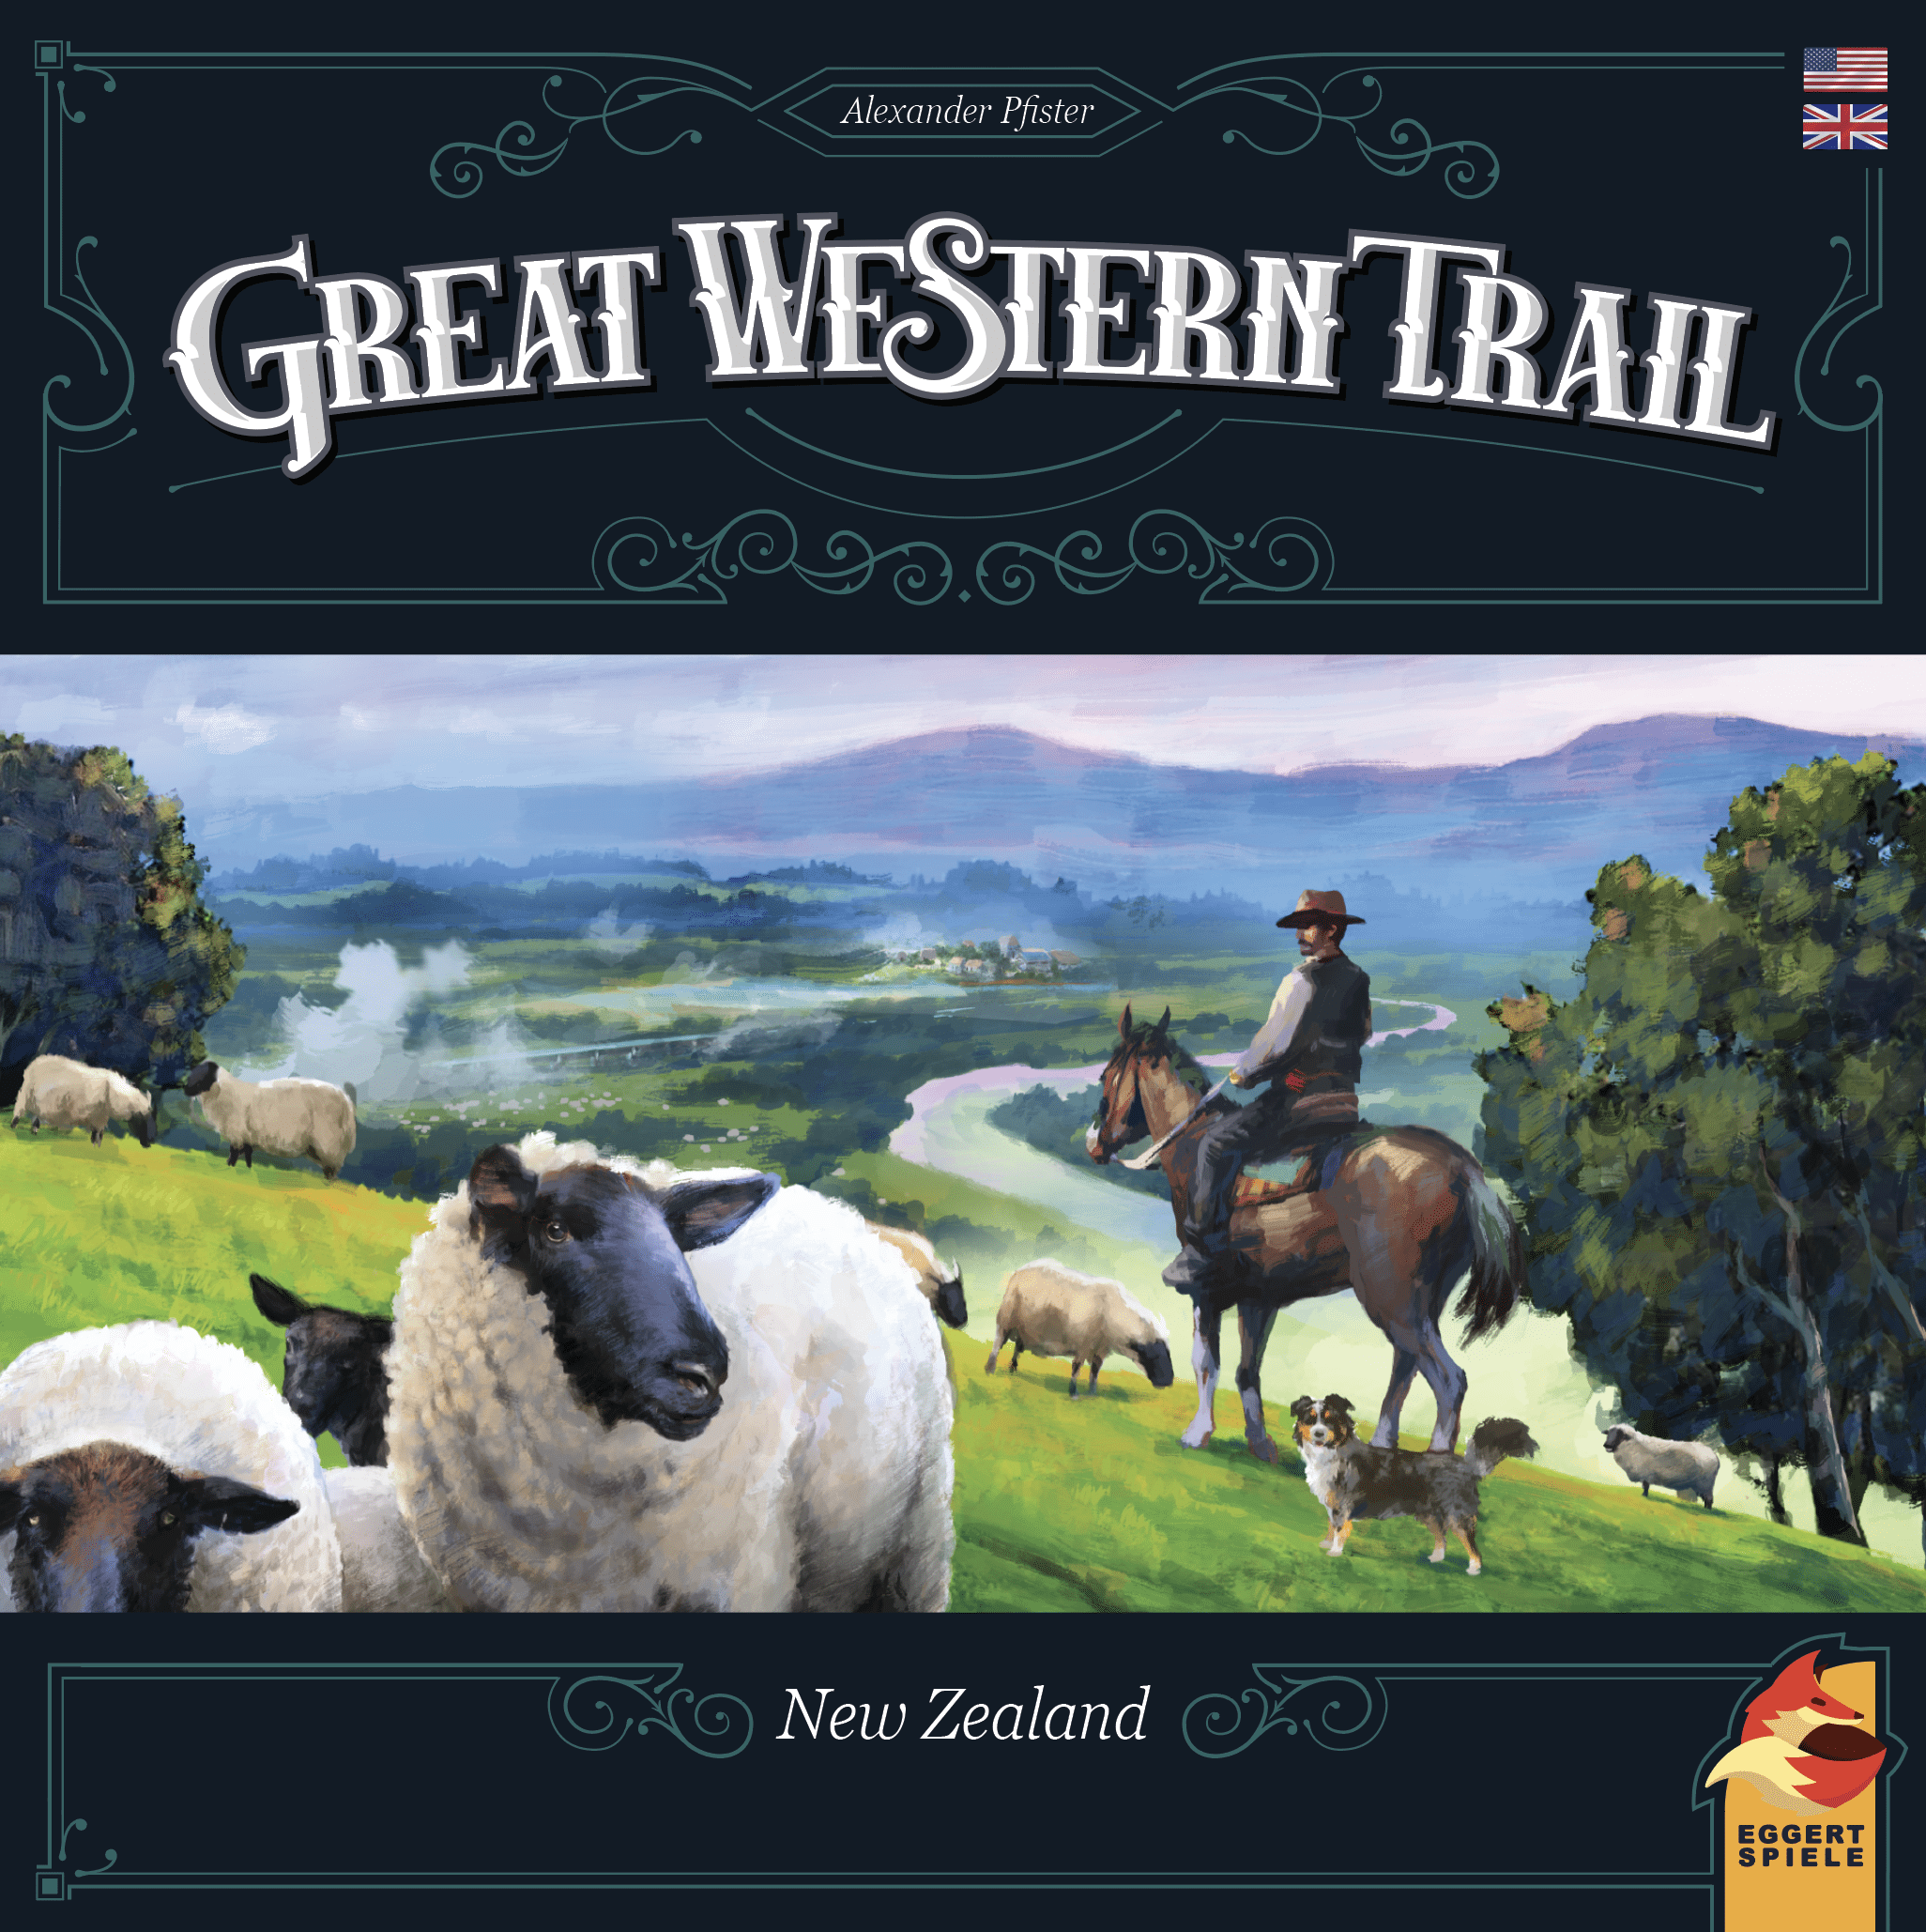
Great Western Trail: New Zealand — How to Play
eggertspiele, Arclight Games, Delta Vision Publishing · Board game · 2023Video: How to Play
Start here, then follow the written guide
Step by step
Object of the Game
In Great Western Trail: New Zealand, you take on the role of a runholder (a sheep station owner) on the South Island of New Zealand at the turn of the 20th century. Your goal is to ensure the prosperity of your family business by acquiring improved and valuable breeds of sheep, diversifying your ventures, and increasing the value of your wool.
The game is won by the player who accumulates the most victory points. These points are awarded at the end of the game based on various components in front of you and markers placed on the game board and the sea routes board.
Preparation (Setup)
- Boards: Place the game board in the middle of the table and the sea routes board above it.
- Harbourmasters: Shuffle the 8 harbourmaster tiles and place one randomly face-up on each of the 5 harbourmaster spaces on the sea routes board.
- Neutral Buildings: Place the 8 neutral building tiles face-up on the 8 neutral spaces on the game board. For the first game, place them on the space matching their letter (A to H).
- Bonus Tiles Market: Place the bonus tiles market token on the top dashed round space. Draw bonus tiles from the Wellington supply (bag) and place them in the market based on player count (3, 5, or 7 tiles).
- Job Market: Place one of each worker tile type face-up in the top row. Then, draw additional tiles from the Wellington supply (12 for 2 players, 13 for 3 players, 14 for 4 players). Worker tiles go to the most expensive empty space of their column; hazard tiles go to the lowest numbered empty space in the flood or rockfall sections.
- Foresight: Fill the 4 foresight spaces in Wellington with 2 tiles of type A and 2 tiles of type B from the Wellington supply.
- Sheep Market: Shuffle the 37 market sheep cards. Draw 9 (2 players), 11 (3 players), or 14 (4 players) and arrange them by color (orange, red, yellow, blue, brown, purple) in an overlapping row.
- Objectives: Shuffle the 24 objective cards, reveal 4, and place them in the general objective display.
- Deck-building Supply: Place the Romney sheep, Sheepdog, Ferry, and Kōtare bird cards on the left side of the board.
- Bonus Cards: Create the bonus cards supply by picking the white-star card from each of the 10 sets, randomly selecting 4, and adding the remaining cards from those sets based on player count.
- Player Setup: Each player chooses a color and receives:
- A player board, a player count tile, and a fee tile (placed in the Phase A box).
- 16 player discs (covering the 16 colored disc spaces).
- 10 storehouses (covering the 10 colored square spaces).
- 1 ship (placed on a starting water-space).
- 1 certificate marker (at 0) and 1 gold marker (at 1).
- 1 runholder.
- 14 player sheep cards (the flock deck), shuffled and placed as a personal draw stack.
- 10 private building tiles (placed in ascending order of required craftsmen above the board).
- Starting Capital: Players receive 1 exchange token and starting funds/cards based on turn order:
- 1st: 7 pounds, 4 cards.
- 2nd: 8 pounds, 5 cards.
- 3rd: 9 pounds, 6 cards.
- 4th: 10 pounds, 7 cards.
- Initial Placement: On the first turn, discard down to 4 cards, place one player disc (from a white-corner space) on space 0 of the pathfinder track, and place the runholder on any neutral building tile.
Flux do Jogo
Players take turns in clockwise order. Each turn consists of three mandatory phases:
- PHASE A: Move your runholder to another location along the trail.
- PHASE B: Use the action(s) of the reached location.
- PHASE C: Draw cards up to your hand limit.
When a runholder reaches Wellington, they must perform the 4 Wellington subphases in order: Income, Foresight A, Foresight B, and Delivery. After this, the runholder returns to the start of the trail.
Ações e Como Jogar
Movement (Phase A)
Move your runholder forward along the trail. Each location (building or hazard) costs 1 step. You must move at least 1 step and cannot exceed your step limit. You cannot pass over Wellington.
Fees: Passing or landing on locations with hands requires payment:
- Black hand: 1 pound.
- Green hand: 2 pounds.
Location Actions (Phase B)
Depending on where you land, your options vary:
- Neutral Building or Own Private Building: You may either use the local action(s) of that tile (each once, in any order) OR perform one single auxiliary action from your player board.
- Other Player's Private Building or Hazard Tile: You must perform one single auxiliary action.
- Wellington: Perform the 4 subphases:
- Income: Reveal different sheep types to calculate total breeding value (plus permanent certificates). Gain that amount in pounds and discard the revealed cards.
- Foresight A & B: Move one tile from the foresight spaces to its corresponding section (bonus tiles market, job market, or hazard section).
- Delivery: Place a player disc on a trading post space with a trading post value equal to or lower than your total breeding value. This may trigger a delivery action and requires paying transport costs.
General Action Icons
- Hire one worker: Pay the hiring cost (modified by the icon) and place the worker tile in your worker section.
- Buy sheep: Take sheep cards from the sheep market and place them on your personal discard pile.
- Move gold/certificate marker: Advance your marker on the gold track or certificate track.
- Shear your sheep: Discard a sheep card to gain pounds equal to its wool value plus permanent wool.
Fim de Jogo e Pontuação
End Game Trigger: The end of the game is triggered when the bonus tiles market token is moved from the bottom row along the red arrow.
Scoring: All victory points are awarded at the end of the game. Players sum the victory point icons on:
- Components in front of them.
- Markers of their color on the game board and sea routes board.
- Specific bonuses, such as workers placed on the fifth space of any row (worth 4 victory points each).
- Certain player discs on trading post spaces (e.g., discs on trading post 0 result in a loss of 8 victory points).
The player with the most victory points wins.
Dicas para Vencer
- Optimize Delivery: Use temporary certificates from your certificate track to increase your total breeding value, allowing you to deliver to higher-value trading posts for better rewards.
- Strategic Disc Placement: Clearing disc spaces on your player board unlocks critical upgrades, such as increasing your step limit or hand limit, which provides more flexibility and more actions per turn.
- Worker Management: Aim to fill your worker section rows to the fifth space to secure 4 victory points per worker at the end of the game.
More videos
More rules explanations from the community


Rules manual
Official PDF file
