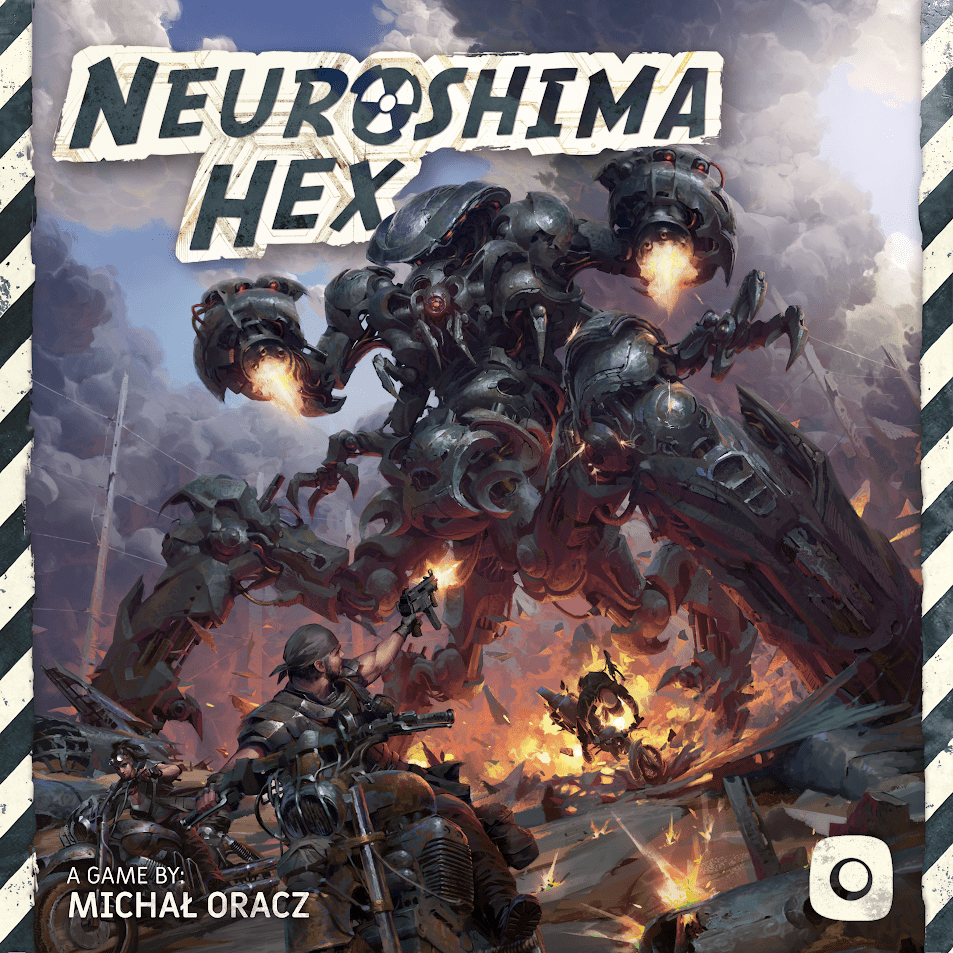
How to Play Neuroshima Hex
Portal Games, FunBox Jogos, Geekach LLC · Board game · 2006What do you want to do now
Ask anything about Neuroshima Hex: rules, setup, components, complexity, price, or whether it fits your group.
Video: How to Play
Start here, then follow the written guide
Step by step
Game Objective: Crush the Enemy HQ!
Welcome to the post-apocalyptic world of Neuroshima Hex! 3.0, where armies wage relentless battles! Your primary objective is simple, yet brutal: destroy the enemy Headquarters (HQ). Each HQ starts with 20 Resistance points, or "life." If, during the game, a player's HQ loses its last Resistance point, it is destroyed, and that player loses the game.
But what if the war is so intense that no HQ falls? At the end of the game, if both HQs survive, victory goes to the player whose HQ is in better condition, meaning the one that has taken less damage. Prepare for strategy and destruction!
Setup: Setting Up the Battlefield
Let's set up the table for war! Follow these simple steps to begin your journey in Neuroshima Hex:
- Board in the Center: Place the game board in the center of the table. The main battlefield consists of the 19 central green hexes.
- Choose Your Army: Each player chooses one of the four armies (Moloch, Sentinels, Borgo, or Hegemony) and takes all 35 corresponding Army Tiles.
- Find Your HQ: Separate your army's HQ Tile (it has a different back from the others).
- Shuffle and Stack: Thoroughly shuffle the remaining tiles of your army and place them face down in front of you, forming your draw pile.
- HQ Damage Tracker: Each player takes an HQ Damage Tracker and sets it to the number 20. If preferred, or if there are more than four players, use the Damage Track on the board, placing an HQ Marker on the number 20.
Ready! The battlefield is set, and your armies await your orders.
Game Turn: Commanding Your Troops
The game begins with the game owner (or a chosen player) going first. The turn sequence is as follows:
- Initial HQ Placement:
- The first player places their HQ Tile on any hex on the board.
- The opposing player does the same. HQs can even be placed in adjacent spaces.
- Initial Tile Draw:
- The first player draws one tile from their pile and places it face up in front of them. They can use it, save it for later, or discard it.
- The second player draws two tiles from their pile and places them face up. They can also use them, save them, or discard them.
- Regular Turns: From now on, each turn follows this pattern:
- Draw Tiles: The current player draws up to three tiles from their pile and places them face up in front of them. Remember: you can never have more than three tiles in front of you. If you saved tiles from previous turns, draw fewer to avoid exceeding the limit.
- Discard a Tile: The player must choose one of the tiles in front of them (usually the least useful) and discard it to the discard pile.
- Unlucky Draw: If all 3 tiles drawn are Instant Action Tiles, you can discard them and draw 3 new tiles. This can be done multiple times in the same turn!
- Use Remaining Tiles: With the two remaining tiles, the player can:
- Use Unit Tiles: Place a Unit Tile (HQ, Warrior, or Module) on an unoccupied hex on the board. Once placed, it cannot be moved or rotated unless a special action allows it.
- Use Instant Action Tiles: Show the tile to the opponent, apply its effect, and discard it. They are not placed on the board. Examples include Battle, Move, Grenade, Sniper, Air Strike, and Push.
- Save Tiles: Keep one or both tiles for future turns.
- Discard Tiles: Discard any number of tiles you don't want to use or save.
- End of Turn: After drawing, using, or discarding tiles and completing all desired actions, the player informs the others that their turn has ended.
Important Details About Tiles
- Unit Tiles: Represent your army on the board.
- HQ: The most vital tile. It has 20 Resistance points and a special ability. It attacks adjacent units with Strength 1 (melee), but not other HQs. It has Initiative 0.
- Warriors: Your combat troops. They have symbols indicating attack type (Melee or Ranged), direction, strength, Armor, Net, Mobility, and Resistance.
- Initiative: The number on the tile indicates which phase of battle the unit acts (0 to 3). Units with higher initiative act first. Some have two values, acting in two phases.
- Melee Attack: Hits adjacent enemies in the direction of the symbol. Attacks are automatic.
- Ranged Attack: Hits the first enemy unit in the line of sight in the direction of the symbol, ignoring allied units. Attacks are automatic.
- Armor: Reduces the Strength of ranged attacks by 1 on the protected side. Does not protect against melee attacks or Instant Action Tiles.
- Nets: Incapacitate adjacent opponents in the indicated direction, preventing them from acting. Affect enemy HQs. Function as soon as they are placed and all the time.
- Resistance: Each Resistance icon allows the unit to withstand one additional point of damage before being destroyed. Units without Resistance are removed with 1 point of damage.
- Mobility: Allows the unit to move one hex and/or rotate freely on its turn.
- Modules: Tiles that, once connected to allied units (including HQs), offer continuous bonuses. They cannot be moved or rotated (except by external actions). Their effects are cumulative.
- Officer: Increases the attack Strength (melee or ranged) of connected units.
- Scout: Increases the Initiative of connected units.
- Medic: If a connected unit is to take damage, the Medic is discarded and the damage is ignored.
- Instant Action Tiles: Used and discarded immediately, they do not occupy space on the board.
- Battle: Initiates a Battle. The player who uses it ends their turn. Cannot be used if any player has drawn their last tile.
- Move: Moves a unit to an adjacent unoccupied hex and/or rotates it.
- Grenade: Destroys an enemy unit adjacent to your HQ. Does not affect enemy HQs.
- Sniper: Inflicts 1 point of damage to a single enemy unit (not HQs).
- Air Strike: Inflicts 1 point of damage to a chosen hex and all 6 hexes adjacent to it. Does not affect HQs.
- Push: Pushes an adjacent enemy unit to an unoccupied hex one hex away. The opponent chooses where to move if there is more than one option.
Battles: The Climax of Combat
Battles are the heart of Neuroshima Hex! They are initiated when a Battle Tile is played or when the board becomes completely filled.
- Initiative Phases: Battle is divided into phases, starting with units with the highest Initiative (3, then 2, 1, and 0).
- Simultaneous Actions: In each phase, all units with the same initiative value act simultaneously. If two units with Initiative 3 shoot at each other, both are hit.
- Damage and Removal:
- Wounded but not destroyed units (with Resistance) receive a damage marker.
- Destroyed/eliminated units remain on the board until the end of the current phase (they can be flipped face down).
- After all actions of a phase are completed, destroyed units are removed and discarded.
- Damage to HQs is calculated at the end of the phase.
- Modules and Nets in Battle: Modules and Netters (who deploy Nets) only stop affecting other units when they are removed from the board at the end of the phase, not as soon as they are hit.
End of Game and Scoring: Who Will Reign?
The game can end in two ways:
- HQ Destroyed: If a player's HQ is reduced to zero Resistance points, it is destroyed, and that player loses immediately. The player whose HQ survived is the winner. If both HQs are destroyed in the same Battle, the game ends in a draw.
- Final Battle:
- When a player draws their last tile from their pile, they can end their turn. The opponent completes their turn, and then the Final Battle begins.
- After the Final Battle, if no HQ was destroyed, the player with the HQ with the most remaining Resistance points wins.
- In case of a tie in Resistance points after the Final Battle, each player takes one more turn (if they have no tiles to draw, they use abilities of tiles on the board). Then, an additional Battle begins. If the tie persists, the game ends in a draw.
Tips for Winning: Strategies for the Apocalypse
Neuroshima Hex may seem chaotic at first, but with a few tactics, you will dominate the battlefield:
- Know Your Army and the Enemy: Use the army Reference Table! Each faction has its strengths and weaknesses. Understanding your army's abilities and those of your opponents is crucial to maximizing probabilities and risks. For example, Borgo and Moloch are more direct, while Hegemony and Sentinels require more subtlety.
- Protect Your HQ, But Don't Forget It: Your HQ is your vital point, but it can also be a weapon! Armies like Moloch can use their HQ offensively, taking advantage of its ability to grant Strength bonuses. Positioning the HQ in a corner and surrounding it with high Resistance units is a common tactic for Moloch, while Sentinels may prefer the center to take advantage of their HQ's Mobility.
- Modules Are Your Best Friends (or Worst Enemies): Don't underestimate the power of Modules! They can transform your units, increasing attack, initiative, or even healing them. Position them strategically to create powerful synergies around your HQ or your main attack units. And remember: Modules work all the time and their effects are cumulative!
More videos
More rules explanations from the community
In English
-
 Shrinkink Shrink-Plastic Insectoid fan army tiles
-
 Neuroshima Hex 1.10 Trailer
-
 BGH - Neuroshima Hex Tutorial
-
 Neuroshima Hex!: How I play the Moloch faction
-
 TOP 10 WAYS TO KILL MOLOCH with Zee Garcia and Eric Link
-
 Learn how to play Neuroshima Hex Steel Police - army tutorial and example of gameplay
-
 NEUROSHIMA HEX: Troglodytes gameplay
Rules manual
Official PDF file
Frequently Asked Questions
Quick answers about the rules
What is the objective of Neuroshima Hex?
How do you set up Neuroshima Hex?
How does Neuroshima Hex end, and how do you score?
What are some tips for winning Neuroshima Hex?
Expansions
Published additional content


Other Games You'll Like
Based on mechanics and theme