How to Play Robinson Crusoe: Adventures on the Cursed Island
Portal Games, Albi, Arclight Games · Board game · 2012What do you want to do now
Ask anything about Robinson Crusoe: Adventures on the Cursed Island: rules, setup, components, complexity, price, or whether it fits your group.
Video: How to Play
Start here, then follow the written guide
Step by step
Objective of the Game
Welcome, brave castaways, to the treacherous shores of Robinson Crusoe: Adventures on the Cursed Island! This isn't just a game; it's a desperate struggle for survival where you and your fellow players are marooned on a mysterious island, facing the elements, wild beasts, and untold dangers. Your ultimate goal? To work together, survive, and achieve the specific objective outlined by the Scenario card you choose at the start of each game. Remember, this is a fully cooperative experience: you'll either all share in the glory of victory by fulfilling the scenario goal and keeping everyone alive, or you'll all suffer defeat if even one character perishes or if you fail to meet your objective within the designated number of rounds. So, band together, make smart choices, and try to make it off this cursed island alive!
Preparation (Setup)
Alright, gather 'round, future survivors! Let's get this island ready for our adventure. Follow these steps to set up your game of Robinson Crusoe:
- Place the main board in the center of your table.
- Each player draws a random Character card. In a 2-player game, draw from only the Carpenter, Cook, and Explorer. Place your chosen Character card in front of you. Take the matching Invention card (depicted on your Character card) from the Invention deck and place it face up (Invention side up) on your Character card. Each player also takes 2 pawns of their chosen color and 1 Wound marker, placing it on the leftmost space of their Character’s life track.
- Place a white marker on level 0 of the Morale track on the main board.
- Place a black marker on the topmost space of the Weapon level track (next to the Weapon icon, treating it as level 0).
- Take the 9 Invention cards marked with the special symbol next to their names, plus 5 other random Invention cards. Place all 14 face up (Invention side up) in the appropriate spaces on the main board. Shuffle the remaining Invention cards and place them face up near the main board to form the Invention deck.
- Separately shuffle the 3 sets of Adventure cards (identified by their backs) and place them face down next to their corresponding Action fields on the main board.
- Shuffle the Beast cards and place them face down near the main board to create the Beast deck.
- Shuffle the Mystery cards and place them face down near the main board to create the Mystery deck.
- Take Island tile number 8 and place it face up in its indicated space on the main board. Place the Camp token (Camp side up) on this tile.
- Place a black marker on the Shovel card, covering the beach terrain type icon. This terrain type is considered explored at the start.
- Shuffle the remaining Island tiles and place them in a face-down stack near the main board.
- Shuffle the 8 Starting Item cards, draw 2, and place them face up next to the main board. These are shared. Place two black markers in the lower part of each card to track uses. Return unused Starting Item cards to the box.
- Shuffle the Discovery tokens and place them in a face-down stack near the main board.
- Place all resource cubes (wood, fur, food), remaining markers, tokens, additional pawns, and all dice (Action dice and Weather dice) within easy reach of all players.
- Place the selected Scenario card near the main board and put the Round marker on the "Round 1" space.
- Separate the Event cards into two face-down piles: one with Book icons and one with Adventure icons. Shuffle each pile. Divide the number of rounds on the Scenario card by 2 (rounded up). Take that many cards from each pile, shuffle them together, and place them face down in the Event space on the main board to create the Event deck. Return any remaining Event cards to the box.
- Place the Wreckage card "Food crates" in the rightmost space of the Threat Action field.
- The youngest player becomes the First Player and takes the First Player token. This player also manages Determination tokens during the Morale phase and resolves any disagreements.
- In a 4-player game, take the special Arranging the Camp card and place it on the board covering its corresponding space.
- In a 2-player game, you gain an additional character: Friday. Take the Friday card and white pawn, placing them near the board. Place a Wound marker on the leftmost space of Friday’s life track.
The Turn of Play
Survival on this island is a round-by-round struggle! Each round of Robinson Crusoe is divided into six crucial phases, executed in this order:
- Event Phase
- Morale Phase
- Production Phase
- Action Phase
- Weather Phase
- Night Phase
1. Event Phase
Skip this phase in the very first round. Starting from the second round, draw the top card from the Event deck and immediately resolve it. If you draw an Adventure or Mystery card, resolve its Event effect, discard it, and draw another card from the Event deck. You'll keep drawing until you find a true Event card.
- When you draw an Event card:
- Check for an Adventure icon (question mark) or a Book icon. If it's an Adventure icon, place the appropriate token in the corresponding Action field. If it's a Book icon, check its meaning on the Scenario card.
- Resolve the card's Event effect.
- Place the card on the rightmost space of the Treat Action field. If other Event cards are there, slide them left. If a card slides off the board, resolve its Treat effect and then discard it.
2. Morale Phase
Check the current Morale level on the main board. The First Player then either:
- Discards the indicated number of Determination tokens.
- Neither discards nor gains anything (if Morale is at level 0).
- Gains the indicated number of Determination tokens (at the highest level, they can choose to gain 2 tokens or heal 1 Wound).
If the First Player must discard more Determination tokens than they possess, they discard all they have and receive 1 Wound for each lacking token.
3. Production Phase
Time to gather some basic sustenance! Players gain resources based on the sources located on the Island tile where their Camp is currently located. Each source (food or wood) on that tile provides one respective resource cube. All resources gained are placed in the Available Resources space and are immediately ready for use.
4. Action Phase
This is the heart of your survival efforts! The Action phase has two stages: Planning and Resolving Actions.
4.1 Planning Actions
As a group, you'll decide which Actions to take by assigning your pawns. Each player has 2 pawns, allowing for up to 2 Actions. However, many Actions require more than one pawn to be resolved successfully without dice rolls.
Available Actions:
- Treat Action: Requires pawns as depicted on the Event card. Prevents the card's Treat effect and provides a benefit (e.g., Determination tokens, resources). Can be taken multiple times if multiple cards are in the Treat Action field, but only once per card.
- Hunting: Always requires 2 pawns. Allows you to gain food and/or furs but often results in Wounds.
- Building: Can be taken with 1 or 2 pawns. Allows you to construct Shelter, a Roof, a Palisade, Weapons, or turn Inventions into Items.
- Shelter: Protects from Wounds during the Night phase. Costs wood or furs.
- Roof: Protects from weather. Requires Shelter. Increases Roof level. Costs wood or furs.
- Palisade: Protects from Storms and other effects. Requires Shelter. Increases Palisade level. Costs wood or furs.
- Weapons: Essential for Hunting. Increases Weapon level. Costs 1 wood.
- Items (from Inventions): Provide various benefits. Requirements (terrain, other Items, resources) are on the Invention card.
- Gathering Resources: Can be taken with 1 or 2 pawns. Gain resources from explored Island tiles adjacent to or one tile away from your Camp. You can only gather 1 resource per source per round.
- Exploration: Can be taken with 1 or 2 pawns. Explore unexplored spaces adjacent to or one tile away from your Camp.
- Arranging the Camp: Taken with 1 pawn. Gain 2 Determination tokens and increase Morale by 1 (in a 4-player game, choose one).
- Rest: Taken with 1 pawn. Heal 1 Wound.
Important Pawn Assignment Rules:
- If you assign 1 pawn to Building, Gathering Resources, or Exploration, you'll roll Action dice to determine success, Wounds, and Adventures.
- If you assign 2 pawns to Building, Gathering Resources, or Exploration, the Action is guaranteed to be successful, and you won't roll dice.
- Pawns for an Action can come from different players or include additional pawns (from Items, etc.). If pawns are from different players, decide who is "taking" the Action (and receives individual benefits) and who is "supporting."
- Additional pawns are restricted to certain Action types and cannot take an Action on their own; they must always support a player's pawn.
- You must have all required resources, built Items, or minimum Weapon levels before planning an Action. Resources gained in the same Action phase cannot be used for other Actions in that same phase.
4.2 Resolving Actions
After all pawns are assigned, resolve Actions in this specific order, only resolving those with assigned pawns:
- Treat Action: Discard required resources, follow card instructions, then discard the card and gain benefits. Resources gained go to the Future Resources space; Determination tokens are gained immediately.
- Hunting: Draw a card from the Hunting deck and Fight the Beast:
- Compare Beast's strength to your Weapon level. If Weapon level is lower, the player fighting gets 1 Wound per lacking level.
- Decrease Weapon level as shown on the card.
- Gain food and fur, placing them in the Future Resources space.
- Decrease Palisade level if indicated.
- Apply other effects and discard the card.
- Building:
- For Shelter: Discard resources, flip the Camp token to its Shelter side, and place a black marker on the Shelter space. Also place black markers on the topmost spaces of the Roof and Palisade level tracks (level 0).
- For Roof, Palisade, or Weapons: Discard resources and increase the respective level marker.
- For Items from Invention cards: Discard resources. If from your Character card, gain 2 Determination tokens. Place the Invention card in the Future Resources space (Item side up at phase end).
- Gathering Resources: Take appropriate resources from the supply and put them in the Future Resources space.
- Exploration: If successful, draw and place a new Island tile.
- Mark Invention cards with matching terrain types.
- If a Beast card icon is present, shuffle one Beast card into the Hunting deck.
- If a Mystery icon is present, check the Scenario card.
- Draw indicated Discovery tokens and place them face up in the Future Resources space.
- Arranging the Camp: Gain 2 Determination tokens and increase Morale by 1 (unless at max Morale, then just gain tokens).
- Rest: Heal 1 Wound by moving your Wound marker one space left.
- After all Actions are completed:
- Return player pawns.
- Discard or return additional pawns.
- Move all resources and tokens from Future Resources to Available Resources.
- Apply additional effects from Invention cards in Future Resources and place them Item side up on the board.
Rolling Action Dice: When an Action requires a dice roll (e.g., 1 pawn for Building, Gathering, Exploration), roll all three dice: Wound die, Success die, and Adventure die. Resolve them in that order.
- Wound die: You might get 1 Wound or nothing.
- Success die: The Action is successful, or it's unsuccessful, but you gain 2 Determination tokens instead.
- Adventure die: You might draw an Adventure card from the respective deck and resolve it, or nothing happens.
The outcomes are independent; you resolve all three!
5. Weather Phase
Brace yourselves! Check the Scenario card to see which Weather dice to roll this round (Rain, Winter, Hungry Animals). Also, check the Weather space on the main board for any modifying tokens (discarded after use).
- Facing the Weather:
- Count total Winter Clouds (from dice and tokens). Discard 1 wood for each Winter Cloud. If you can't, each player gets 1 Wound.
- Count total Clouds (Rain and Winter). Compare to your current Roof level. For each Cloud not protected by the Roof, discard 1 food and 1 wood. If you can't, each player gets 1 Wound for each lacking resource.
- Resolve effects from the Hungry Animals die. If you can't resolve an effect, each player gets 1 Wound.
- Resolve Storm tokens: decrease Palisade level by 1. If you can't, each player gets 1 Wound.
- Discard all tokens from the Weather space at the end of this phase.
6. Night Phase
The day is done, but the island still demands its due!
- Eat: Discard 1 food per player. If you don't have enough, decide who doesn't eat; each player who doesn't eat receives 2 Wounds.
- Move Camp (Optional): You can move your Camp to an adjacent Island tile.
- If you have built Shelter: Decrease both Roof and Palisade levels by half (rounded down).
- If you haven't built Shelter: No consequences for moving, unless you had a Roof or Palisade built on an Island tile with Shelter, in which case you lose both (levels drop to 0).
- Sleeping in the Open: If you haven't built Shelter (and your Camp isn't on an Island tile with Shelter), each player gets 1 Wound.
- Food Rots: Unless you have food that doesn't rot or an Item that stores food, all remaining food in the Available Resources space is discarded. Other resources remain.
- Clean Up: Remove black markers from Character cards (marking used skills). Move the Round marker to the next round. Pass the First Player token clockwise.
End of Game and Scoring
The fate of your castaways hangs in the balance! The game can conclude in three ways:
- Victory! Players win immediately if they successfully fulfill the specific Scenario goal within the number of rounds allowed by the Scenario card.
- Defeat! Players lose immediately if any one of the Character's (or Friday's, if applicable) life track reaches its end, meaning that character dies.
- Defeat! Players lose if the last round ends and they have not managed to fulfill the Scenario goal.
There's no individual scoring in Robinson Crusoe; it's all or nothing for the entire group!
Tips for Winning
Surviving on the Cursed Island is tough, but here are a few pointers to help you and your crew make it out alive:
- Prioritize Shelter and Resources Early: Getting a Shelter
More videos
More rules explanations from the community
In English
-
 Robinson Crusoe: A Tutorial
-
 How to play Robinson Crusoe
-
 Robinson Crusoe app - presentation and breakdown
-
 Announcing 10 best fan scenarios (Book of Adventures)
-
 Robinson Crusoe | Game Overview
-
 Mr. Fless Custom Foam Core Insert for Robinson Crusoe
-
 Robinson Crusoe - The Book of Adventures expansion preview
-
 Climbing the SOLO GAME LADDER
-
 Learn Robinson Crusoe with Don!
-
 Robinson Crusoe Board Game How to Play
-
 Robinson Crusoe: Adventures on the Cursed Island - Setup
Rules manual
Official PDF file
Frequently Asked Questions
Quick answers about the rules
What is the objective of Robinson Crusoe: Adventures on the Cursed Island?
How do you set up Robinson Crusoe: Adventures on the Cursed Island?
How do you play Robinson Crusoe: Adventures on the Cursed Island?
How does Robinson Crusoe: Adventures on the Cursed Island end, and how do you score?
What are some tips for winning Robinson Crusoe: Adventures on the Cursed Island?
Expansions
Published additional content
 Robinson Crusoe: Adventures on the Cursed Island – "King Kong" Scenario
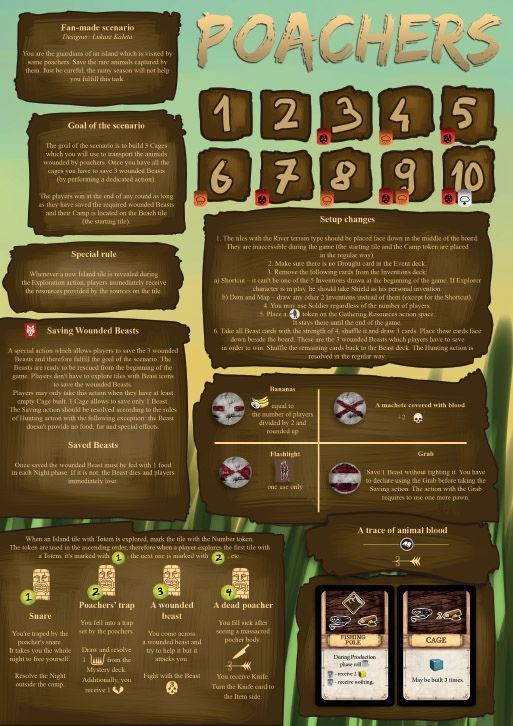 Robinson Crusoe: Adventures on the Cursed Island – "Poachers" Scenario
 Robinson Crusoe: Adventures on the Cursed Island – "Tracing Doctor Livingstone" Scenario
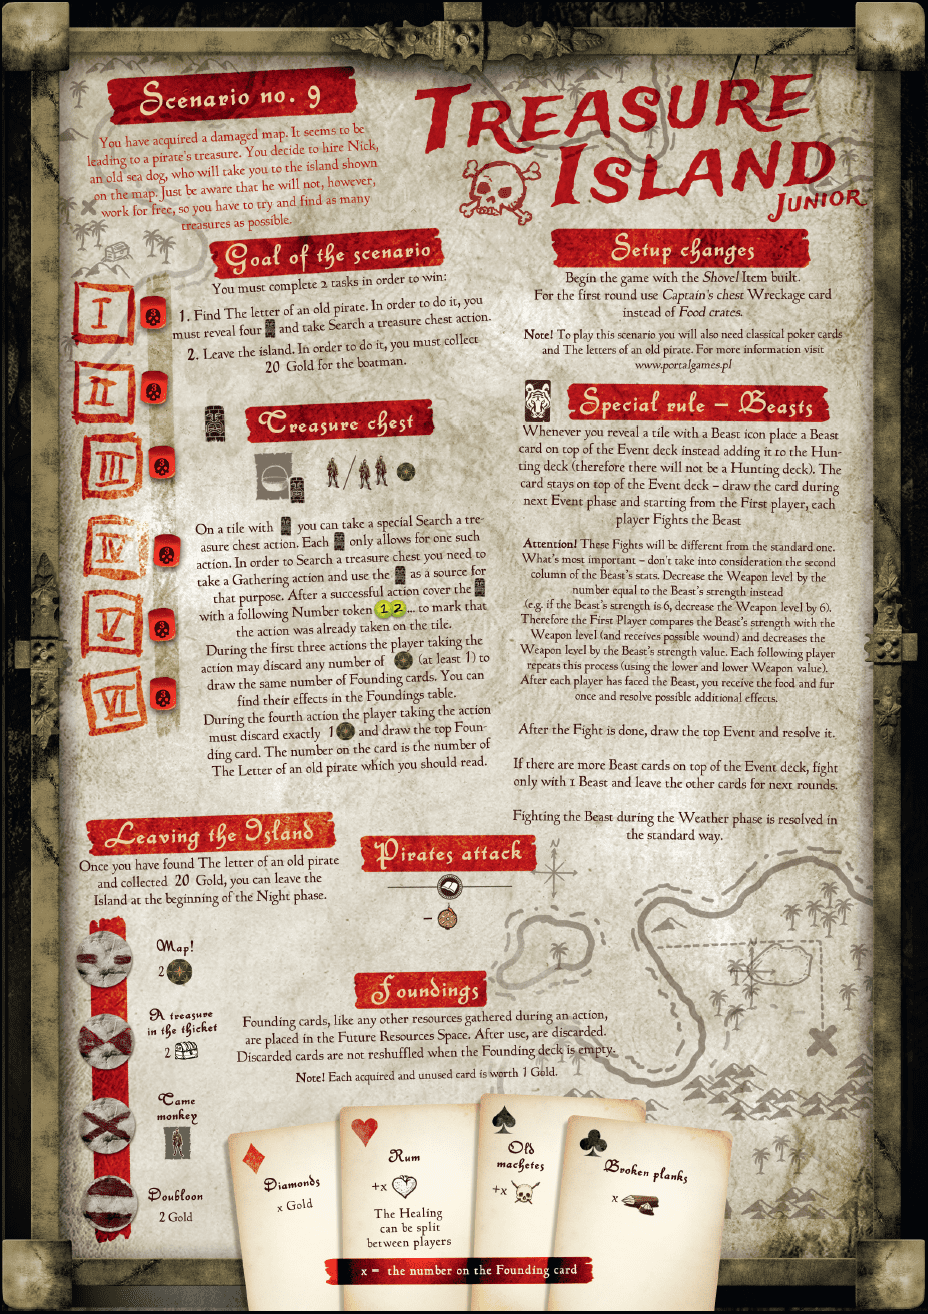 Robinson Crusoe: Adventures on the Cursed Island – "Treasure Island" Junior Scenario
 Robinson Crusoe: Adventures on the Cursed Island – Additional Beast Cards
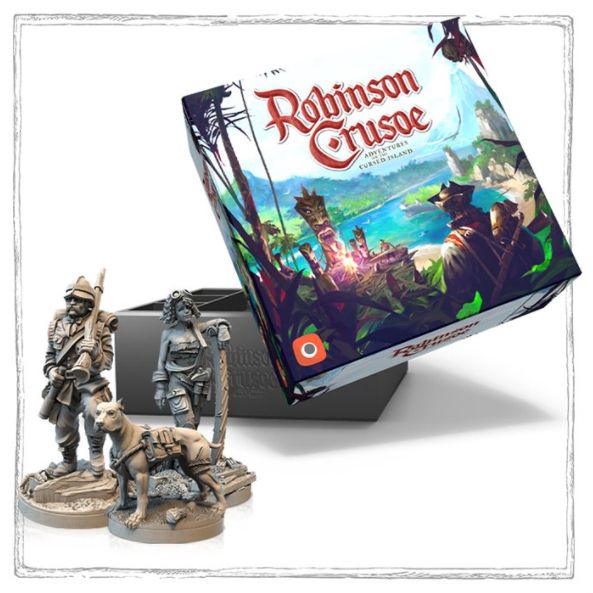 Robinson Crusoe: Adventures on the Cursed Island – Collector's Edition Upgrade Pack
 Robinson Crusoe: Adventures on the Cursed Island – Companion App Pack #01: Loury Totems
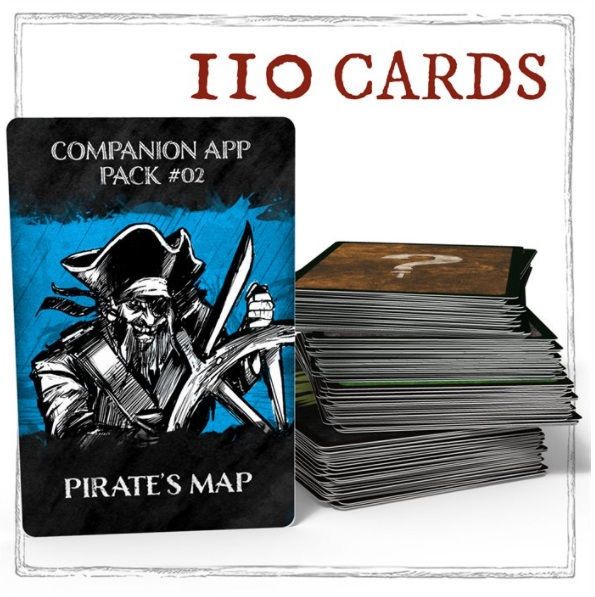 Robinson Crusoe: Adventures on the Cursed Island – Companion App Pack #02: Pirate's Map
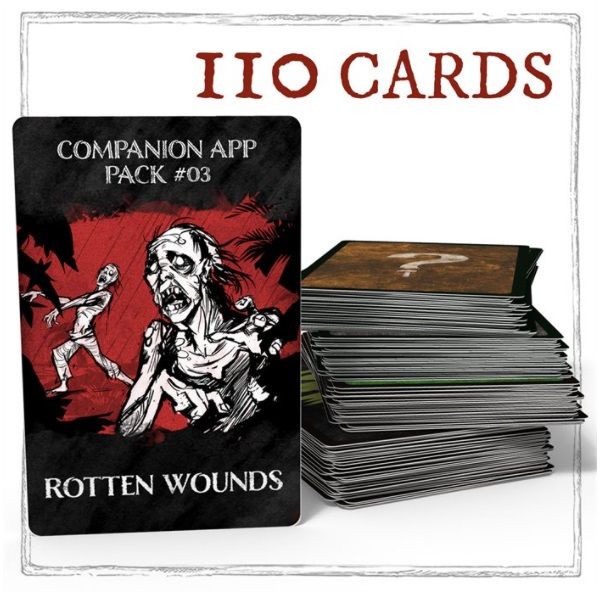 Robinson Crusoe: Adventures on the Cursed Island – Companion App Pack #03: Rotten Wounds
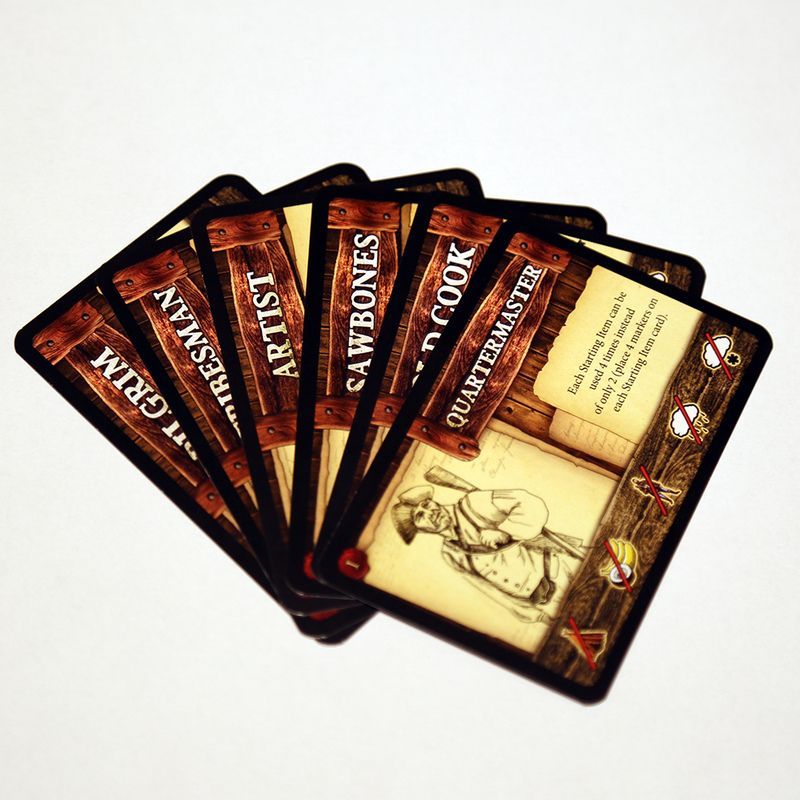 Robinson Crusoe: Adventures on the Cursed Island – Crewmen Deck I
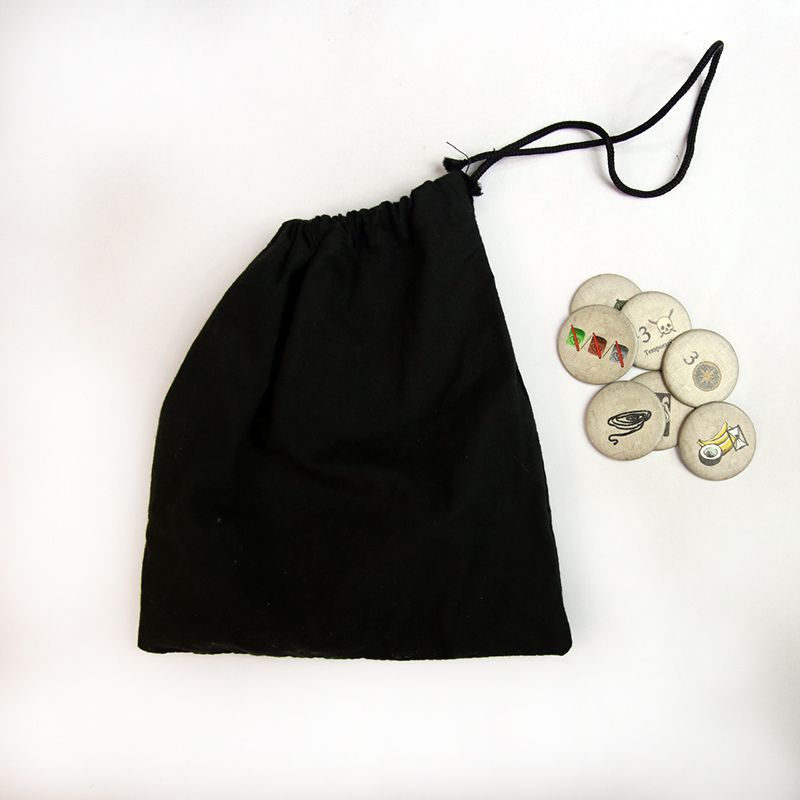 Robinson Crusoe: Adventures on the Cursed Island – Discovery Tokens
 Robinson Crusoe: Adventures on the Cursed Island – Herb Garden and Pen
 Robinson Crusoe: Adventures on the Cursed Island – Hunting Adventures
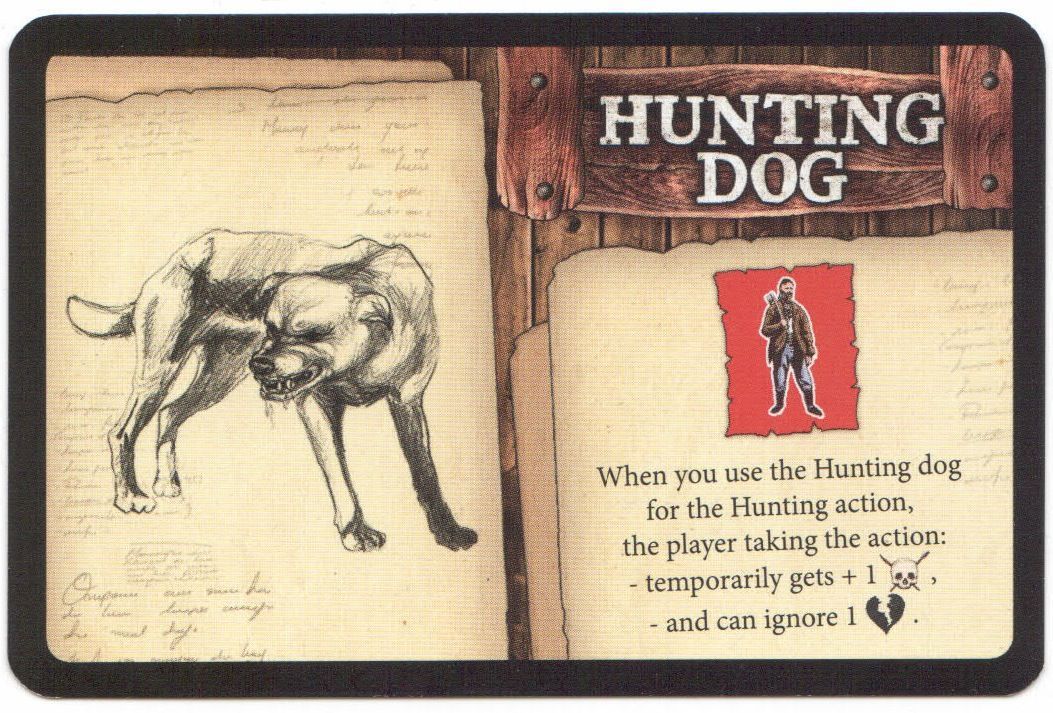 Robinson Crusoe: Adventures on the Cursed Island – Hunting Dog
 Robinson Crusoe: Adventures on the Cursed Island – Mystery Cards I
 Robinson Crusoe: Adventures on the Cursed Island – Mystery Tales
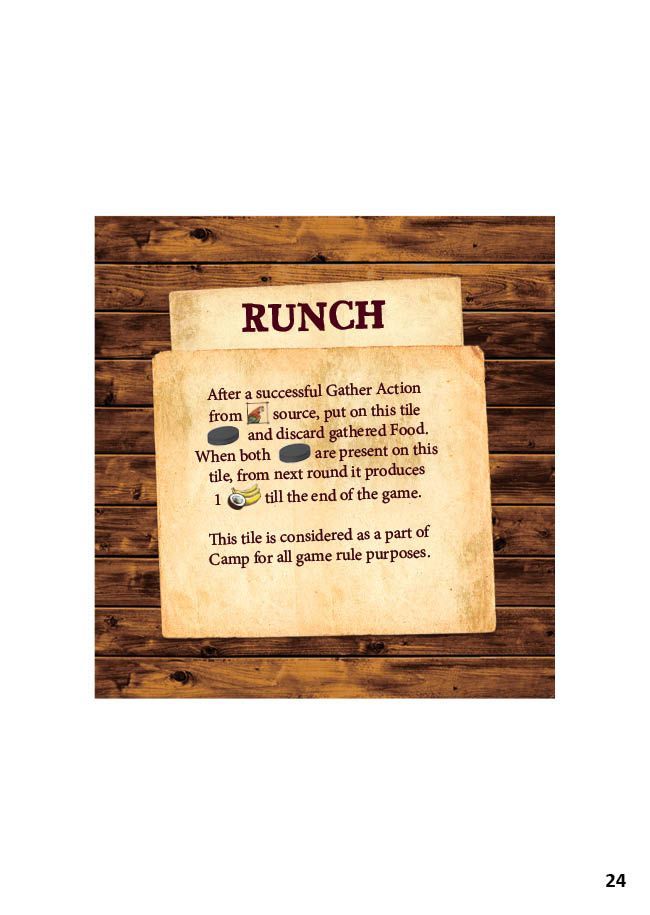 Robinson Crusoe: Adventures on the Cursed Island – Runch Mini Expansion
 Robinson Crusoe: Adventures on the Cursed Island – Sailor & Gamer Pack
 Robinson Crusoe: Adventures on the Cursed Island – Sailor Character
 Robinson Crusoe: Adventures on the Cursed Island – Searching the Beach
 Robinson Crusoe: Adventures on the Cursed Island – Secret Trait Cards
 Robinson Crusoe: Adventures on the Cursed Island – Shelter Upgrades
 Robinson Crusoe: Adventures on the Cursed Island – Spyglass of Illusory Hope
 Robinson Crusoe: Adventures on the Cursed Island – The Book of Adventures
 Robinson Crusoe: Adventures on the Cursed Island – The Book of Adventures (Gamefound Edition)
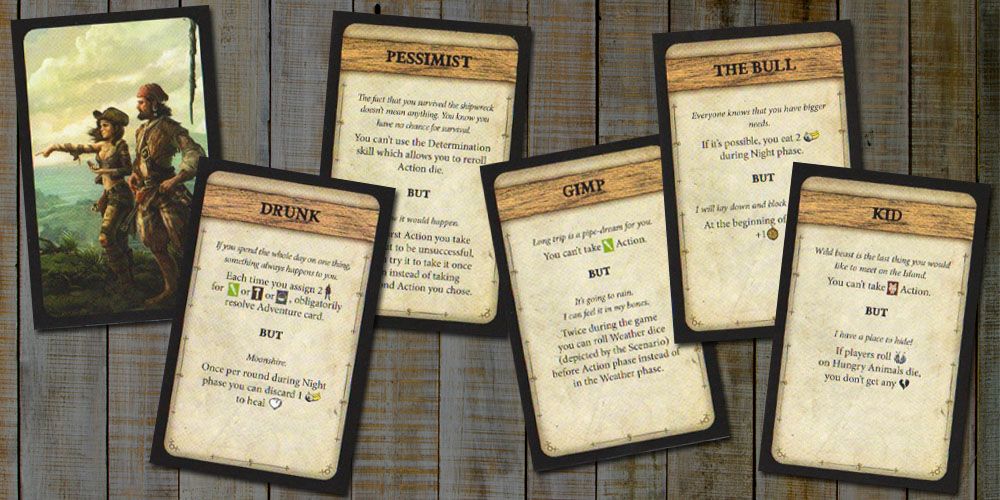 Robinson Crusoe: Adventures on the Cursed Island – Trait Cards I
 Robinson Crusoe: Adventures on the Cursed Island – Trait Cards II
 Robinson Crusoe: Adventures on the Cursed Island – Treasure Chest
 Robinson Crusoe: Adventures on the Cursed Island – Volcano Tile Promo
 Robinson Crusoe: Adventures on the Cursed Island – Voyage of the Beagle (Vol. 1)
Other Games You'll Like
Based on mechanics and theme