
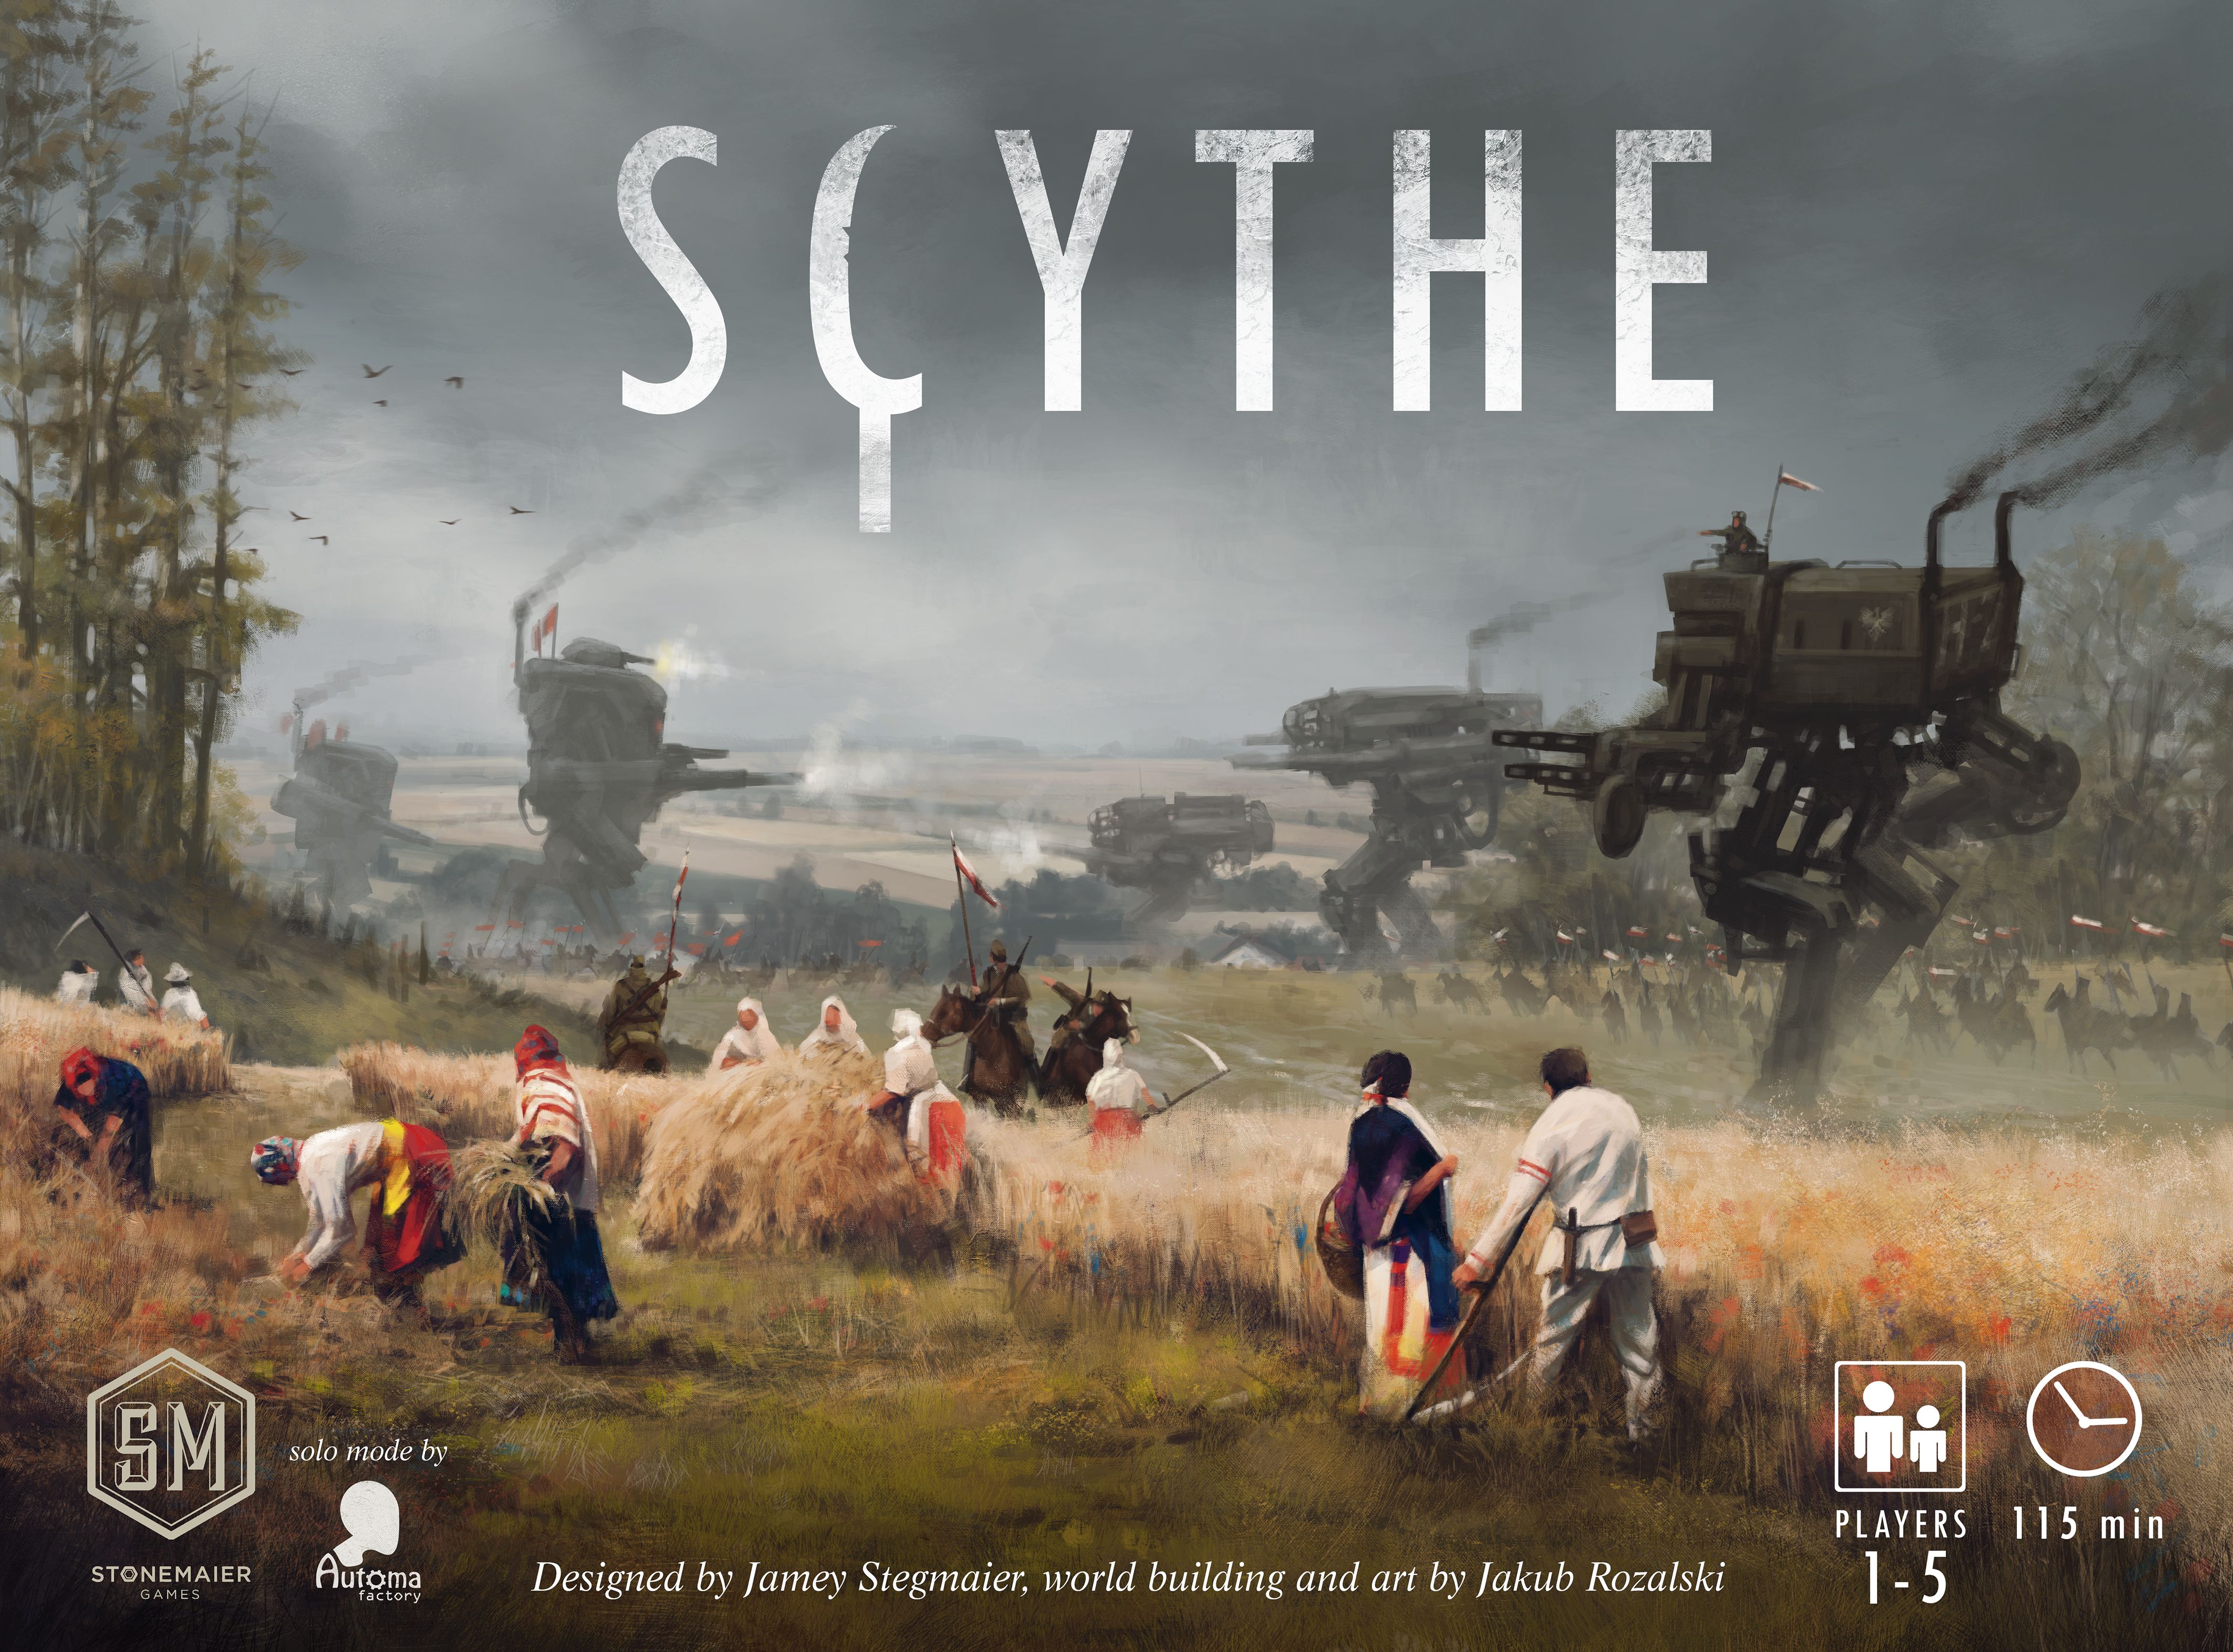
How to Play Scythe
Stonemaier Games, Albi, Angry Lion Games · Board game · 2016
1–5 · best 4
Solo
115 min
Weight 3.5/5
8.8
rating
Ludopedia
8.1
rating
BGG
What do you want to do now
Ask questions about the game
Ask anything about Scythe: rules, setup, components, complexity, price, or whether it fits your group.
Example questions
Continue this chat in the Assistant
Game page
Prices, ratings and our review
Rules manual
Official PDF file
Video: How to Play
Start here, then follow the written guide
Nights Around a Table - How to Play Scythe
Step by step
Objective of the Game
Welcome to the world of Scythe, where you'll lead your faction to glory in a post-WWI Eastern Europa! Your ultimate goal is to become the wealthiest faction by the end of the game. How do you do that? By strategically expanding your influence, gathering resources, engaging in epic combat, and completing objectives. The game ends when any player places their 6th **star token** on the **triumph track**. After that, it's all about counting those hard-earned coins to see who truly rules the land!Preparation (Setup)
Alright, let's get this epic journey started! Here's how to set up your game of Scythe:- First things first, shuffle the yellow **combat cards** and place them on their designated space on the board.
- Next, shuffle the purple **factory cards**. Draw a number of cards equal to the number of players, place them facedown on their space, and return the rest to the box without peeking.
- Shuffle the green **encounter cards** and place them facedown on their space on the board.
- Do the same for the beige **objective cards**, placing them facedown on their spot.
- Place 1 **encounter token** on each territory on the board marked with an encounter symbol.
- Randomly select one of the **structure bonus tiles** and place it faceup at the bottom of the **popularity track**.
- Create a general supply area for all the **resource tokens** (wood, oil, food, and metal), **coins**, and **multiplier tokens** near the board.
- Now for the players! Each player randomly draws 1 **faction mat** and 1 **player mat**. Sit near your faction's home base. The suggested clockwise seating order is Nordic, Rusviet, Crimea, Saxony, Polania.
- Your **faction mat** tells you:
- Where to place your **power token** on the **Power track**.
- How many **combat cards** you draw at the start of the game.
- Place your 6 **star tokens** at the upper left of your **faction mat** near the faction emblem.
- Place your 4 **mech miniatures** on the 4 mech/character abilities on your **faction mat**.
- Your **player mat** indicates:
- Where to place your **popularity token** on the board’s **Popularity track**.
- How many **objective cards** to draw at the start of the game.
- How many **coins** you place on your **faction mat**. Keep your total coin value secret from other players!
- Place your **action token** next to your **player mat**.
- Put your 6 **technology cubes** on the green boxes with a black square in the bottom right corner of your **player mat**.
- Place your 4 **structure tokens** on their corresponding boxes on your **player mat**.
- Place your 4 **recruit tokens** (cylinders) on the circular spaces on the bottom row of your **player mat**.
- Place 6 of your **workers** (meeples) on the rectangles above the **Produce** action on your **player mat**.
- Each player takes a **riverwalk card**.
- Place your **character miniature** on your faction’s **home base**.
- Place 1 **worker** on each of the territories connected to your **home base** by land. Remember, your **home base** is not a territory itself.
- The player with the lowest number on their **player mat** goes first. Play then proceeds clockwise.
The Turn of Play
Scythe turns are straightforward, but the choices you make are anything but! On your turn, you'll follow these steps:- Place your action token: Move your **action token** to a different section of your **player mat** than where it was on your previous turn.
- Take the top-row action (optional): You can choose to perform the **top-row action** in the section you selected.
- Take the bottom-row action (optional): You can also choose to perform the **bottom-row action** in that same section. You can use resources gained from the top-row action to pay for the bottom-row action.
Top-Row Actions Explained
These are your primary ways to interact with the board and gather power.-
MOVE: This is how you get around! Do one of the following:
- Move Units: Move 1 different unit (your **character**, a **worker**, or a **mech**) from one territory to an adjacent territory. Units can pick up and drop off any number of **resource tokens** during a move. **Mechs** can even transport **resource tokens** and **workers** (but not your **character**).
- Units generally can't cross rivers or move onto lakes unless they have a special ability.
- Territories with the tunnel icon are considered adjacent to each other.
- If your **character** or **mech** moves into a territory with an opponent's **workers** (and no other units), your movement ends. Those workers immediately retreat to their **home base**, leaving resources behind. You lose 1 **popularity** for each worker forced to retreat.
- If your **character** and/or **mech** move into a territory with an opponent's **character** and/or **mech**, your movement ends, and **combat** happens!
- If your **character** moves into a territory with an **encounter token**, their movement ends. After any combat, if your character is still there, you resolve the **encounter**.
- Gain Coin: Gain $1 per move icon.
- Move Units: Move 1 different unit (your **character**, a **worker**, or a **mech**) from one territory to an adjacent territory. Units can pick up and drop off any number of **resource tokens** during a move. **Mechs** can even transport **resource tokens** and **workers** (but not your **character**).
-
BOLSTER: Pay $1 and choose one:
- Power: Increase your **power** on the **power track** by 1 per bolster icon.
- Combat Card(s): Draw 1 **combat card** per bolster icon.
-
TRADE: Pay $1 and choose one:
- Resources: Gain any 2 **resource tokens** (wood, oil, food, or metal) and place them on any territories you control that have at least 1 **worker**. You can't do this if all your workers are on your **home base**.
- Popularity: Increase your **popularity** on the **popularity track** by 1 per trade icon.
-
PRODUCE: Pay the cost (shown on exposed red rectangles). Choose a number of different territories you control, and all **workers** on those territories may produce.
- Each **worker** produces 1 **resource token** (based on the terrain type: Mountain = Metal, Farm = Food, Tundra = Oil, Forest = Wood). Place the token on the territory where it was produced.
- If a **worker** produces another **worker**, after paying the cost, take the leftmost worker from the produce action on your **player mat** and place it on a village territory. Once a worker is on the board, it cannot return to your **player mat**.
Bottom-Row Actions Explained
These actions often provide coins and help you upgrade your faction. Many also have a **recruit ongoing bonus** (green circle) that rewards you or adjacent opponents when this action is taken.- UPGRADE: Pay the cost. Take a **technology cube** from any green box on your **player mat** and place it on any empty red box with bracketed borders. This makes your top-row actions cheaper and/or more effective.
- DEPLOY: Pay the cost. Choose any **mech** from your **faction mat** and place it on any territory you control with at least 1 **worker** on it (not on a lake). From now on, your **character** and all your **mechs** gain the ability that was under the **mech miniature** on your **faction mat**.
-
BUILD: Pay the cost. Take any **structure** from your **player mat** and place it on any territory you control with at least 1 **worker** on it. Only 1 structure can be built per territory.
- The benefit revealed by removing a **structure** from your **player mat** is an additional benefit you'll gain when taking the top-row action directly above it in the future.
- Structures include:
- Monument: Whenever you take the **bolster** action, also gain 1 **popularity**.
- Mill: Whenever you take the **produce** action, the mill may produce as if it were 1 **worker**.
- Mine: The mine acts as a tunnel that only you can use for movement.
- Armory: Whenever you take the **trade** action, also gain 1 **power**.
- A territory with your **structure** on it is under your control, even without units. You can build on the **factory territory**, but not on lakes or your **home base**.
-
ENLIST: Pay the cost. Take a **recruit token** from any section on your **player mat**, place it on any open **recruit one-time bonus space** on your **faction mat**, and immediately gain that bonus (e.g., 2 power, 2 coins, 2 popularity, or 2 combat cards).
- In addition to the one-time bonus, each recruit gives you a **recruit ongoing bonus** (the bonus in the green circle). For the rest of the game, whenever you or an adjacent opponent takes the bottom-row action from which the recruit was taken, you gain that specified bonus.
Combat
Combat is triggered when your **character** and/or **mechs** move into a territory occupied by an opponent's **character** and/or **mechs**.- Select Power: Simultaneously and secretly choose a number on your **power dial** (you can't choose more power than you currently have). For each of your units (character and/or mechs) in the combat, you may tuck 1 **combat card** from your hand behind your dial.
- Reveal: Both players reveal their **power dials** and selected **combat cards** simultaneously. The value from **combat cards** is added to the power you spent on your dial.
- Determine Winner: The player with the highest total power wins the combat (attacker wins ties).
- Pay Costs & Resolve:
- Both players pay the power they selected on their dial and discard any **combat cards** used.
- The winner gains (or maintains) control of the territory and all **resource tokens** on it. They also place 1 **star** in the combat space of the **triumph track** (up to a maximum of 2 stars for combat victories, except for Saxony).
- If the winner was the attacker, they lose 1 **popularity** for each **worker** they forced to retreat.
- The loser must retreat all their units (**mechs**, **characters**, and **workers**) from the territory to their **home base**. Any resources they were carrying remain on the territory for the winner.
- If the loser revealed at least 1 power (from dial or cards), they gain 1 **combat card** as they retreat.
Encounters
When your **character** moves into a territory with an **encounter token**, their movement ends. After any combat, if your character is still there, discard the token and resolve the **encounter**. Read the text aloud, choose one of the options, and pay any applicable cost. You must be able to pay costs, but you can gain as much of the benefit as you like.The Factory
If your **character** is on the **Factory** territory for the first time, you get to choose one of the available **factory cards**. This card becomes a 5th section on your **player mat**, giving you new actions and abilities!Objectives
You can reveal a completed **objective card** during your turn, before or after taking actions. If you do, place 1 **star token** on the objective space of the **triumph track** and discard the card (along with your other objective) to the bottom of the objective deck. Most players can only gain 1 star for objectives (Saxony is an exception!).End of Game and Scoring
The game immediately ends when a player places their 6th **star token**.End-Game Scoring
To determine the winner, you'll total your **coins** based on several categories:- Coins Accumulated: Any **coins** you gathered during the game.
- Stars: Gain **coins** for every **star token** you placed on the **triumph track**. The amount depends on your **popularity track** level.
- Territories Controlled: Gain **coins** for every territory you control (including lakes). The **Factory** counts as 3 territories for the player who controls it.
- Resource Tokens: Gain **coins** for every 2 **resource tokens** you control.
- Structure Bonuses: Gain **coins** based on the goals shown on the **structure bonus tile** selected during setup.
- Number of **workers**, **mechs**, and **structures**.
- **Power** level.
- **Popularity** level.
- Number of **resource tokens** controlled.
- Number of territories controlled.
- Number of **star tokens** placed on the board.
Tips for Winning
New to Scythe? Here are a couple of pointers to get you started on the path to victory!- Balance Your Actions: Remember that you must move your **action token** to a different section of your **player mat** each turn (unless you're Rusviet!). This forces you to diversify your actions. Try to plan ahead so you're not stuck needing a specific action but unable to take it. Look at the costs and benefits of both the top and bottom row actions in each section and see how they synergize.
- Utilize Your Faction and Mech Abilities: Each faction and its mechs have unique abilities that can significantly impact your strategy. For example, Nordic's **Swim** ability allows their workers to cross rivers, opening up new production opportunities early. Crimea's **Coercion** lets them spend a **combat card** as a resource, which can be a lifesaver. Don't forget to **Deploy** your **mechs** to unlock their powerful abilities, like Speed for extra movement or Artillery for combat advantage. Understanding and leveraging these unique powers is key to outmaneuvering your opponents.
- Don't Underestimate Resources: While stars win the game, resources are the engine that drives your actions. Producing resources efficiently, especially those needed for your bottom-row actions, will allow you to build structures, deploy mechs, and enlist recruits faster. Controlling territories with valuable resources and protecting your workers is crucial. Remember, you can only spend resources from territories you control!
More videos
More rules explanations from the community
In English
-
 How to Pack the Scythe Legendary Box
-
 Scythe Automa Tutorial Walkthrough
-
 How-to-play Scythe - The Uncomplicated Take
-
 Peaky Boardgamer Episode #74 - Scythe - Full rules explanation (English)
-
 Scythe - Part 2: how to play [JLTEI]
-
 How-to-play Scythe - Solo vs. the Automa
-
 Scythe Strategy with a top-ranked player! - The Mill
-
 Scythe: How to play the Expansions + 2-Player Hardcore Mod | Board Game Shortcut
-
 Factory Cards Explained
-
 SCYTHE STRATEGY GUIDE / With EXPERT Guest FOMOF / PLAY Scythe BETTER / STRATEGY GUIDE For BEGINNERS
-
 Your Turn in Scythe!
Rules manual
Official PDF file
Prefer the Official PDF?
Download the official Scythe rulebook or browse it online with our AI rules assistant.
View Rulebook PDF
Frequently Asked Questions
Quick answers about the rules
What is the objective of Scythe?
Welcome to the world of Scythe, where you'll lead your faction to glory in a post-WWI Eastern Europa! Your ultimate goal is to become the wealthiest faction by the end of the game. How do you do that? By strategically expanding your influence, gathering resources, engaging in epic combat, and completing objectives. The game ends when any player places their 6th **star token** on the **triumph track**. After that, it's all about counting those hard-earned coins to see who truly rules the land!
How do you set up Scythe?
Alright, let's get this epic journey started! Here's how to set up your game of Scythe: First things first, shuffle the yellow **combat cards** and place them on their designated space on the board. Next, shuffle the purple **factory cards**. Draw a number of cards equal to the number of players, place them facedown on their space, and return the rest to the box without peeking. Shuffle the green **encounter cards** and place them facedown on their space on the board. Do the same for the beige…
How do you play Scythe?
Scythe turns are straightforward, but the choices you make are anything but! On your turn, you'll follow these steps: Place your action token: Move your **action token** to a different section of your **player mat** than where it was on your previous turn. Take the top-row action (optional): You can choose to perform the **top-row action** in the section you selected. Take the bottom-row action (optional): You can also choose to perform the **bottom-row action** in that same section. You can…
How does Scythe end, and how do you score?
The game immediately ends when a player places their 6th **star token**. End-Game Scoring To determine the winner, you'll total your **coins** based on several categories: Coins Accumulated: Any **coins** you gathered during the game. Stars: Gain **coins** for every **star token** you placed on the **triumph track**. The amount depends on your **popularity track** level. Territories Controlled: Gain **coins** for every territory you control (including lakes). The **Factory** counts as 3…
What are some tips for winning Scythe?
New to Scythe? Here are a couple of pointers to get you started on the path to victory! Balance Your Actions: Remember that you must move your **action token** to a different section of your **player mat** each turn (unless you're Rusviet!). This forces you to diversify your actions. Try to plan ahead so you're not stuck needing a specific action but unable to take it. Look at the costs and benefits of both the top and bottom row actions in each section and see how they synergize. Utilize Your…
Want to compare prices and check reviews?
Find where to buy at the lowest price, price history, and our full game review.
View Scythe
