How to Play Suburbia
Bézier Games, Arclight Games, Arrakis Games · Board game · 2012What do you want to do now
Ask anything about Suburbia: rules, setup, components, complexity, price, or whether it fits your group.
Video: How to Play
Start here, then follow the written guide
Step by step
Objective of the Game
Welcome, aspiring urban planners! In Suburbia, your goal is to transform a humble town into a bustling metropolis. You'll strategically place building tiles – from residential havens to industrial powerhouses – and special points of interest to grow your borough. The ultimate aim? To have a greater Population than any of your opponents by the end of the game. Get ready to build your way to victory!
Preparation (Setup)
Let's get your urban sprawl started! Here's how to set up your game of Suburbia:
- Place the Population Board on the table where everyone can see it. This board tracks everyone's Population, which are your victory points.
- Each player takes a Borough Board and places it in front of them, leaving space below for future tiles.
- Place your Income Cylinder on the "0 Income" space and your Reputation Cube on the "1 Reputation" space on your Borough Board.
- Each player takes 3 Investment Markers and places them on their Borough Board.
- Each player takes $15 (million) in coins and places them on their Borough Board.
- Place one Suburb tile, one Community Park tile, and one Heavy Factory tile below your Borough Board as shown in the manual. These starting tiles will give you an initial 0 Income and 1 Reputation.
- Each player places one of their Population Squares on the "2 Population" space of the Population Board.
- Place the Stacks Board and the Supply Board on the table. Place the $ coins on the Supply Board.
- Shuffle the A, B, and C tiles into three separate face-down stacks. The number of tiles in each stack depends on the player count:
- 2 players: 15 tiles per stack
- 3 players: 18 tiles per stack
- 4 players: 21 tiles per stack
- Place the A, B, and C stacks on the Stacks Board.
- Place the Real Estate Market board on the table.
- Take the top 7 tiles from the A stack and place them face-up along the bottom edge of the Real Estate Market.
- Place 4 each of the Heavy Factory, Community Park, and Suburb tiles face-up on their designated spaces on the Supply Board. These are your basic tiles.
- Shuffle the Goal tiles face-down. Place 1 random Goal tile per player face-up on the Real Estate Market.
- Each player takes 2 random Goal tiles from the supply, looks at both, and keeps 1 face-down (secretly). Return the other Goal tile to the box.
- Mix the "1 More Round" tile with a certain number of C tiles (6 for 2 players, 9 for 3 players, 12 for 4 players) and place them face-down at the bottom of the C stack. Then, add 4 more C tiles (from the box) to the very bottom of the C stack.
- Randomly choose a player and give them the Start Player Marker.
The Turn of Play
On your turn, you'll perform four actions in order. Think of it as a cycle of planning, earning, growing, and refreshing your options!
-
Take and Place 1 Tile or Place 1 Investment Marker
This is where you expand your borough! You have two choices:
-
Take 1 tile and add it to your borough:
- From the Real Estate Market: Choose any face-up tile. You pay the cost printed above the tile on the Real Estate Market (if any) *plus* the cost printed on the tile itself. Pay the total to the supply. You must place the purchased tile adjacent to any of your existing tiles. Immediately adjust your Income, Reputation, and Population based on the placed tile's effects and any impacted adjacent tiles. Remember, Income and Reputation can't go below -5 or above 15.
- Taking a basic tile: Instead of a tile from the Real Estate Market, you can take a Suburb, Community Park, or Heavy Factory tile from the Supply Board. You only pay the cost printed on the tile. Place it adjacent to your existing tiles, adjusting effects as usual. These basic tiles are limited!
- Taking a tile to use as a lake: Choose a tile from the Real Estate Market, but you *only* pay the cost printed above it on the Real Estate Market (not the tile's cost). Place it face down adjacent to one or more of your tiles. For each adjacent Residential, Industrial, Commercial, or Civic tile, you immediately receive $2 from the supply. If you later place another Residential, Industrial, Commercial, or Civic tile next to this lake, you take another $2.
-
Place 1 Investment Marker on a tile in your borough:
Instead of taking a new tile, you can "invest" in an existing one. Pay the cost of that tile again to the supply. Place one of your Investment Markers on the left corner of any of your tiles (even a lake) that doesn't already have one. An Investment Marker *doubles* the effects of that tile for the rest of the game. Note that placing an Investment Marker does not trigger conditional effects of other adjacent tiles again.
Tile Effect Resolution Order: When a tile is played, effects are resolved in this order:
- Pay the tile cost (tile + Real Estate Market).
- Adjust Income/Reputation/Population based on the tile's immediate effect.
- Adjust based on the tile's conditional effect.
- Adjust based on conditional effects of any adjacent tiles.
- Adjust based on conditional effects of any non-adjacent tiles.
- Check if any other players' tiles cause you to make adjustments.
- Check if your tile impacts other players' boroughs.
-
Take 1 tile and add it to your borough:
-
Collect or Pay Money (based on your Income)
Check your Income Cylinder. If it's on a positive number, collect that amount from the supply. If it's on a negative number, you must pay that amount immediately. If you can't pay, pay what you have and then move your Population Square backwards one space per $1 you still owe. Your Population cannot fall below 0.
-
Adjust Population (based on your Reputation)
Increase or decrease your Population on the Population Board by the amount indicated by your Reputation Cube. If your Population reaches 0, any further backward movements cost $1 per Population. If you can't pay, you stay at 0.
Red Lines: As your borough grows, you'll cross Red Lines on the Population track. When your Population crosses a Red Line (moving forward), immediately reduce your Income and Reputation by 1 for *each* Red Line you pass. If your Population dips *below* a Red Line (moving backward), immediately move your Income Cylinder and Reputation Cube forward 1 space for *each* Red Line you pass.
-
Add a New Tile to the Real Estate Market
If you placed a basic tile or an Investment Marker this turn, you must discard one face-up tile from the Real Estate Market (paying any cost shown above it) to the discard pile. Otherwise, the tile you just bought is already gone.
Slide the remaining tiles on the Real Estate Market to the right to fill any gaps. Then, flip over a new tile from the current stack (starting with Stack A, then B, then C) and place it at the far left of the Real Estate Market.
End of Game and Scoring
The game doesn't just stop! Here's how it wraps up and how we determine the winner:
Game End
The game concludes when the "1 More Round" tile is flipped over from the C stack. The current round is completed, and then *one more full round* is played, starting with the Start Player. This ensures everyone has taken the same number of turns.
Final Scoring
After the last player finishes their turn, it's time for final scoring. Red Lines are ignored during final scoring, so no Income or Reputation penalties for big population boosts here!
-
Award Goals:
- First, award the public Goals displayed on the Real Estate Market. The Population bonus for each public goal is awarded to a single player who achieves it. If two or more players tie for a public goal, no one gets the bonus.
- Then, in turn order, each player reveals their secret Goal tile. If a player has singularly achieved their secret goal (without tying another player for it), they are awarded that goal's Population bonus. Only the owner of a secret goal can score it.
-
Convert Money to Population:
Each player converts their remaining money into Population. For every $5 you have, you gain 1 Population. This is rounded down (you keep any leftover money, which acts as a tiebreaker).
Winning the Game
The player with the highest total Population on the Population Board wins!
In case of a tie, here's how to break it:
- The tied player with the highest Reputation wins.
- If still tied, the tied player with the highest Income wins.
- If still tied, the tied player with the most remaining money wins.
- If there's still a tie (at this point, you're probably all good friends!), the tied players play another game of Suburbia to determine the winner of the first game.
Tips for Winning
Want to build the best borough? Keep these strategies in mind:
- Focus on Income Early: A strong Income in the first few turns can be worth a lot of money by the end of the game (potentially $15-$18!). More money means more tiles and more options.
- Mind the Red Lines: While population is your goal, growing too fast can be detrimental. Be careful not to cross too many Red Lines on the Population track before you've established a solid Income and Reputation infrastructure. Those penalties can really slow you down!
- Goals are Golden: Always keep both the public Goals and your secret Goal in mind. These can provide significant Population bonuses at the end of the game, often making the difference between winning and losing.
- Strategic Discarding: When you need to discard a tile from the Real Estate Market, don't just pick randomly! Look at what your opponents (especially the player to your left, who will get the next pick) might need. It might be worth paying a little extra to discard a tile that would be perfect for them, denying them a powerful play.
More videos
More rules explanations from the community
In English
-
 Learn to Play Suburbia in 6 Minutes - The Rules Girl
-
 Learn the Basics of Suburbia in Just Three Minutes
-
 Suburbia ● Make Your Move (Tutorial)
-
 Suburbia - How To Play
-
 Suburbia Instructional
-
 How to Play "Suburbia" - The Dragon Table: Episode 16
-
 Suburbia Overview - Spiel 2012 | BoardGameGeek Booth
-
 Suburbia Strategy Primer
-
 How to Play Suburbia - Roll For Crit
-
 What's new in Suburbia 2nd Edition?!
-
 Dad's Gaming Addiction - Suburbia (Episode 115)
Rules manual
Official PDF file
Frequently Asked Questions
Quick answers about the rules
What is the objective of Suburbia?
How do you set up Suburbia?
How do you play Suburbia?
How does Suburbia end, and how do you score?
What are some tips for winning Suburbia?
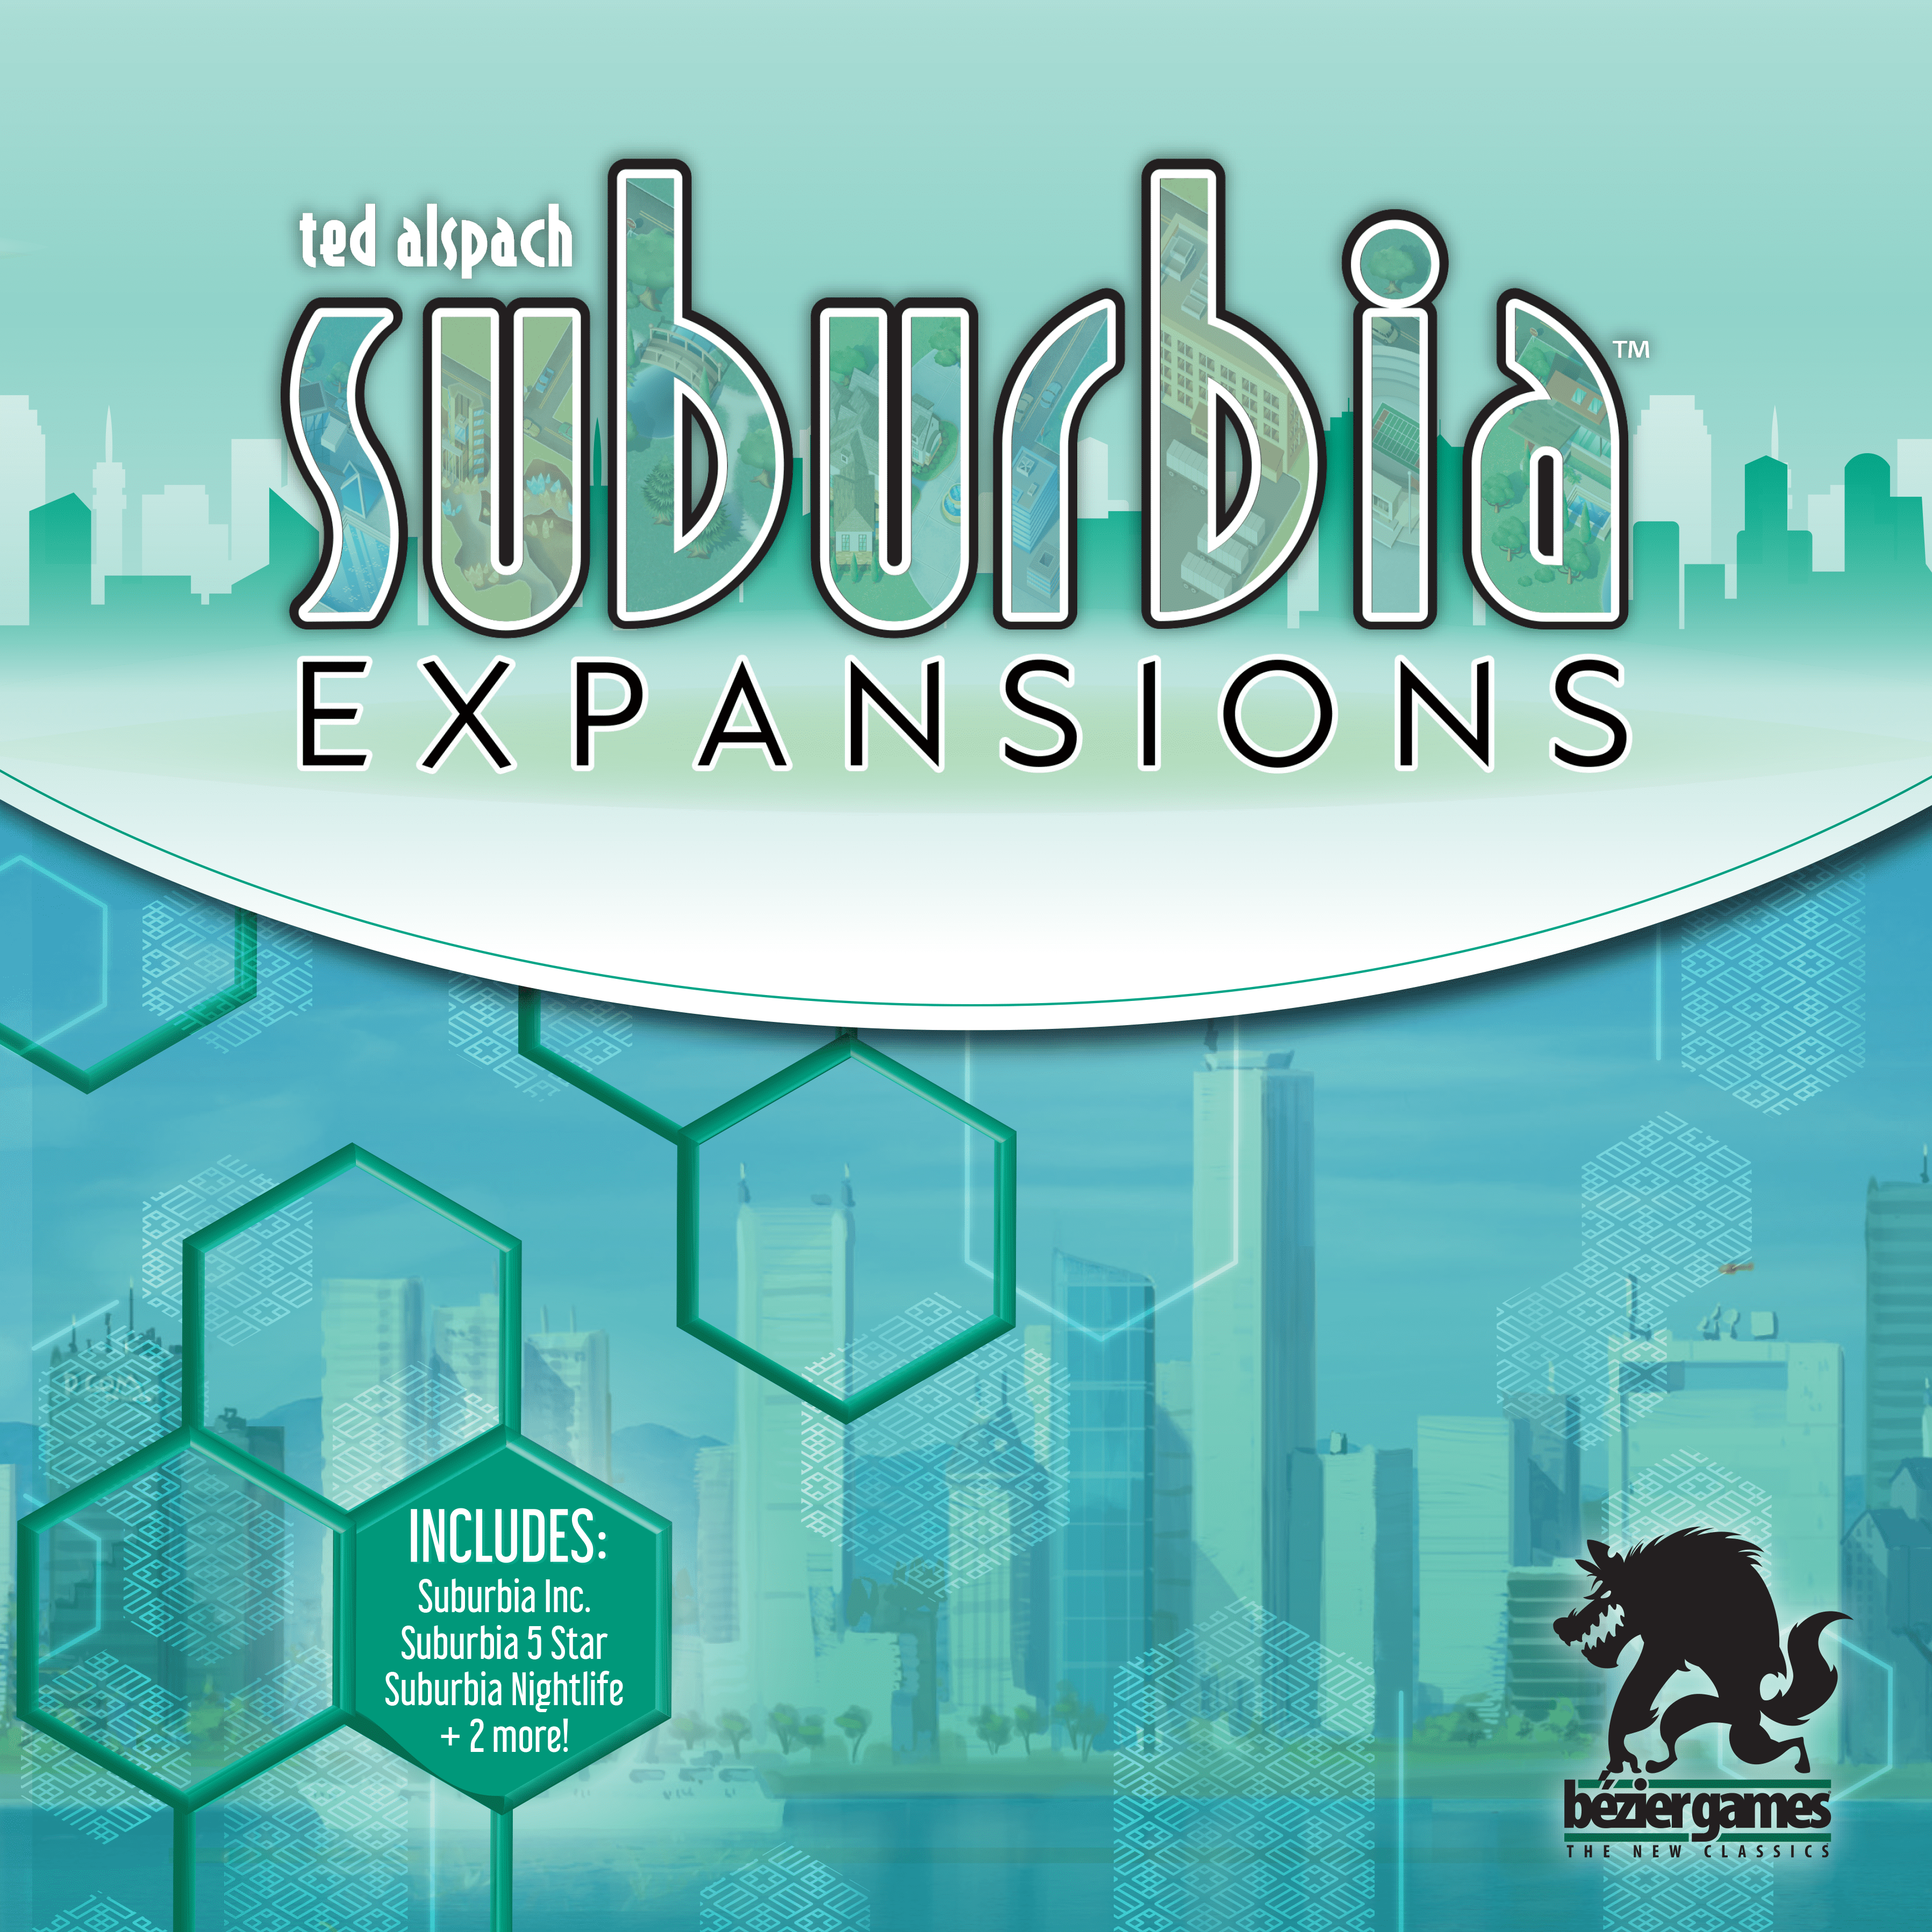
Expansions
Published additional content


Other Games You'll Like
Based on mechanics and theme