
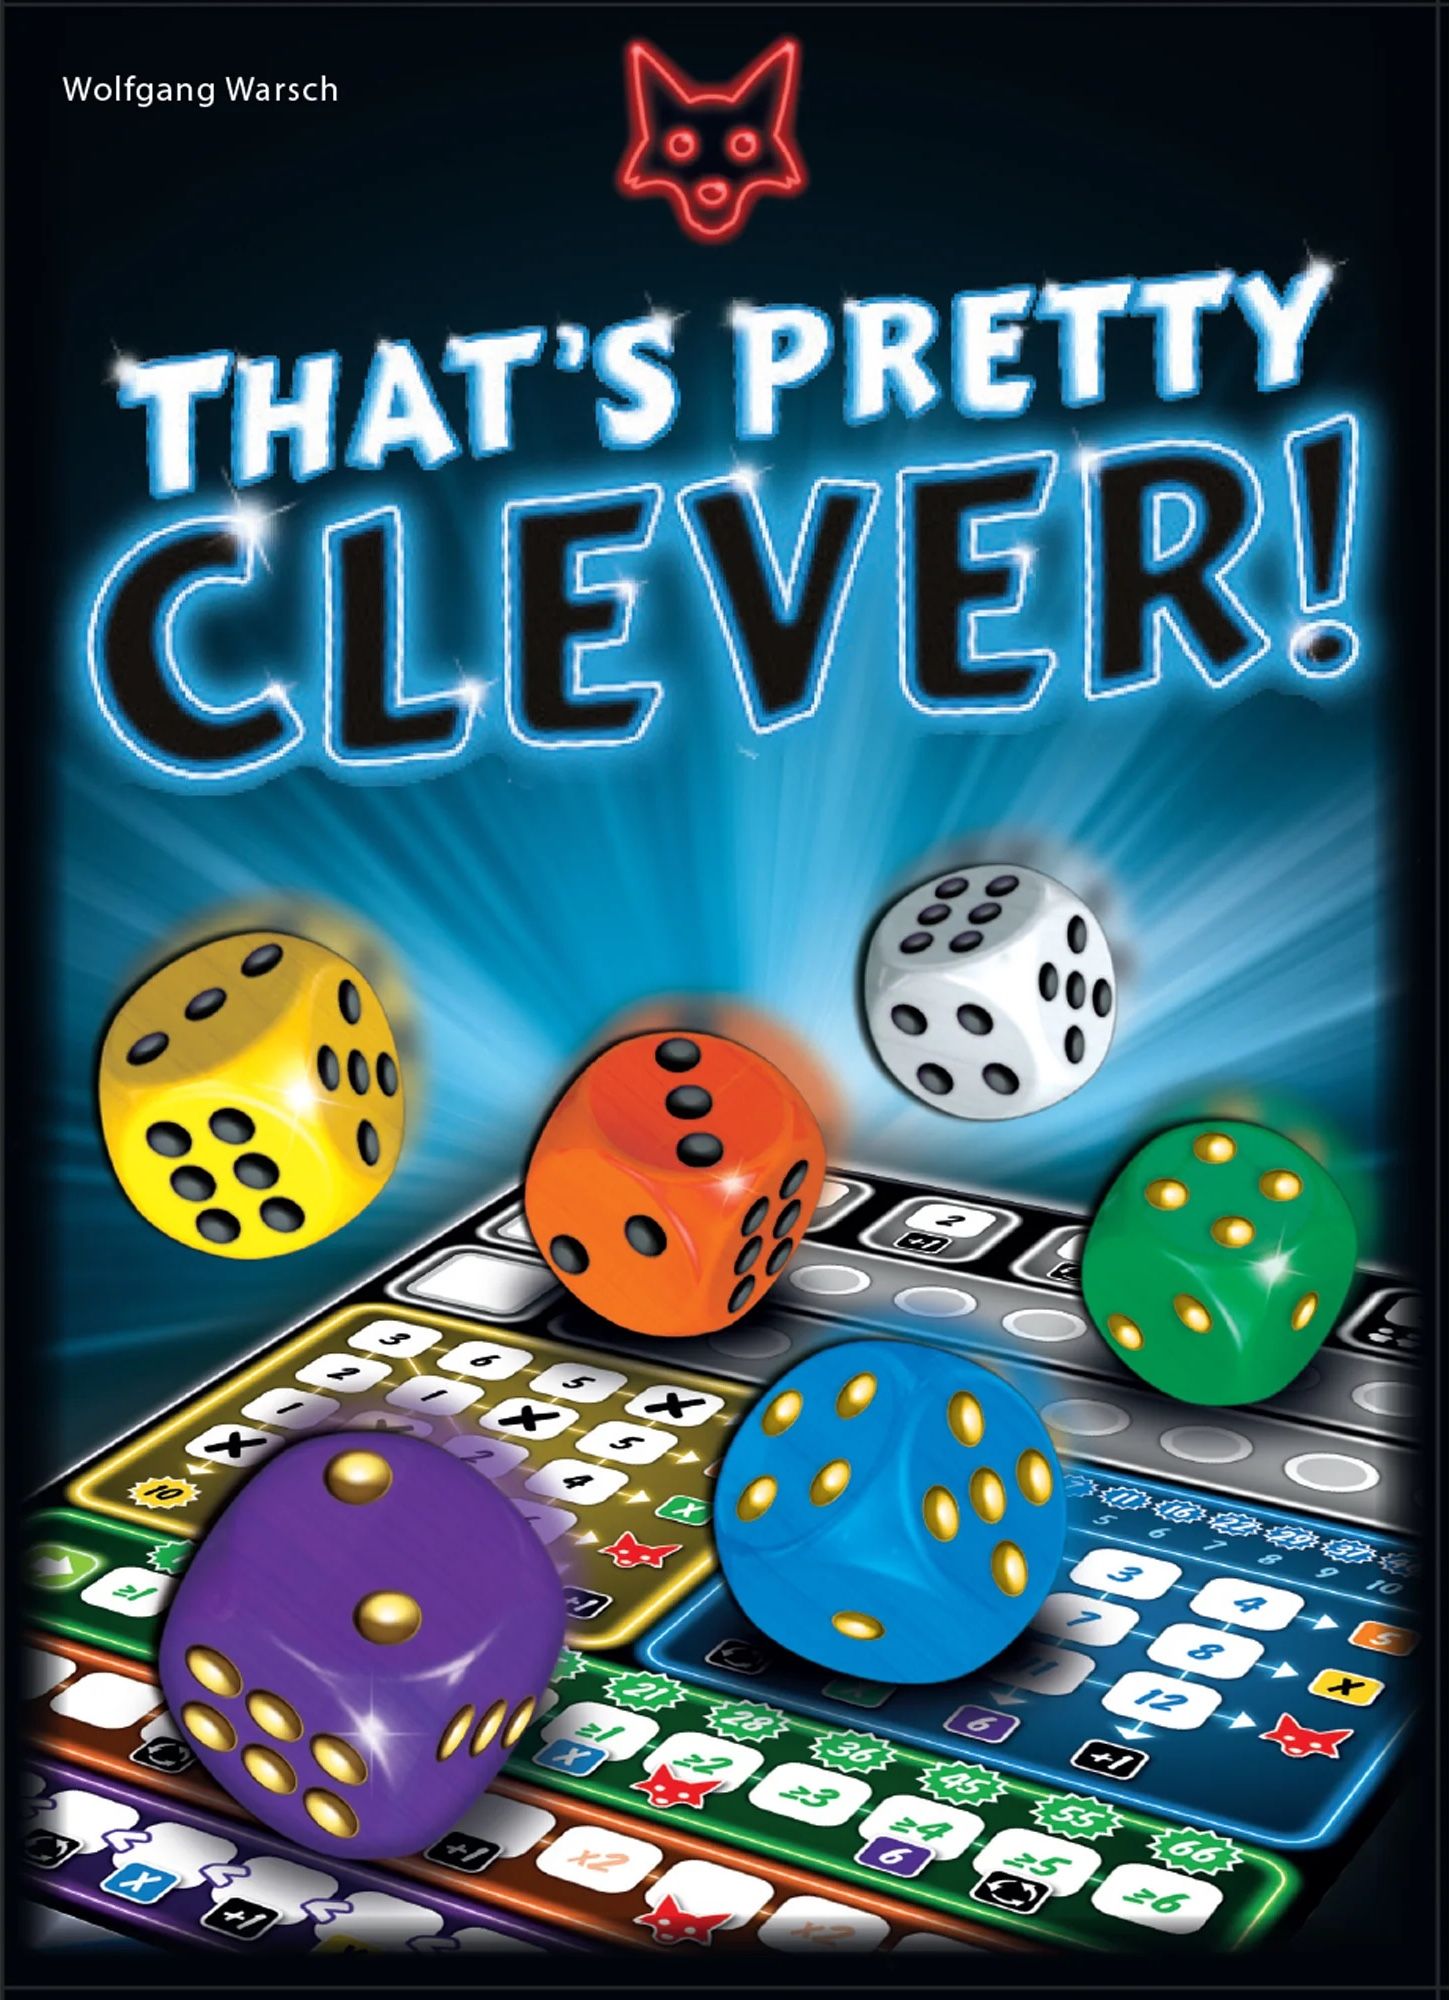
That's Pretty Clever!
Schmidt Spiele, 999 Games, Arclight Games · Board game · 2018Objective of the Game
Welcome, clever strategists, to the world of Ganz Schön Clever: Challenge I! In this brilliant dice game by Wolfgang Warsch, your goal is simple yet deeply engaging: outsmart your opponents by cleverly choosing and marking dice on your personal Score sheet to create fantastic chain-scoring opportunities and rack up the most points!
Every die you pick is important, but so are the ones you don't pick, as they become available for other players, keeping everyone engaged throughout the game. The player with the highest score at the end of all rounds wins!
Preparation (Setup)
Getting ready to roll is quick and easy:
- Each player receives one Felt-tip pen and one Score sheet.
- Place the six Dice in the center of the table, ready for action.
- Randomly choose a starting player. This player picks up the 6 dice.
- And that's it! You're ready to dive into the cleverness!
The Turn of Play
A game of Ganz Schön Clever: Challenge I unfolds over several rounds: four rounds for 4 players, five for 3 players, and six for 1 or 2 players. Each round, every player gets a chance to be the active player once.
Start of Each Round Bonus
At the beginning of the first four rounds, each player receives a special bonus shown on the Round track of their Score sheet. In round 4, players get to choose one of two available options!
Active Player's Turn
When it's your turn as the active player, here's how it goes down:
- First Roll: You take all 6 dice and roll them once.
- Choose a Die: From the rolled dice, you choose one die. Place it onto one of the three Dice fields (top left of your Score sheet) without changing its value.
- Mark Your Score Sheet: Using the value and color of your chosen die, you must mark a corresponding number in the matching colored area on your Score sheet. The white die is wild and can be used as any other color.
- Silver Platter: Now, here's the clever twist! You must place all dice that show a lower value than your chosen die onto the Silver Platter (the printed area in the box). These dice are no longer available for you, the active player (unless you use an "Additional Dice" action later). If you picked the lowest value die, no dice go to the Silver Platter.
- Second Roll: With the remaining dice, you roll a second time.
- Choose and Mark Again: Just like before, choose a die, place it on a free Dice field, and mark its value in the matching color field on your Score sheet.
- Silver Platter (Again): All dice showing a lower value than this second chosen die are again placed onto the Silver Platter.
- Third Roll: You then roll a third time with any remaining dice.
- Final Choice and Mark: Choose a die, place it on your last free Dice field, and mark its value.
- All Remaining Dice to Silver Platter: After your third choice, ALL remaining dice not on your Score sheet are placed onto the Silver Platter.
Important Note: If you choose a high-value die early on, you might run out of dice for subsequent rolls. If this happens, you simply perform fewer than three rolls.
Passive Players' Turn
Once the active player has placed 3 dice on their Score sheet (or can no longer reroll), it's time for the other players – the passive players – to shine!
- All passive players may now choose one die from the Silver Platter.
- Players choose simultaneously. Multiple passive players can choose the same die.
- Each passive player marks a space on their Score sheet using their chosen die.
- Special Case: If a passive player cannot use any die from the Silver Platter, they may choose one die from the active player's Score sheet instead. You cannot voluntarily refuse a die from the Silver Platter to do this.
After all passive players have made their choices, the player to the left of the current active player becomes the new active player, takes all six dice, and starts a new turn.
A round ends after each player has been the active player once.
Understanding Your Score Sheet Areas
Your Score sheet has five colored areas, each with unique scoring rules:
- Yellow Area: Mark off the value of your chosen yellow die. You can mark spaces in any order. Crossing out a full column lets you circle the starred number at the bottom for points.
- Blue Area: When choosing a blue die, you must add its value to the current value of the white die (even if the white die is on a Dice field or the Silver Platter) to get a combined value. Mark this combined value. The same applies if you use the white die as a wild blue die. You cannot choose to use only one die's value. Spaces can be completed in any order.
- Green Area: You must start at the leftmost space and proceed to the right, without skipping spaces. For each space, you must meet the minimum required value to mark it. The white number in the star above the last selected field indicates points scored at the end of the game.
- Orange Area: Start at the leftmost space and proceed to the right. Record the value of the selected orange die. Some spaces have multipliers (e.g., "x2"); multiply the die value by the multiplier and record that number.
- Purple Area: Start at the leftmost space and proceed to the right. Each number entered must be higher than the previous number. The exception: after entering a 6, any number may come next (e.g., 2 < 5 < 6 < 3 is acceptable).
White Die: This die is wild! It can be used as a yellow, green, orange, or purple die, or combined with the blue die for the blue area.
Bonuses and Actions
There are two types of special abilities you can unlock:
- Bonuses: These are listed at the end of rows/columns or directly below certain fields.
- X-bonus: When you complete a row, column, or field with an X-bonus, immediately mark a box in the corresponding color area. This can be any number in yellow or blue, or the next field in green. The black X-bonus from Round 4 can fill a yellow, blue, or green field.
- Number Bonus (e.g., Purple 3 or Orange 6): Immediately place this number in your next available space in the corresponding area. This cannot be saved. The black 6-bonus from Round 4 can fill a 6 in purple or orange.
- Bonuses can chain! If a bonus awards another bonus, execute it immediately.
- Actions: These are unlocked during the game and can be saved for later turns or rounds. When unlocked, circle the next space in the action row. When used, cross out a circled space. You can perform multiple actions in a turn if you have them available.
- Reroll Action: Only for the active player. Spend this to reroll all dice you just threw (not dice on your sheet or the Silver Platter). All rolled dice must be rerolled.
- Extra Die Action: Can only be performed at the end of a round (after the active player has assigned all dice or a passive player has chosen a die). With this, you can choose any of the six dice, even one the active player took or one you just used! You can use multiple "Extra Die" actions in a round, but each individual die can only be chosen once per round this way.
End of Game and Scoring
The game concludes after the last active player has finished their turn in the final round, and all passive players have taken their actions for that round. Any remaining Reroll actions expire, but players can still use Extra Die actions.
Now, it's time to tally those points!
- Yellow Area: Sum the points from all circled starred numbers at the bottom of completed columns.
- Blue Area: Count how many marks you've made. The point scale at the top of the area indicates your score for this section.
- Green Area: The white number in the star above your last marked field is your score for this section.
- Orange Area: Sum all recorded numbers from the orange row.
- Purple Area: Sum all recorded numbers from the purple row.
- Foxes: Each activated Fox scores points equal to your lowest-scoring colored area. For example, if your lowest score is 5 points in orange, each Fox is worth 5 points. If you score 0 points in an area, Foxes are worthless!
The player with the highest total score wins!
Tips for Winning
Want to be truly clever? Here are a couple of pointers to get you started:
- Chain Your Bonuses: Keep an eye out for how marking one field can trigger a bonus that lets you mark another, potentially leading to a cascade of points and actions! Planning these chains is key to high scores.
- Don't Underestimate the Silver Platter: As the active player, choosing a high-value die might seem great for your personal score, but remember that all lower-value dice go to the Silver Platter for your opponents. Sometimes, a slightly lower value for yourself can deny your opponents excellent options, or even set you up for a better passive turn later.
- Utilize Actions Wisely: Unlike bonuses, actions can be saved. Don't feel pressured to use a "Reroll" or "Extra Die" action immediately. Saving them for a crucial moment, like when you desperately need a specific die to complete a valuable row or trigger a big bonus, can make all the difference.
Now go forth, roll those dice, and be truly clever!
In English
-
 Solo Playthrough and Tutorial for Ganz Schon Clever
-
 Ganz Schön Clever Board Game – How to Play & Setup (full concise rule, including solo rules!)
-
 Ganz schön clever: Quick Tutorial and Playthrough
-
 Score up to 334 playing Ganz Schön Clever - I Heart Board Games
-
 How to Play & Solo Playthrough - Ganz Schon Clever (That's Pretty Clever)
-
 Ganz Schon Clever - Get to the Table! - How to Play
-
 Ganz Schon Clever App: How to Play & Playthrough - MeepleTown
-
 Steve & Tiffany Learn & Play: Ganz Schon Clever
-
 How to Play That's Pretty Clever
-
 That's Pretty Clever: How to Play
-
 Board Game 101 (EP154) Très Futé ! - Règles et critique
-
 How to score 300+ with a demonstration

