
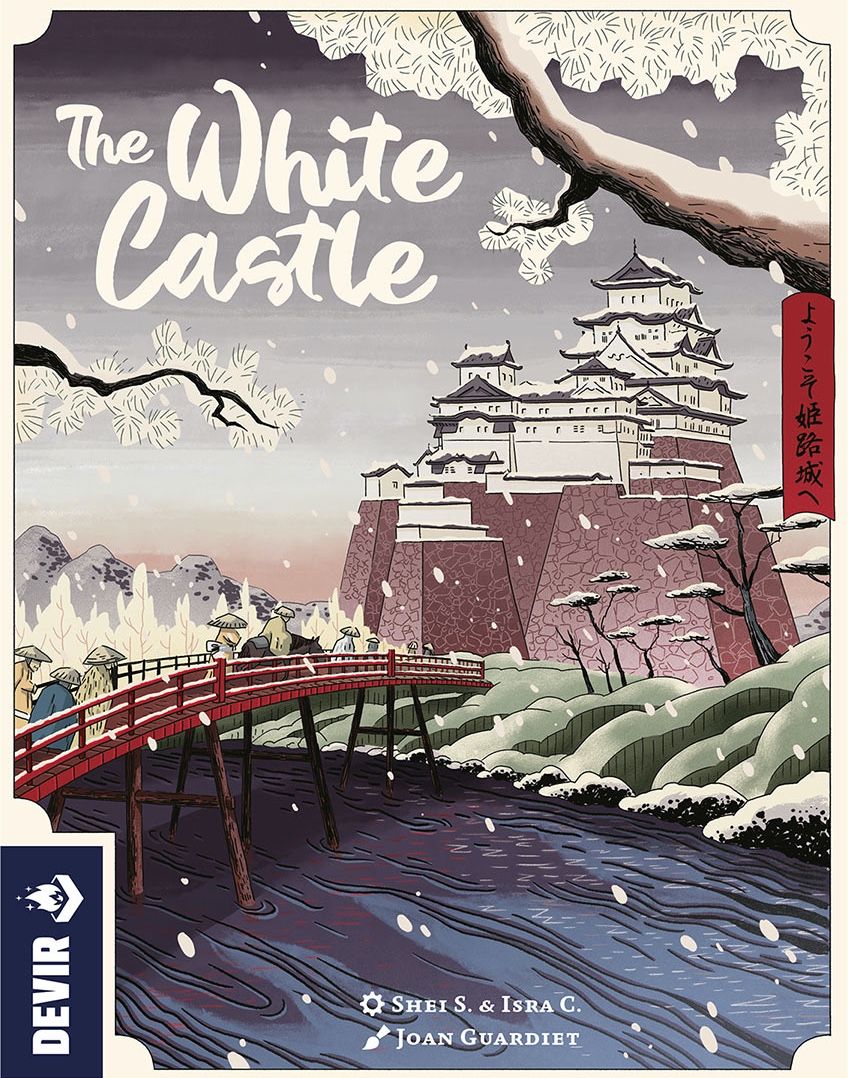
How to Play The White Castle
Devir, 999 Games, Banana Games · Board game · 2023
1–4 · best 3
Solo
80 min
Weight 3.1/5
8.7
rating
Ludopedia
8.0
rating
BGG
What do you want to do now
Ask questions about the game
Ask anything about The White Castle: rules, setup, components, complexity, price, or whether it fits your group.
Example questions
Continue this chat in the Assistant
Game page
Prices, ratings and our review
Rules manual
Official PDF file
Video: How to Play
Start here, then follow the written guide
The White Castle - Playthrough With Friends
Step by step
Objective of the Game
Welcome to the court of the White Heron! In *The White Castle*, you'll step into the shoes of a minor clan leader in 1761 Japan, vying for influence within the magnificent Himeji Castle. Your goal is to strategically place your family members—**Warriors**, **Gardeners**, and **Courtiers**—into various roles, from political advisors to humble landscape workers, to curry favor with the powerful Sakai clan. The player who best manages their **resources** and family placements will earn the most **Clan Points** by the end of the game, securing their clan's future and claiming victory!Preparation (Setup)
Let's get this castle ready for some action! Here’s how to set up your game of *The White Castle*:- Main Board Placement: Place the **main board** where everyone can easily reach it.
- Castle Cards:
- If playing with 2 players, remove **Steward** and **Diplomat cards** marked with a ♦.
- Shuffle the **Steward** (ochre) and **Diplomat** (indigo) decks separately.
- Place 1 card face up in each space of their corresponding levels on the board.
- Place the remaining decks in their designated spaces on the main board.
- Important: If all cards in the castle show the exact same dark-background action, reshuffle those decks and repeat this step.
- Daimyo Card: Draw 1 **Daimyo card** (grey deck) and place it on the last level. Return the rest to the box.
- Die Tiles:
- Mix all **Die tiles** face up (showing dice icons).
- Randomly take one of each color and place them in the 3 spaces marked ♦.
- Fill the remaining rooms by randomly placing tiles in numerical order. Each room must have at least 2 different die colors.
- For positions 6 to 10, if all tiles in a room would be the same color, place the last tile in the next available space.
- Place tiles in the **Well** with the dice side face down.
- Round Marker: Place the **Round marker** on the first space of its track.
- Common Reserve: Create a common reserve of **coins**, **Daimyo Seals**, and the four **+40/+80 Clan Point tiles** to one side of the board.
- Bridges & Dice:
- Place the 3 **Bridges** in their river spaces.
- Take 3/4/5 **dice** of each color for 2/3/4 players, respectively. Return extra dice to the box.
- Roll all dice of each color and place them on their respective **Bridges** in ascending order from left to right (lowest on the left, highest on the right).
- Garden Cards:
- Shuffle the 2 **Garden card** decks separately.
- Randomly draw 1 **Plant Garden card** and 1 **Stone Garden card** and place them below each **Bridge**. Return the rest to the box.
- Training Yards: Place 4 randomly selected **Yard tiles** in their corresponding spaces on the board, indicated side up. Return the rest to the box.
- Player Domains: Each player takes:
- 1 **personal Domain board**.
- 15 **Clan members** (5 **Courtiers**, 5 **Gardeners**, 5 **Warriors**), placing them in their appropriate spaces.
- 3 **Resource cubes** (for **Food**, **Iron**, and **Mother-of-Pearl**), placing them on the 0 space for each resource.
- Their **Fan token** next to the **Clan Points track**.
- Turn Order:
- Place each player's **Influence marker** on top of the **Heron** next to the **Passage of Time track** in random order.
- Place the **Heron tokens** on the **Turn Order track** in the same order (bottom of the stack plays last, top plays first).
- Starting Cards:
- Draw and place face up as many **Starting Resource cards** (orange deck) as players + 1.
- Place a random **Starting Action card** (yellow deck) below each **Starting Resource card** to form pairs.
- In reverse turn order, each player chooses 1 pair: The **Action card** goes on their **Player's Domain board**, and they gain the **Resource** from their **Starting Resource card**, placing it below their **Domain board** in the **Lantern Area**. If the **Resource card** grants a **Decree card**, take it and place it in your **Lantern Area** with the **Resource card**.
The Turn of Play
A game of *The White Castle* unfolds over 3 rounds, with each player taking 3 turns per round. The player at the top of the **Turn Order track** goes first.A Player's Turn
On your turn, you'll perform these steps:- Choose a Die: Select 1 **die** from either of the 2 ends of any **Bridge**. Dice in the middle of a bridge are not available.
- If you take a die from the center, the closest die to the newly vacant spot slides into it.
- Place the Die: Place the chosen **die** in any space on the **main board** or your **Domain board** that shows a die icon. This die will cover another value (either printed or another die).
- If your placed die's value is *greater*, gain the difference in **coins**.
- If your placed die's value is *less*, pay the difference in **coins**.
- If the values are the *same*, no coins are gained or paid.
- Stacking Dice: Only a single die can be stacked on top of another, and only on spaces of the **main board**. In 1- or 2-player games, no dice can be stacked.
- Gain Lantern Reward (Optional): If you chose the die from the *left* side of the Bridge, you gain the **Lantern Reward** from your personal domain.
- Perform Actions: Carry out the action(s) for the space where you placed the die, in any order you choose.
Understanding Actions & Areas
You'll be placing dice in different areas, each with unique actions:The Castle
The heart of Himeji Castle! Dice can be placed in any of the 5 rooms (3 on the Stewards' floor, 2 on the Diplomats' floor).- Actions here are determined by the color of the die you place. You perform actions shown on the card next to the **Die tile(s)** matching your die.
- On the Stewards' floor, you can perform up to 2 actions on the same card if your die color appears twice in that room.
- If no actions are available for a die color, you can't place that color die in that room.
Outside the Walls
These 2 spaces are flexible—any color die can be placed here. When you place a die **Outside the Walls**, you can perform 1 of the 2 actions indicated by that space. The game's three main actions are available here: **Gardener**, **Courtier**, and **Warrior**.The Well
A mysterious spot! The value of this space is always 1, and there's no limit to the number of dice that can be placed here.- If you place a die with a value greater than 1, you gain the difference in **coins** (beyond the 1 value), plus the benefits indicated on the 2 tiles in the Well.
- You always gain 1 **Daimyo Seal** when placing a die here.
The Personal Domains
Your clan's private council! Each die color is assigned to a specific line on your **Domain board**:- Coral die: **Courtier's** line.
- Black die: **Gardener's** line.
- White die: **Warrior's** line.
- Gain Visible Rewards: Collect any **Resources**, **Daimyo Seals**, **coins**, and/or **Lantern Rewards** shown in the line where you placed the die.
- Gain Action Card Reward: Perform the action shown on the card corresponding to that line.
Sending Clan Members to Himeji
These are the core actions you'll take to gain influence:- Warrior: Take the leftmost **Warrior** from your domain and assign it to any **Training Yard**. Pay the **Iron** cost for that yard. Then, perform the action(s) indicated on that **Yard tile**.
- Gardener: Take the leftmost **Gardener** from your domain and assign it to a **Garden card** that doesn't already have one of your Gardeners. Pay the **Food** cost for that card. Then, perform the indicated action on the card.
- Courtier: You can perform up to 2 different actions (one or both, once each):
- Request an audience: Take the leftmost **Courtier** from your domain and place it in the **Gates of the Castle** space by paying 2 **coins**.
- Social Climbing: Take one of your **Courtiers** already in the Castle (not at the Gate) and pay 2 or 5 **Mother-of-Pearl** to move up 1 or 2 levels.
- Courtiers at the Gate can move to any first-floor room.
- First-floor Courtiers can move to any second-floor room.
- Second-floor Courtiers can move to the Daimyo's room (third floor).
- Move the **Action card** from your **Domain board** to your **Lantern Area** (face down, slightly offset).
- Take the card from the room your Courtier reached and place it on your **Domain board**.
- Perform one of the light-background actions on that new card.
- Replace the card on the main board from its deck (if possible).
- Gain the **Lantern Reward**.
- Place the **Courtier** in an available position on the **Daimyo's favor card** and gain the benefit. If no spaces are left, the Courtier simply stays there.
Important Concepts
- Daimyo Seals: These represent the Regent's favor. You can store up to 5. Use them to move past **Checkpoints** on the **Passage of Time track** or for certain actions. You can also exchange 2 **Daimyo Seals** for 1 **Resource** of your choice, or 1 **Daimyo Seal** for 1 **coin**, as many times as you wish.
- Lantern Rewards: When you activate a **Lantern icon**, you receive the benefits of all visible icons in your **Lantern Area**, in any order. More cards in this area mean more rewards!
- Passage of Time Track: This track shows your clan's influence. Move your **Influence marker** forward when gaining influence. If you land on another player's token, stack yours on top. To move past **Checkpoints** (dividing seasons), you must pay 1, 2, or 3 **Daimyo Seals**. Your position here also grants end-game points.
End of the Round
A round concludes when only 3 **dice** remain in total on all **Bridges**.- New Order of Turns: The player whose **Influence marker** is farthest along the **Passage of Time track** goes first next round. In case of a tie, the player whose token is on top goes first. Adjust the **Heron tokens** accordingly.
- Gardens Activation (Rounds 1 & 2 only): If a **Bridge** still has at least 1 die on it, **Gardeners** are activated. Players use each action on **Garden cards** where they have Gardeners once each, in any order they prefer.
- Prepare for Next Round (Rounds 1 & 2 only):
- Collect all dice of each color, roll them, and place them back on the **Bridges** in ascending order (left to right), just like setup.
- Move the **Round marker** forward 1 space.
End of Game and Scoring
The game concludes at the end of the third round, after establishing the new turn order. It's time to tally up those **Clan Points**!- Score Remaining Resources:
- For every 5 **coins** and/or **Daimyo Seals** you have, gain 1 **Clan Point** (rounded down).
- For each **Resource** (Food, Iron, Mother-of-Pearl) you have between 3 and 6 units remaining, gain 1 **Clan Point**. If you have 7 units of a **Resource**, gain 2 **Clan Points**.
- Score the Passage of Time:
- If your **Influence marker** reached the second season, gain 3 **Clan Points**.
- If it reached the third season, gain 6 **Clan Points**.
- If it reached the fourth season, gain the score indicated on the space your token occupies (between 10 and 15 **Clan Points**).
- Score Clan Members:
- In the Castle: Each **Courtier** in the Castle grants **Clan Points** based on their location:
- 1 **Clan Point** at the Gate.
- 3 **Clan Points** on the first floor (Stewards).
- 6 **Clan Points** on the second floor (Diplomats).
- 10 **Clan Points** on the third floor (Daimyo).
- In the Training Yards: Multiply the total value of your **Warriors** in a **Training Yard** by the number of **Courtiers** you have *inside* the Castle (not at the Gate). Each Warrior's value is indicated in the Yard they occupy.
- In the Gardens: Each **Gardener** grants **Clan Points** equal to the number shown on the card they are on.
- In the Castle: Each **Courtier** in the Castle grants **Clan Points** based on their location:
Tips for Winning
New to the castle? Here are a few pointers to help you on your path to influence:- Resource Management is Key: Pay close attention to your **Food**, **Iron**, and **Mother-of-Pearl**. Each clan member action has a specific resource cost, and running out can stall your plans. Remember you can exchange **Daimyo Seals** for resources in a pinch!
- Balance Your Clan Members: Don't put all your eggs in one basket! Spreading your **Warriors**, **Gardeners**, and **Courtiers** across different areas can maximize your end-game scoring opportunities. For example, **Warriors** score better with more **Courtiers** in the castle, so consider that synergy.
- Don't Underestimate Lantern Rewards: Activating the **Lantern icon** can provide a consistent stream of benefits throughout the game. Strategically acquiring more cards for your **Lantern Area** through **Social Climbing** can significantly boost your income and influence over time.
More videos
More rules explanations from the community
In English
-
 The White Castle - Solo Playthrough
-
 Overview & Review of The White Castle -- The Weekly Play/Back Ep 84
-
 How to play The White Castle solo
-
 How to Play The White Castle
-
 How to WIN - The White Castle
-
 Learn The White Castle in just 12 Minutes | Easy Rules Explained | Board Game Shortcut
-
 5 Quick Strategy Tips for The White Castle - TCbH Cardboard Academy
-
 The White Castle - Full Solo Tutorial and Playthrough | DaniCha
-
 The White Castle - How to Play on Board Game Arena
-
 The White Castle How to Play and Strategy Tips!
-
 White Castle - Overview and Review
Rules manual
Official PDF file
Prefer the Official PDF?
Download the official The White Castle rulebook or browse it online with our AI rules assistant.
View Rulebook PDF
Frequently Asked Questions
Quick answers about the rules
What is the objective of The White Castle?
Welcome to the court of the White Heron! In *The White Castle*, you'll step into the shoes of a minor clan leader in 1761 Japan, vying for influence within the magnificent Himeji Castle. Your goal is to strategically place your family members—**Warriors**, **Gardeners**, and **Courtiers**—into various roles, from political advisors to humble landscape workers, to curry favor with the powerful Sakai clan. The player who best manages their **resources** and family placements will earn the most…
How do you set up The White Castle?
Let's get this castle ready for some action! Here’s how to set up your game of *The White Castle*: Main Board Placement: Place the **main board** where everyone can easily reach it. Castle Cards: If playing with 2 players, remove **Steward** and **Diplomat cards** marked with a ♦. Shuffle the **Steward** (ochre) and **Diplomat** (indigo) decks separately. Place 1 card face up in each space of their corresponding levels on the board. Place the remaining decks in their designated spaces on the…
How do you play The White Castle?
A game of *The White Castle* unfolds over 3 rounds, with each player taking 3 turns per round. The player at the top of the **Turn Order track** goes first. A Player's Turn On your turn, you'll perform these steps: Choose a Die: Select 1 **die** from either of the 2 ends of any **Bridge**. Dice in the middle of a bridge are not available. If you take a die from the center, the closest die to the newly vacant spot slides into it. Place the Die: Place the chosen **die** in any space on the…
How does The White Castle end, and how do you score?
The game concludes at the end of the third round, after establishing the new turn order. It's time to tally up those **Clan Points**! Score Remaining Resources: For every 5 **coins** and/or **Daimyo Seals** you have, gain 1 **Clan Point** (rounded down). For each **Resource** (Food, Iron, Mother-of-Pearl) you have between 3 and 6 units remaining, gain 1 **Clan Point**. If you have 7 units of a **Resource**, gain 2 **Clan Points**. Score the Passage of Time: If your **Influence marker** reached…
What are some tips for winning The White Castle?
New to the castle? Here are a few pointers to help you on your path to influence: Resource Management is Key: Pay close attention to your **Food**, **Iron**, and **Mother-of-Pearl**. Each clan member action has a specific resource cost, and running out can stall your plans. Remember you can exchange **Daimyo Seals** for resources in a pinch! Balance Your Clan Members: Don't put all your eggs in one basket! Spreading your **Warriors**, **Gardeners**, and **Courtiers** across different areas can…
Want to compare prices and check reviews?
Find where to buy at the lowest price, price history, and our full game review.
View The White Castle
