
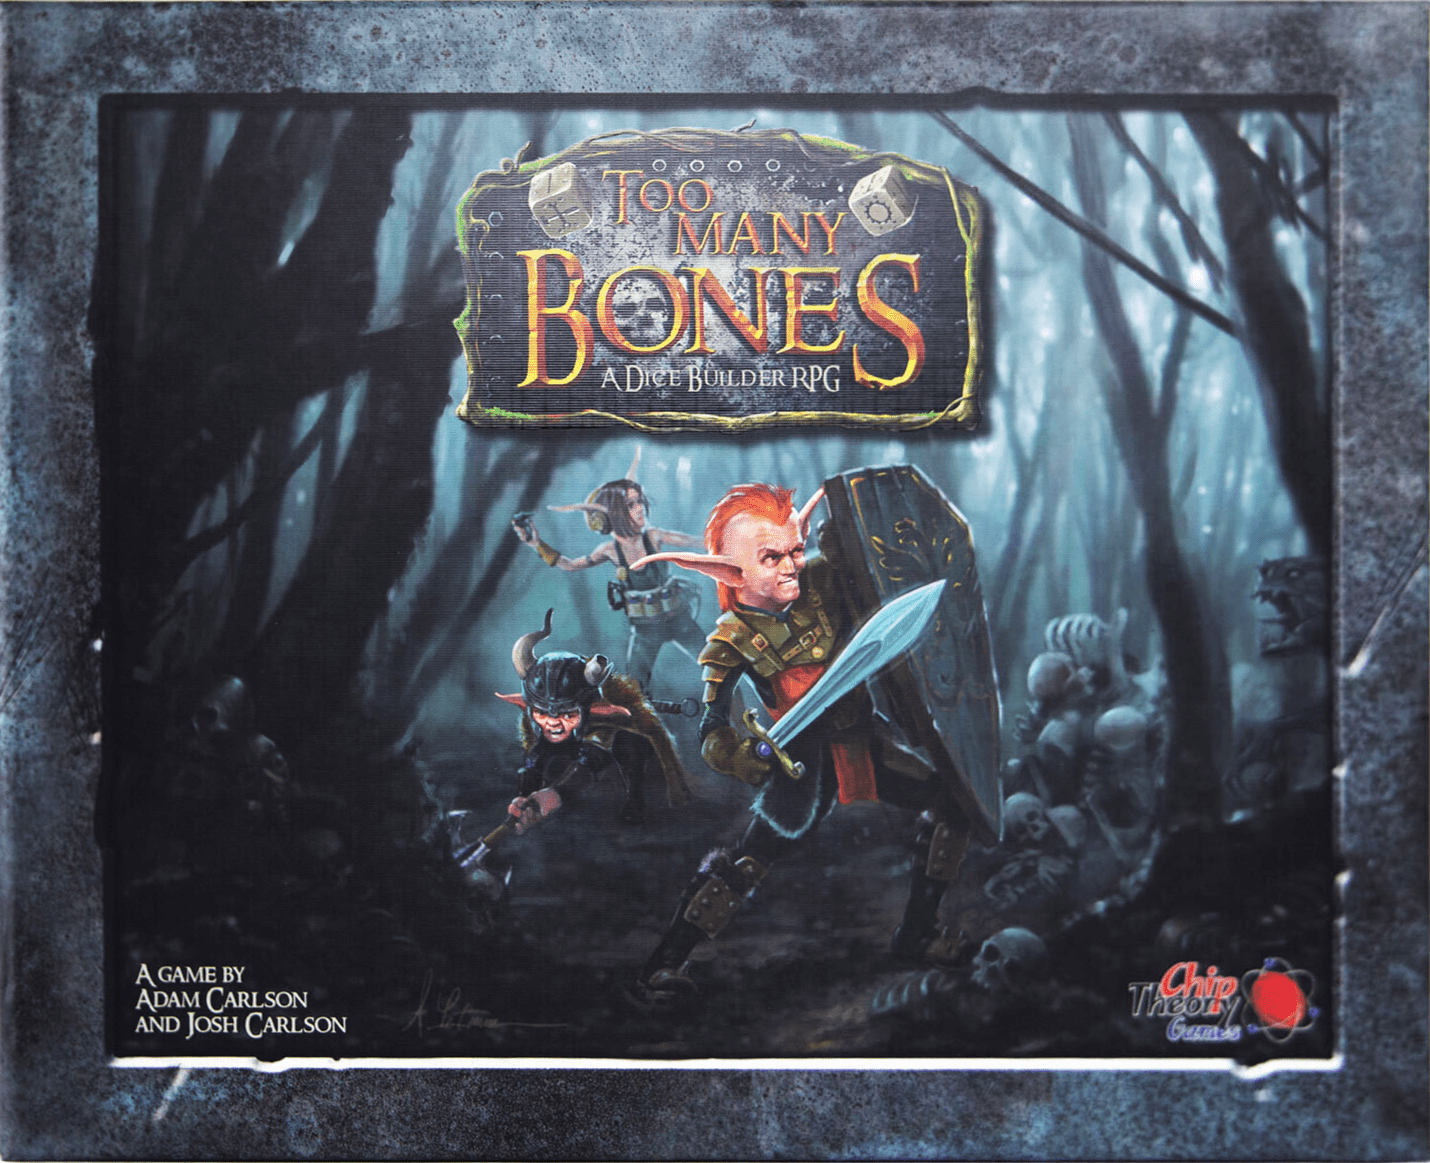
How to Play Too Many Bones
Chip Theory Games, asmodee, Dice Realm · Board game · 2017What do you want to do now
Ask anything about Too Many Bones: rules, setup, components, complexity, price, or whether it fits your group.
Video: How to Play
Start here, then follow the written guide
Step by step
Game Objective
In Too Many Bones, you play as Gearlocs—resourceful, big-eared creatures from the Deepwood. Your mission is to venture northward to infiltrate and eliminate the threat of The Ebon, a collection of lawless creatures ruled by tyrants. Your specific goal is to reach and defeat the selected Tyrant within its allotted Day Counter limit to win the game.
Preparation (Setup)
- Tyrant and Day Counter: Select a Tyrant (based on desired game length or randomly). Place the Tyrant’s Card, Chip, and Die to the left of the Battle Mat. Place the Day Counter Card and Chip (set to 1) below the Tyrant Card.
- Encounters:
- Set aside Tyrant Encounters (blue cards) associated with the selected Tyrant.
- Shuffle the General Encounter Deck (green) or Solo Encounter Deck (if playing with one Gearloc). Draw a number of cards equal to the amount shown on the Tyrant Card minus 3.
- Shuffle these with the Tyrant Encounter Cards and place them story side up to the left of the Battle Mat.
- Place Special Encounters 001-003 on top of this deck.
- Loot: Shuffle all Loot and Trove Loot cards and place them chest side up to the right of the Battle Mat. Place the 4 Lockpicking Dice nearby.
- Baddies: Using the Baddie Type icons on the Tyrant Card, create Active Stacks of 1Pt, 5Pt, and 20Pt Baddies (face down). Place these above the Battle Mat with stacks of Health Chips nearby.
- Gearlocs: Each player chooses a Gearloc and sets up their Gearloc Mat, Gearloc Chip (with Starting Health Chips underneath), Initiative Die, and Stat Dice. Place the Gearloc’s 16 Skill Dice in a Storage Tray.
- Check the Gearloc Reference Sheet for Skills with a circle ( ) next to them; place these Skill Dice in their corresponding slots on the mat, starting with the "0" side showing if possible.
- General Components: Place Atk Dice (6-10), Def Dice (10-12), Effect Dice (2-4 of each type), and a black D6 below the Battle Mat. Place 4 Lane Marker Chips and 4 Baddie Initiative Dice above the mat. Set the Round Counter Die to R1 at the top of the Initiative Meter.
Game Flow
The game progresses through a series of days. Each day follows this Adventure Routine:
- New Day: Rotate the Day Counter by 1 (skip for Day 1).
- Encounter Phase: Draw an Encounter Card. The party chooses one of the options on the back, resulting in either a peaceful outcome or a Battle.
- If successful, proceed to the Reward Phase.
- If unsuccessful, skip to the Recovery Phase.
- Reward Phase: Gain Choice rewards and general Encounter rewards, which may include Loot, Trove Loot, Training Points, or Progress Points.
- Recovery Phase:
- Trade Loot and Trove Loot within the party.
- Make one Lockpicking Attempt per Gearloc on Trove Loot.
- Each Gearloc chooses one individual option: Rest and Recover (heal to full HP), Search for Better Loot (discard 1 Loot and roll 6 Atk Dice to potentially find new Loot), or Scout the Area (roll a D6 to reveal a Baddie from the stacks).
In Battle
Battles are structured in rounds. A round consists of one turn for each Baddie and Gearloc based on the Initiative Meter.
- Initiative: In R1, Baddies are placed by their Initiative value; Gearlocs roll their Initiative Die. Ties are decided by the party.
- Rounds: After R5, Fatigue rounds begin, where all units lose 1 HP at the start of each round.
Actions and How to Play
Gearloc Turn Sequence
- Loot: Use Loot cards (unless specified otherwise).
- Effects Trigger: Resolve Effect Dice on the Gearloc chip.
- Move Gearloc: Spend Dex to move to adjacent positions (1 Dex per position).
- Determine Target: Select a target before rolling if using Atk Dice or specific Skill Dice.
- Select and Roll Dice: Use remaining Dex to roll a combination of Atk Dice, Def Dice, and available Skill Dice.
- Atk Dice: Each rolled Dmg is applied to the target.
- Def Dice: Rolled Def can be placed in Active slots to prevent incoming Atk Dmg.
- Skill Dice: These are used once per battle and then Exhausted. They may be resolved immediately or placed in Active or Locked slots.
- Resolve the Roll: Apply damage, resolve effects, and allocate dice to Active, Locked, or Backup Plan slots.
- Use Backup Plan: Once per turn, remove Bones (from Atk, Def, or Skill Dice) to activate a BP Skill.
Baddie Turn Sequence
- Effects: Resolve effects on the Baddie chip.
- Targeting: Determine target (Melee pursue the closest; Ranged target any).
- Move: Melee Baddies move up to 2 positions toward their target.
- Skills: Resolve Baddie Skills.
- Roll Dice: Roll Def Dice and Atk Dice (if target is in range).
- Resolve: Apply Dmg and trigger BP Skills if the required number of Bones was rolled.
- Gearlocs React: Trigger any applicable Gearloc Skills.
Training and Progression
- Training Points: Used for Training Attempts. HP, Dex, and Skills always succeed. Atk and Def require a successful dice roll to increase.
- Progress Points: Collected from Encounters. Once the party reaches the required amount on the Tyrant Card, they may challenge the Tyrant.
End of Game and Scoring
Victory Condition: The party wins by reaching and defeating the selected Tyrant. A battle is successful if at least one Gearloc remains on the Battle Mat after all Baddies are defeated.
Defeat Condition: The party loses if the Day Counter exceeds the Tyrant’s day allotment before the Tyrant is defeated.
Knock Out (KO): Losing all HP results in being KO’d. The Gearloc is removed from the Battle Mat, and their Active and Locked dice are cleared (unless playing in Greenhorn Adventurer mode). KO’d Gearlocs are replenished to full HP during the Recovery Phase.
Tips for Winning
- Manage your Dex: Remember that moving costs Dex, which reduces the number of dice you can roll. If you don't move, you have more Dex available for Atk, Def, or Skill Dice.
- Utilize the Backup Plan: Bones are not just misses; they are a resource. Store them in your Backup Plan to activate powerful BP Skills or upgrade to Innate 1.
- Strategic Scouting: Use the Scout the Area option during the Recovery Phase to reveal Baddies in the Active Stacks, allowing the party to prepare for specific threats before they enter the Battle Queue.
More videos
More rules explanations from the community
In English
-
 Let's Play: Too Many Bones - A Tutorial
-
 TMB Trove Chest - How I store it all
-
 How to Play Too Many Bones (Official Video)
-
 Too Many Bones Solo Tutorial and Playthrough Part 3: Finale
-
 Learn co-op monster clobbering and RPG dice building in Too Many Bones (How to Play Board Games)
-
 Too many Bones Tutorial and Playthrough
-
 Too Many Bones Solo Tutorial and Playthrough Part 2
Rules manual
Official PDF file
Frequently Asked Questions
Quick answers about the rules
