
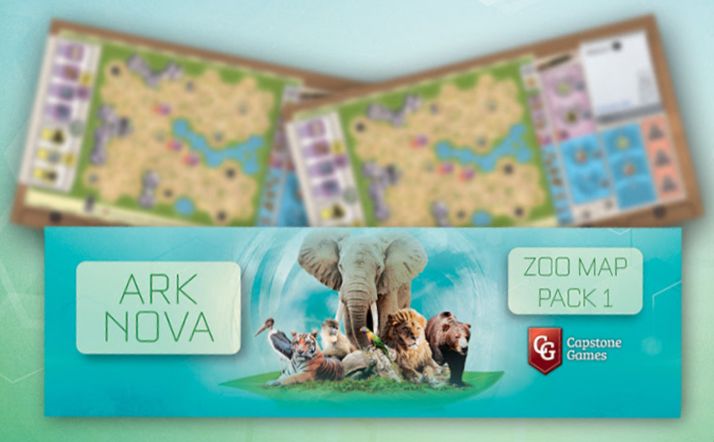
Ark Nova: Zoo Map Pack 1 — How to Play
Feuerland Spiele, Capstone Games, Cranio Creations · Board game · 2022Step by step
Objective of the Game
Consulte o manual para detalhes sobre esta seção.
Setup
This guide focuses on the specific setup requirements for the Zoo Map Pack 1 maps:
Map 9: Geographical Zoo
- This map consists of 5 areas, each containing 6 spaces.
- Each area is color-coded to a specific continent.
- At the start of the game, place 1 player marker on each of the 5 spaces that belong to these areas (specifically on the color-coded space with the black outline of the respective continent).
Map 10: Rescue Station
- Consulte o manual para detalhes sobre esta seção.
Game Flow
Consulte o manual para detalhes sobre esta seção.
Actions and How to Play
Geographical Zoo Mechanics
When you play an animal into your zoo, if at least 1 space of the enclosure you place the animal in is in an area belonging to the same continent as the animal, you may perform the following:
- Remove the player marker from that continent area.
- Gain one of the 5 bonuses depicted.
- Put the player marker back into your supply.
Important Rules for Geographical Zoo:
- Enclosures: This works for both standard enclosures and special enclosures.
- Limitations: You can gain a bonus once per continent icon/area. If you have already removed the marker for a continent, you cannot gain that bonus again.
- Choice: Each time you gain a bonus, you can choose any 1 of the 5 bonuses. You may choose the same bonus multiple times during the game.
- Special Buildings: When building a Reptile House or Large Bird Aviary, if you move an animal from a standard enclosure into it, you can gain the continent bonus if the animal shares a continent symbol with an area this building is in.
- Flock Animal: When taking this bonus on the left side of your zoo map, you can remove any 1 player marker from 1 of the 5 continent areas without having to play a matching animal. You gain 1 bonus as usual. Note: When using this ability, you cannot gain a continent bonus because you are not using a specific enclosure.
Rescue Station Mechanics
When gaining the Digging 1 bonus, you choose up to 1 of the following options:
- Discard 1 card from the display and replenish.
- Discard 1 card from your hand and draw 1 other from the deck.
Special Rule for Animal Cards: If the discarded card is an animal card (except for a Petting Zoo animal), you may slide it underneath your zoo map at one of the 3 slots marked by an O that does not have a card yet.
- The animal counts as "in your zoo" from that moment on and triggers any other card that looks for icons or animals being played into your zoo.
- You do not gain any effects from the animal card itself.
- You do not need to fulfill any conditions, pay the money cost, or provide an enclosure.
- The animal card still counts as its specific type (large or small animal) and its icons (e.g., predator, Asia, water) count as being in your zoo.
- You may not release the animal into the Wild.
Capacity: You can have up to 3 cards at the top of your zoo map. If you gain the bonus more than 3 times, you can only use Digging 1.
End of Game and Scoring
Consulte o manual para detalhes sobre esta seção.
Tips for Winning
- Geographical Zoo Strategy: When you remove the 5th and final player marker, you gain 1 Conservation point in addition to the bonus you receive.
- Rescue Station Strategy: Use the Digging 1 ability to slide animal cards under your map to trigger powerful abilities (like Hunter X) without paying the full cost or meeting all requirements.
Rules manual
Official PDF file
