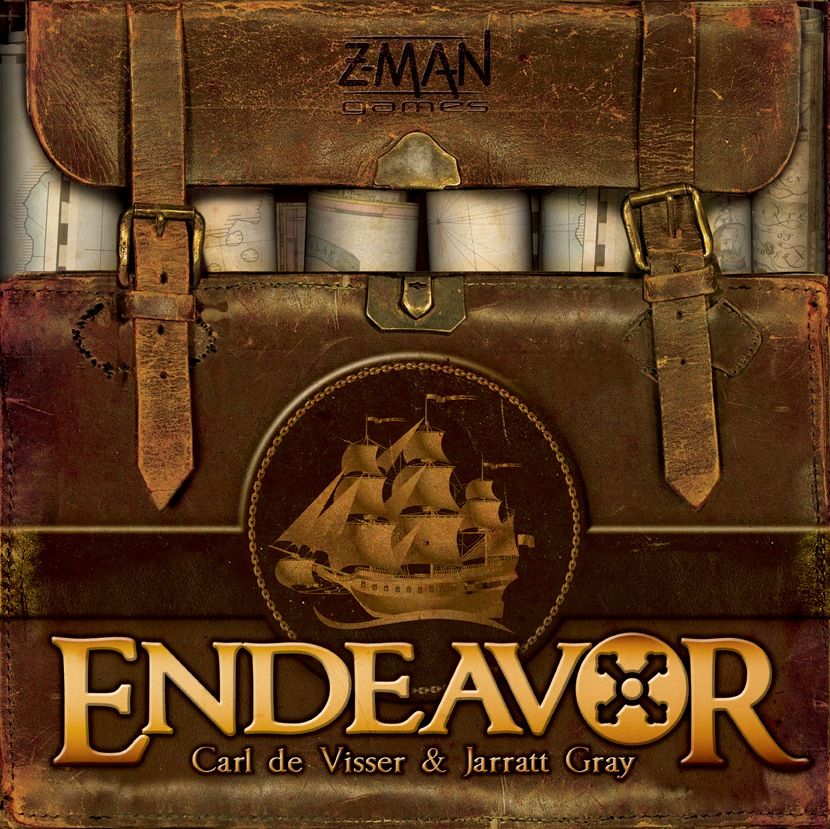
How to Play Endeavor
Z-Man Games, Albi, Hobby Japan · Board game · 2009What do you want to do now
Ask anything about Endeavor: rules, setup, components, complexity, price, or whether it fits your group.
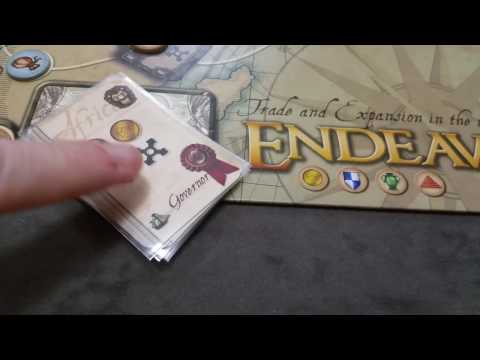
Video: How to Play
Start here, then follow the written guide
Step by step
Game Objective: Conquer the World and Glory!
Hey there, board game enthusiasts! Get ready to embark on an epic adventure with Endeavor, a game where maps are still being filled in, and the chance to build a legendary empire is in your hands!
In Endeavor, your objective is simple yet challenging: obtain the most glory for your empire. You will do this by expanding your influence and status both at home and across the oceans, through exploration, colonization, and even war. The game lasts only seven rounds, so every decision counts to ensure that when the map is complete, your empire shines brighter than the others!
Glory is earned in several ways: by increasing your scores in Industry, Culture, Finance, and Politics, occupying cities, controlling strategic links, and acquiring certain Asset Cards and Building Blocks. It's a delicate balance between short-term gains and the ultimate goal of world domination!
Preparation (Setup): Assembling Your Empire
Let's set up the table and prepare everything for your journey of conquests! Follow these simple steps for the setup of Endeavor:
- Game Board: Place the Game Board in the center of the table. It is the main stage, divided into seven colored regions: Europe and the Mediterranean (the starting region), Middle East, India, North America, Caribbean, South America, and Africa.
- Trade Tokens: Randomly distribute the 95 Trade Tokens across the board. Place one token with the glory side face down on each Expedition Track, City, and Link space.
- Asset Cards: Separate the 48 Asset Cards by type (there are eight different decks). Stack them face up in the appropriate spaces on the board. The order of each stack should be: 5-4-3-2-1-Governor (or 5-4-3-2-1-0 for the Slavery and Europe and Mediterranean decks, which do not have Governor cards).
- Building Blocks: Make stacks of identical Building Blocks and organize them in a supply next to the board, keeping those of the same level together. You will need:
- 5 of each Level 1 Building (Market, Shipyard, and Workshop)
- 4 of each Level 2 Building (Bank, Barracks, and Guild)
- 3 of each Level 3 Building (Docks, Fortress, and Theater)
- 2 of each Level 4 Building (Cartographer, Sales Office, and University)
- 1 of each Level 5 Building (Stock Exchange, Museum, and Parliament)
- Player Materials: Each player receives:
- 1 Player Board
- 4 Status Markers (cubes of your color)
- 30 Population Markers (discs of your color)
- First Player: Randomly determine the first player and give them the First Player Marker (the crown).
- Large Scoring Tokens: Set aside the Large Scoring Tokens for now; they will only be used at the end of the game.
The Game Turn: Actions and Conquests
The game unfolds over seven rounds, and each round is divided into four phases. The player with the First Player Marker starts each phase, and the others follow clockwise. In the first three phases, each player acts once. In the Action Phase, things are more dynamic, with players taking turns until everyone passes.
Phase 1: The Building Phase
In this phase, your empire grows with new buildings! In turn order, each player chooses an available Building Block and adds it to an empty building space on their Player Board.
- Your Industry score determines your Building Level. You can only choose a building with a level equal to or lower than your current level. If no buildings are available at that level, you can choose one from a level above.
- You can build duplicate buildings.
- Note: You cannot build a second Level 5 building if you already have one.
- Many buildings have Industry, Culture, Finance, or Politics icons. When building them, you advance your Status Marker on the corresponding tracks according to the number of icons.
Example: If you have 5 Industry, you can build any Level 3 building or lower. By building a Theater with two Culture icons, you advance your Culture Status Marker by two spaces.
If all building spaces on your Player Board are filled this round, congratulations (or not)! This is the seventh and final round of the game!
Phase 2: The Growth Phase
It's time to expand your population! In turn order, each player takes Population Markers from their supply and places them in their Port.
- Your Culture score determines your Growth Level, which indicates how many Population Markers you add.
- If you don't have enough Population Markers, add as many as you can.
Example: With 2 Culture, you have a Growth Level of 3, so you add 3 Population Markers to your Port.
Phase 3: The Wages Phase
Your workers need payment! In turn order, each player performs Payments, meaning they return Population Markers from their activated buildings to their Port.
- Your Finance score determines your Wage Level, which shows the number of allowed Payments.
- You choose which Population Markers to return. If you have more allowed payments than markers in buildings, all are returned, and extra payments are lost.
- Returning markers frees up buildings to be activated again in the Action Phase.
Important: In the first round, this phase has no effect, as no one will have markers in buildings.
Example: With 3 Finance, you can make 2 Payments, returning 2 Population Markers from your buildings to the Port.
Phase 4: The Action Phase
This is the phase where the magic happens and your empire truly expands! Players take turns, performing one action at a time, until everyone passes. You can perform actions in two ways:
Method A: Activate a Building
The most common way is to activate one of your buildings. To do this, move a Population Marker from your Port to an empty Activation Space on a Building Block. A building cannot be activated if it already has a marker or if it does not have an activation circle.
Example: Move a marker from your Port to the Shipyard to perform the "Expedite" action.
Method B: Spend a Trade Token
Some Trade Tokens (the blue-backed ones) have action icons. You can spend one of these tokens from your Port to perform the corresponding action. The token is discarded after use.
Example: Discard a token with the "Attack" icon from your Port to perform the Attack action.
Available Actions:
By acquiring Asset Cards and Trade Tokens with Industry, Culture, Finance, and Politics icons, you immediately advance your Status Markers on the corresponding tracks.
- Expedite: Move a Population Marker from your Port to the Expedition Track of a Region, occupying the furthest free space from the card stack. You receive the Trade Token from that space and place it in your Port.
- You can Expedite to a region even if the track is full, but you will not receive the trade token.
- It is not possible to Expedite to Europe and the Mediterranean.
- Open a Region: When the last unclaimed space of an Expedition Track is taken, the region is opened. The top Governor card from the stack is granted to the player with the most Population Markers on the track (in case of a tie, the most recent player wins). Europe and the Mediterranean is already considered open from the start. When a region is opened, the Occupy, Draw, and Attack actions can be performed in it.
- Occupy: Move a Population Marker from your Port to an unoccupied city in an open Region. You receive the Trade Token from that city.
- To Occupy, you need to have a presence in the region (at least one marker in cities or on the expedition track). All players have a presence in Europe and the Mediterranean.
- Control Links: If you have markers in both cities at the ends of a link, you control it. The first player to control a link immediately receives its Trade Token. Controlled links are worth 1 Glory point at the end of the game.
- Attack: This action costs 2 Population Markers. Remove one marker from your Port to your supply. Choose a city occupied by an opponent's marker and replace it with a second marker from your Port (the opponent's marker returns to their supply). The city is now yours!
- You can only Attack cities occupied in open Regions.
- You need to have a presence in the region to Attack.
- Payment: Move a Population Marker from the Activation Space of one of your buildings back to your Port, freeing up the building and marker for future use. A building cannot use the Payment action on itself.
- Draw: Take the top card from the Asset Cards stack in an open Region and place it in a card space on your Player Board. Immediately adjust your Status Tracks by the card's icons.
- To draw a card, you need to have a number of Population Markers in the region greater than or equal to the card's value.
- Value "0" cards in Europe and the Mediterranean do not require markers.
- Abolition of Slavery: The value "5" card from the Europe and Mediterranean deck is special. When it is drawn, all players immediately discard their Slavery Cards (flipping them face down next to the board), lose the corresponding icons on the tracks, and lose 1 Glory point per card at the end of the game. The Slavery deck is removed from the game.
- Pass/Discard: When you pass, you cannot perform any more actions in this phase. You must discard Asset Cards down to your Card Limit, which is determined by your Politics score.
- The maximum limit is 5 normal cards, plus one bonus Slavery card and one "Free" Governor card (which does not count towards the limit).
- Discarding cards results in the loss of icons and the retreat of Status Markers.
- Discarded cards return to their stacks (except Slavery cards, which are flipped face down and count as a glory penalty, and Governors, which are removed from the game).
Combined Actions:
Some buildings or tokens allow combined actions:
- / Expedite/Draw: Choose which of the two actions to perform.
- / Occupy/Draw: Choose which of the two actions to perform.
- / Occupy/Attack: Choose which of the two actions to perform.
- + Occupy and Expedite: Perform one or both actions, in any order, in the same region.
- + Expedite and Expedite: Expedite once or twice; if twice, both in the same region.
- + Draw and Draw: Draw once or twice; if twice, both cards from the same stack.
End of Round
When all players have passed, the round ends. Check your Status Tracks to ensure they are correct. The First Player Marker is passed to the left, and the next round begins. If it was the seventh round, the game ends immediately!
End of Game and Scoring: The Glory Count!
The game ends at the end of the seventh round. It's easy to know when: when all building spaces on your Player Board are filled during the Building Phase, the current round will be the last! Now it's time to count your empire's glory!
Players earn Glory points for:
- Occupied Cities and Controlled Links:
- For each city with one of your Population Markers, you earn Glory points equal to the icons printed on the city (usually 1, some have 2).
- For each link you control, you earn 1 Glory Token.
- Status Tracks: Your Status Markers on the Industry, Culture, Finance, and Politics tracks are worth Glory points. Push the markers from spaces without icons to the first space with an icon to determine the value.
- Asset Cards: Many Asset Cards you own have Glory icons. Add them up!
- Governor Space: If you do not have a Governor card in your "Free Governor" space, you earn 3 Glory points.
- Universities: Each University you have built is worth 3 Glory points.
- Extra Population: For every 3 Population Markers remaining in your Port, you earn 1 Glory point.
- Slavery Subtraction: If you have discarded Slavery Cards (flipped face down) next to your Player Board, you lose 1 Glory point per card.
The player with the most
More videos
More rules explanations from the community
In English
Rules manual
Official PDF file
Frequently Asked Questions
Quick answers about the rules
What is the objective of Endeavor?
How do you set up Endeavor?
How do you play Endeavor?
How does Endeavor end, and how do you score?
Other Games You'll Like
Based on mechanics and theme