
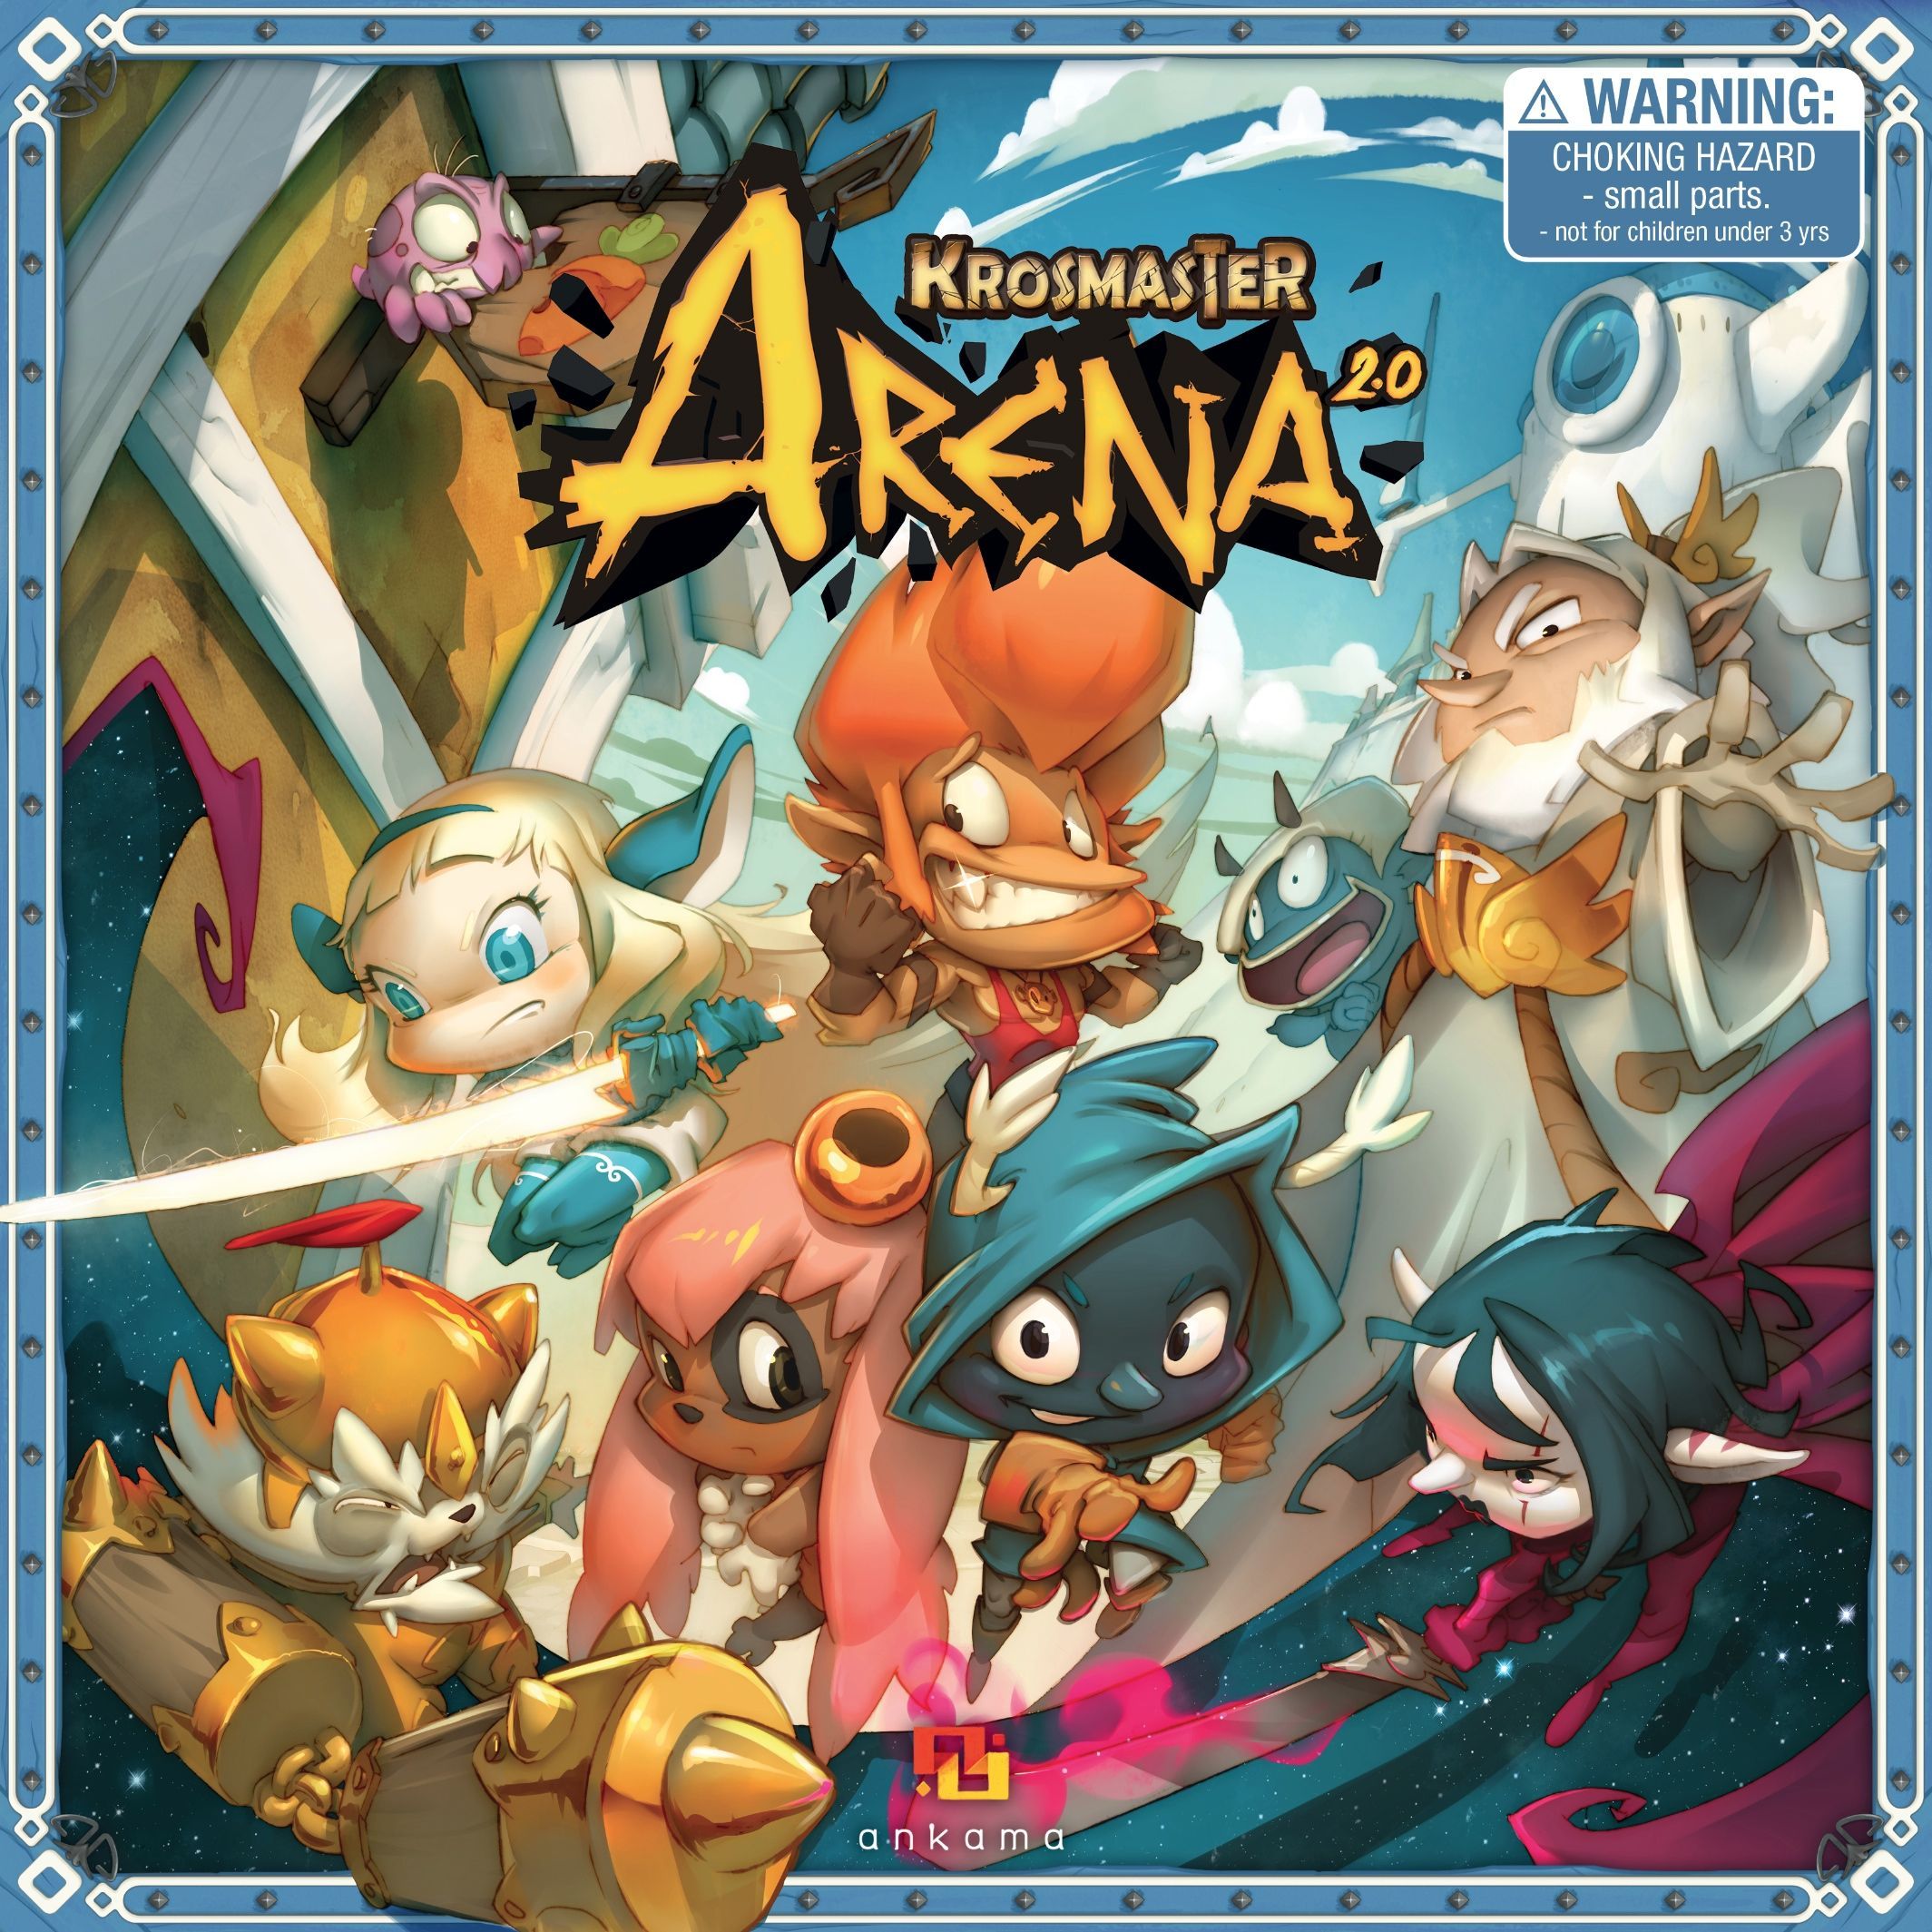
How to Play Krosmaster Arena 2.0
Ankama, CMON Global Limited, Fabrika Igr · Board game · 2016What do you want to do now
Ask anything about Krosmaster Arena 2.0: rules, setup, components, complexity, price, or whether it fits your group.
Step by step
Game Objective
Welcome to the Krosmoz! In
Preparation (Setup)
To start your game of
- Place the
between the two players. - Carefully detach the
(bags, tents, and crates) and place them on the in their corresponding spaces. Follow the instructions printed inside the crates and tents to assemble them. - Place a
on each and on each . If a shows 2 Kamas, place 2 tokens on it. - Keep the remaining
and , , , and near the . - Each player takes 6
( ). - Place one
near the , between the two players. This is the . - Choose your team of
and create your at the edge of the . For the two teams to be balanced, the total levels of the characters must be the same for each team. Arrange your team's from left to right, in decreasing order of . In case of a tie in among your own , you decide the order, which will remain the same throughout the game. - Place the
on their . The player of the team with the highest total sum of of all their characters plays first. - Place the
in front of the player playing with (if applicable).
Game Flow
A game of
Game Turn
During your turn, you will follow this structure:
- Tension is Rising! At the start of your turn, before activating your first
, roll two . If you don't like the result, you can ignore it and roll 1 . If you didn't re-roll the and there is a symbol (4 or 0, for example) on both , the Demons of the Hours and Minutes will raise the temperature: you and your opponent will each lose one , which must be returned to the game box. - Timeline: Play with your characters, one by one, in the order of your
(decreasing Initiative). You activate them in turn, starting with the one that has the highest value.
Character Turn
On a character's turn, they will spend
- Collecting a Kama token: For 1
, a can collect a on their space. collected this way are kept near your . They are part of your stock, just like the rest of your equipment. Some spaces contain 2 . You will have to pick them up one at a time, paying 1 for each collected. Only can perform this action; like cannot pick up . - Buy a GG: For 1
, a on a can buy a : pay 12 to the reserve from your Stock and take a from your opponent. If the is still in play, you must buy it. A team can only buy 1 per turn.
After all your characters' turns, it will be your opponent's turn, and so on until one of you wins.
Actions and How to Play
In
Moving
- During your turn, your character can move a number of spaces equivalent to the
value shown on their card. - You can use your character's
and in any order you wish, alternating between them as many times as you like. - Adjacent Spaces: Two spaces are considered adjacent when they share a common edge. When moving, diagonal spaces are never counted. You can only move a miniature to an adjacent space.
- Impassable Spaces: A character cannot cross or stop on a space that contains a bush or a miniature.
- Block (Block Against Dodge): When a character wishes to leave a space adjacent to an opponent (disconnect or end melee combat), they can be blocked!
- Your opponent rolls a
, and if they roll a 6 or 8, they have successfully blocked your character. - You can also roll a
, and if you roll a 7, 9, or 8, your character will be able to dodge. - If your character is not blocked by an opponent AND your dodge test is successful, your character will continue their turn normally.
- If your character is blocked by your opponent AND you fail your dodge test, your character will be blocked and immediately lose 3
until the end of their turn. - In any other space, your character will be trapped and immediately lose 1
and 1 in the current turn. - If your character immediately loses
and , they can only move if they have any remaining for this turn.
- Your opponent rolls a
- Multiple Block: When a character wishes to leave a space adjacent to 2 opposing characters, they can be blocked by each of these opponents! In this case, for each opposing character, a dodge test must be made compared to a block test. When all tests have been made and
and have been lost (or not), if the character leaving melee combat still has any , they can use it to move.
Casting a Spell
All characters in
For a unit to be able to cast a
- If it has enough
and to cast the . - If the
is within the of the . - If it is possible to draw a
between the caster's space and the targeted space. - If there is no
or effect that prevents the from being cast.
Once these 4 conditions are met, follow the steps below always in the given order, one at a time:
- Pay the Cost: Spend an amount of
and equal to the cost of the . - Additional Effects: If the
has any additional effects (such as moves 3 spaces closer to the target of 's "Titanic Leap" or additional damage inflicted by 's "HupperSlap" ), apply them. - Critical Hit: Refer to the manual for details on this section.
Types of Spells
- Strike: To hit someone, all you have to do is be in a space adjacent to your opponent's character and use 5
. A inflicts 1to the opponent. A can only once per turn! - Attack Spells: When your character wants to attack with a
, the process will be similar to making a : check if your target is within, spend the necessary , and your will inflict the shown in the colored circle on the right. Don't forget to roll the for and tests. - Summoning Spell: A
allows you to bring an allied creature into play that will be under your control and help you fight your opponent. The number in parentheses indicates how many creatures of that type can be present in the at the same time. The space where the creature is summoned must be adjacent to the character casting the . This type of does not inflict . If a is eliminated, it can be re-summoned as long as the limit is respected. - Healing Spells: A
removes from the target. The attacker makes a test to heal additional . The target of the should never make an test.
Additional Spell Effects
The text below the
- Area of Effect: Some
, like , affect multiple spaces. In this case, whoever is in the will suffer the attack. The attacker only makes one test for all targets, but each target makes their own test. are not affected by Obstacles. - Push/Pull:
can push or pull targets. If an Obstacle prevents the character from moving, they will be moved as many spaces as possible or stay where they are. When a 's additional effect moves a character, the dodge and block rule does not apply. - Steal AP/MP: Some
can steal or from the target, placing < -1 AP tokens> or < -1 MP tokens> on the target and <1 MP tokens> or <1 AP tokens> on the caster. - Life Steal: When a
attacks with a , they remove an amount of from themselves equal to the amount of inflicted.
Powers
- Armor: When the character makes the
test, they roll two instead of one. Each 7 or 8 counts as an effective defense! - Dodge: During a block situation, when the character makes the
test to escape the block, roll two instead of one. Each 7 or 8 is a success. - Critical: When the character attacks with a
, roll two instead of one on the test. Each 7 or 8 counts as a . - Block: During a block situation where the character makes a
test to block an opponent in melee combat, roll two instead of one. Each 6 or 8 is considered a success. - Resistance:
caused by an is automatically reduced by 1 point against this character. - Untouchable: The effects of other characters that should place
, , and , or move the character, have no effect on them. - Armor Pierce: The target of this
rolls 1 less when making an test. If they should only roll 1 , then they will roll 0 .
Modifying Range
that have a icon never change their . that have a icon can increase their (they are called ). - Crates: A character standing on a
has their increased by 1 space. - Range Tokens: At the start of a character's turn who has
on their card, they remove these and apply an equivalent modification to their during that turn. The of this type of cannot be reduced so that it falls below the . There is no maximum limit for . The can never be changed.
End of Game and Scoring
The game ends and victory is declared when:
- You are the only player still holding
( ). This condition is constantly checked from the moment the is no longer available. - You are the only one with
in the game.
Scoring
You receive
- Knock out an Opponent: When a
's opponent is knocked out, remove their miniature from the and all that opponent may have brought into play. Take an amount of from your opponent equal to the of the character that was knocked out. have no and never give . - Buy it using Kamas: By paying 12
to the reserve, you can buy a : take a from your opponent. Only a on a can make this purchase. If the is still in play, you must buy it first. - Wild GG: At the start of a game, place a
near the . This is the . The first time you gain one or more , no matter how you gained them, you must take the first before taking others from your opponents.
A player loses the game if they lose all their
Tips for Winning
- Take advantage of your fastest
's to position yourself well at the start of the duel. - Corner opponents who fight better at range against a wall to attack them up close, especially if you have
specialized in melee combat.
Rules manual
Official PDF file
Frequently Asked Questions
Quick answers about the rules
What is the objective of Krosmaster Arena 2.0?
How do you set up Krosmaster Arena 2.0?
How do you play Krosmaster Arena 2.0?
How does Krosmaster Arena 2.0 end, and how do you score?
What are some tips for winning Krosmaster Arena 2.0?
Other Games You'll Like
Based on mechanics and theme
 Krosmaster: Arena
 Funkoverse Strategy Game: Game of Thrones 100
 Funkoverse Strategy Game: Harry Potter 100
 Funkoverse Strategy Game: DC Comics 100
 Funkoverse Strategy Game: Marvel 100
 Funkoverse Strategy Game: Jaws 100
 Funkoverse Strategy Game: Harry Potter 102
 Funkoverse Strategy Game: DC Comics 102
