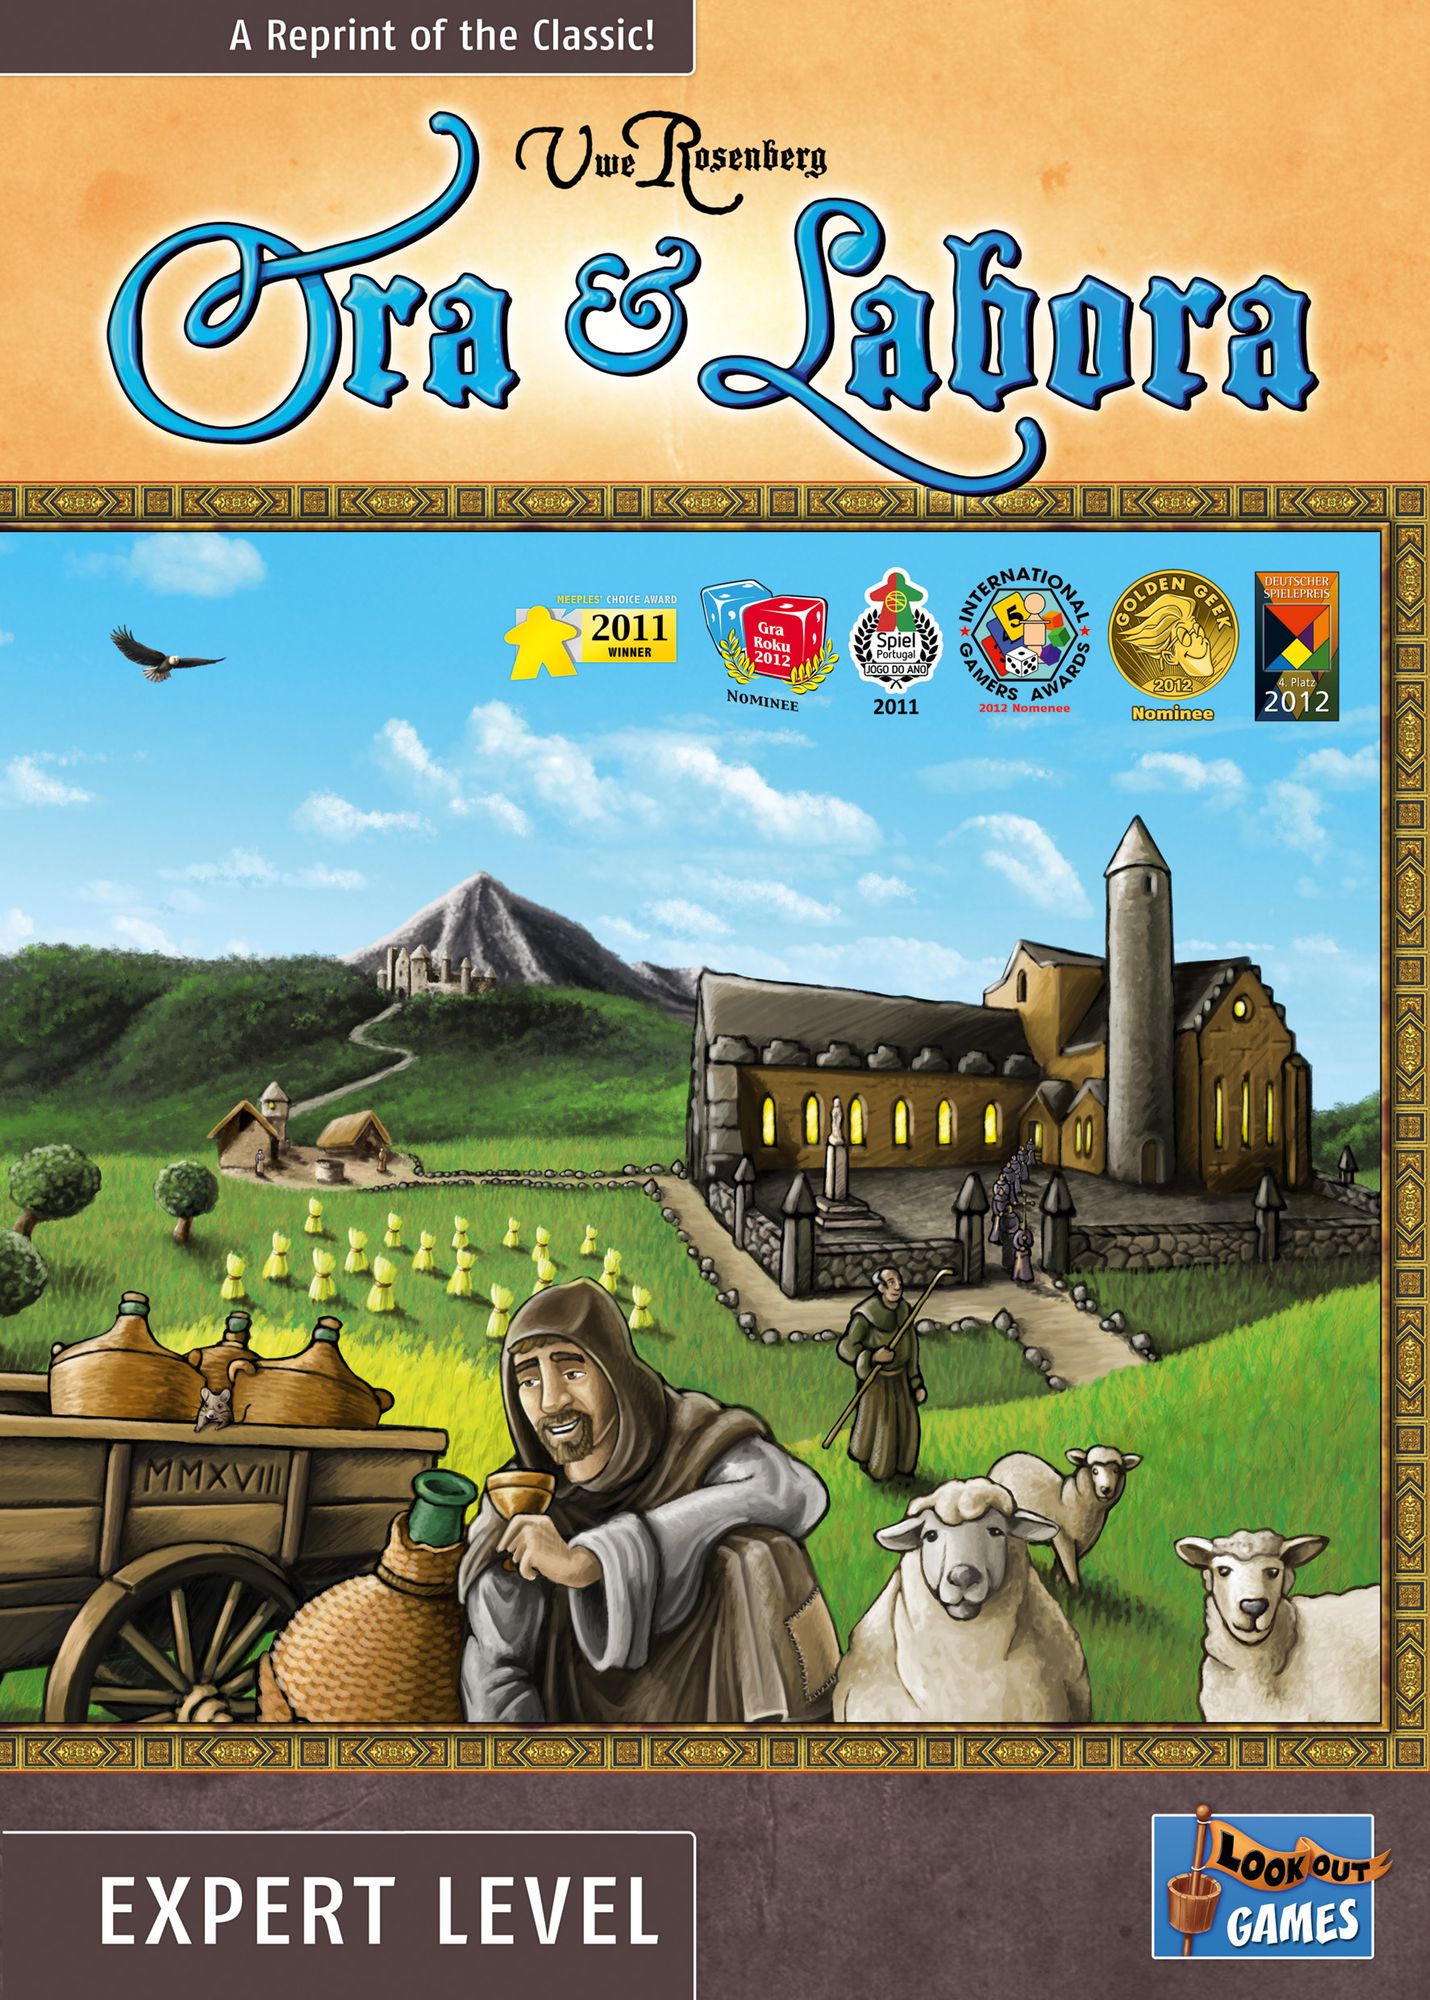
Ora et Labora
Lookout Games, 999 Games, Filosofia Éditions · Board game · 2011
1–4 · best 3
Solo
60–180 min
Weight 3.9/5
8.3
rating
Ludopedia
7.7
rating
BGG
Ora et Labora: Your Definitive Guide to Monastic Economics!
Alright, future abbots and abbesses! Prepare your habits and your tools, because we're about to dive into the world of **Ora et Labora**, a game where prayer is important, but hard work is what truly builds your monastery and leads you to victory! If you love a good eurogame with lots of strategy and resource production, this is the place for you. Let's uncover together the secrets to prospering in the Middle Ages!Game Objective: Build, Produce, and Score!
In **Ora et Labora**, you take on the role of a monastery head, with the mission to expand your **Homeland**, produce valuable goods, and construct buildings and **dwellings** that will bring glory and, of course, many victory points! The game is a strategic race to see who can accumulate the most points by the end, managing your **clerics** (one **prior** and two **lay brothers**) to activate buildings and refine your goods. The big twist is that the game is interrupted by 5 **dwelling phases**, where you use your **dwellings** to earn extra points, especially if they are next to buildings with high **dwelling values**. So, planning your landscape is crucial! The ultimate goal? To be the player with the highest number of points. In case of a tie, all tied players are winners!Preparation (Setup): Setting Up Your Monastery
Let's set up the table to begin our monastic journey! The following rules are for a 3 or 4 player game.- Choose the Variant: Decide whether you will play in France or Ireland. This affects the sides of the building cards and some specific goods (wine/whiskey, flour/malt).
- Boards and Production Wheel: Choose one of the two game boards and one of the two identical **production wheels**. Attach the wheel to the board with the pins.
- Starting Landscapes: Each player receives their **Homeland**, a small 2x5 landscape with swamps and forests.
- Goods/Resource Tiles: Separate the 450 **goods/resource tiles** (peat, cattle, grain, wood, clay, coins, stone, grapes, flour, malt, marvels) into organized piles. Remember that most tiles have a good on each side (e.g., peat/peat coal, grain/straw).
- Cards: Separate the 41 **building cards** (double-sided, France/Ireland), 32 **dwelling cards** (8 different for each player), and 37 **forest cards** (with swamp on the back).
- Wooden Components: Each player chooses a color and receives 3 **clerics** (1 **prior** and 2 **lay brothers**). Place the 9 colored **goods indicators** and the turquoise house-shaped **construction marker** near the production wheel.
- Starting Player Marker: Determine who will be the **starting player** for the first round and give them the **starting player marker** for the chosen variant (France or Ireland), flipped to the "1 coin" side. This marker rotates clockwise each round.
- District and Terrain Landscapes: Stack the 9 **district landscapes** and the 9 **terrain landscapes** in separate piles, with the costs visible.
- Initial Setup: Consult the game's Initial Setup Sheet to position the initial buildings and **goods indicators** on the **production wheel**.
The Game Turn: Life in the Monastery
A 3 or 4 player game is divided into **rounds**, and each round has 5 phases, always in the same order:- Return Clerics: At the beginning of each round, players who have *all* 3 of their **clerics** allocated to buildings return them to their personal supply. If you only used 1 or 2, they remain where they are!
- Rotate the Production Wheel: Rotate the **production wheel** one position in the direction of the arrow (usually counter-clockwise). This increases the production levels of almost all goods. Keep an eye on the **goods indicators**: if one is in space 10, it is pushed forward by the wheel's spoke. New **goods indicators** (grapes in round 8, stone in round 13) enter space 0.
- Dwelling Phase Check: The production wheel's spoke pushes the **building marker** forward. If it passes a stack of building and settlement cards (A, B, C, D), the game is temporarily interrupted for a **dwelling phase**.
- Player Actions: Now it's time for action! Each player, in clockwise order, performs one action. The **starting player** of the round has a bonus: they perform a *second* action at the end of the round. This means 4 actions in a 3-player game and 5 actions in a 4-player game.
- Pass the Starting Marker: At the end of the round, the **starting player marker** is passed to the next player in clockwise order.
Your Action Options in Phase 4:
During your turn, you can choose one of three main actions:- Allocate a Cleric or Hire:
- Allocate your Cleric: Place one of your **clerics** (prior or lay brother) in one of your unoccupied buildings to use that building's function. You can allocate a cleric without using the function, if you wish.
- Hire Another Player: If you want to use an opponent's building, you issue a **work contract**. Pay 1 **coin** (or 1 wine/whiskey as a gift) to the general supply, and the opponent must allocate one of their available **clerics** to the chosen building. They cannot refuse! The contract cost can increase to 2 coins if the "Winery" or "Whiskery Distillery" is built.
- Important: If a player has allocated all three of their clerics, their buildings cannot be used again until the start of the next round.
- Chop Trees or Cut Peat:
- Chop Trees: Remove (at most) 1 **forest card** from your landscapes. The **production wheel** indicates how much **wood** you receive. Move the wood **goods indicator** to space 0 on the wheel.
- Cut Peat: Remove (at most) 1 **swamp card** from your landscapes. The **production wheel** indicates how much **peat** you receive. Move the peat **goods indicator** to space 0 on the wheel.
- Attention: These actions do not use clerics! You cannot use other players' cards. Removing forest or swamp cards creates empty spaces for future constructions.
- Construct a Building:
- Pay the construction cost (materials or money) of the chosen building from the display pile.
- Place the **building card** in an empty space on your landscape, respecting the landscape type restrictions (Water, Coast, Plains, Hillside, Mountains).
- Monastery Buildings (yellow title) must be adjacent to other monastery buildings.
- Prior's Bonus: If your **prior** is available, you can immediately use them to activate the function of the newly constructed building.
- You can only construct one building per action. Buildings, once placed, cannot be moved.
Additional Actions (As Many As You Want!):
In addition to your main action, you can perform as many additional actions as you want, before or after the main action:- Transform Grain into Straw: Flip a **grain** tile to the **straw** side. Straw is used for construction or energy. (Straw cannot revert to grain!)
- Coin Trade: Exchange **coin** tiles (1 of 5 for 5 of 1, or vice versa). You can also exchange 1 **wine** for 1 **coin** (France) or 1 **whiskey** for 2 **coins** (Ireland).
- Buy a Landscape: Once per turn and once per **dwelling phase**, you can buy a **district** or **terrain landscape** from the top of the pile, paying its cost.
- Districts: Are rectangular and expand your **Homeland** above or below, creating more forest, swamp, plains, or hillside spaces.
- Terrains: Have a coast side and a mountain side. Coast terrains go to the left of your **Homeland** and mountain terrains to the right. They must be adjacent to existing spaces of the corresponding type.
The Production Wheel and the Joker:
The **production wheel** is the heart of your monastery! It indicates the quantity of goods produced. When producing a good, move the corresponding **goods indicator** back to space 0. You can use the **joker marker** instead of a regular **goods indicator** to obtain a type of good. The joker is especially useful for goods that are not yet in play, such as **stone** and **grapes** at the beginning.End of Game and Scoring: The Final Harvest
The game is interrupted by 5 **dwelling phases**. The fifth and final **dwelling phase** occurs at the end of the game. In a 3 or 4 player game, the game ends after the **bonus round**. The **bonus round** begins when the **production wheel's** spoke passes space "E" for the second time (in the 25th and final round).Bonus Round:
Before the **bonus round**, each player takes their **prior** back. Each player, in order, receives exactly one more action:- Construct a building.
- Allocate their **prior** to *any* constructed building (theirs or another player's, occupied or not), without paying a work contract.
The Dwelling Phase:
The **dwelling phase** occurs when the **production wheel's** spoke passes the **turquoise construction marker**, which indicates the next stack of building/dwelling cards to be released (A, B, C, D). It consists of 3 parts:- Move the Construction Marker: The **turquoise construction marker** is moved to indicate the next dwelling phase.
- Construct Dwellings: Each player can construct at most 1 **dwelling** from their supply, paying the energy and food costs. You can buy at most 1 **landscape** *before* constructing your dwelling. Dwellings cannot be constructed on mountains or in water.
- Distribute New Cards: Each player receives a new **dwelling card** and new **building cards** are added to the display.
Final Scoring:
Scoring is calculated in 3 steps:- Goods Tile Points: Sum the points from your **goods tiles** (5 coins, 2 books, 2 clay, 3 ornament, 4 reliquary, 8 marvel, 30 and 1 wine/whiskey).
- Economic Value of Buildings and Dwellings: Sum the economic value of all your buildings and dwellings. (**Dwelling values** are irrelevant here).
- Dwelling Value: Each **dwelling** is worth points depending on the cards directly adjacent to it (horizontally or vertically). Sum the **dwelling value** of the dwelling and all adjacent buildings.
- If a building is next to more than one dwelling, its value is counted for each one.
- Dwellings also have dwelling value and count for other adjacent dwellings.
- Water has a dwelling value of 3. Some buildings have negative dwelling values.
Tips for Winning: Be a Monastic Master!
1. **Landscape Planning is Everything:** From the start, think about how you will expand your **Homeland** with **districts** and **terrains**. The location of your buildings and, especially, your **dwellings**, is crucial for maximizing points at the end of the game. Try to group buildings with high **dwelling values** near where you plan to construct your dwellings. Remember that **monastery buildings** need to be adjacent! 2. **Cleric Management and Production Wheel:** Your 3 **clerics** are your most important workers. Use them wisely! Think about which buildings you need to activate and when. The **production wheel** is your economic engine; observe which goods are about to have their production increased and plan your actions to take advantage of it. Don't hesitate to use the **joker** for goods that are not yet in high production, especially **stone** early in the game. 3. **Flexibility and Work Contracts:** Don't limit yourself to just your own buildings. **Work contracts** are a powerful tool to access other players' buildings that may be essential for your strategy, even if they cost a **coin** (or a good wine!). Pay attention to what your opponents are producing and what buildings they have available. Sometimes, paying to use a rival's building can be more efficient than building your own. Now that you have the tools, it's time to get your hands dirty (or rather, in the peat and wood)! May your harvests be abundant and your monasteries prosperous! Good game, and may the luck of the dice always be in your favor!In English


Prefer the Official PDF?
Download the official Ora et Labora rulebook or browse it online with our AI rules assistant.
View Rulebook PDF
Want to compare prices and check reviews?
Find where to buy at the lowest price, price history, and our full game review.
View Ora et Labora