
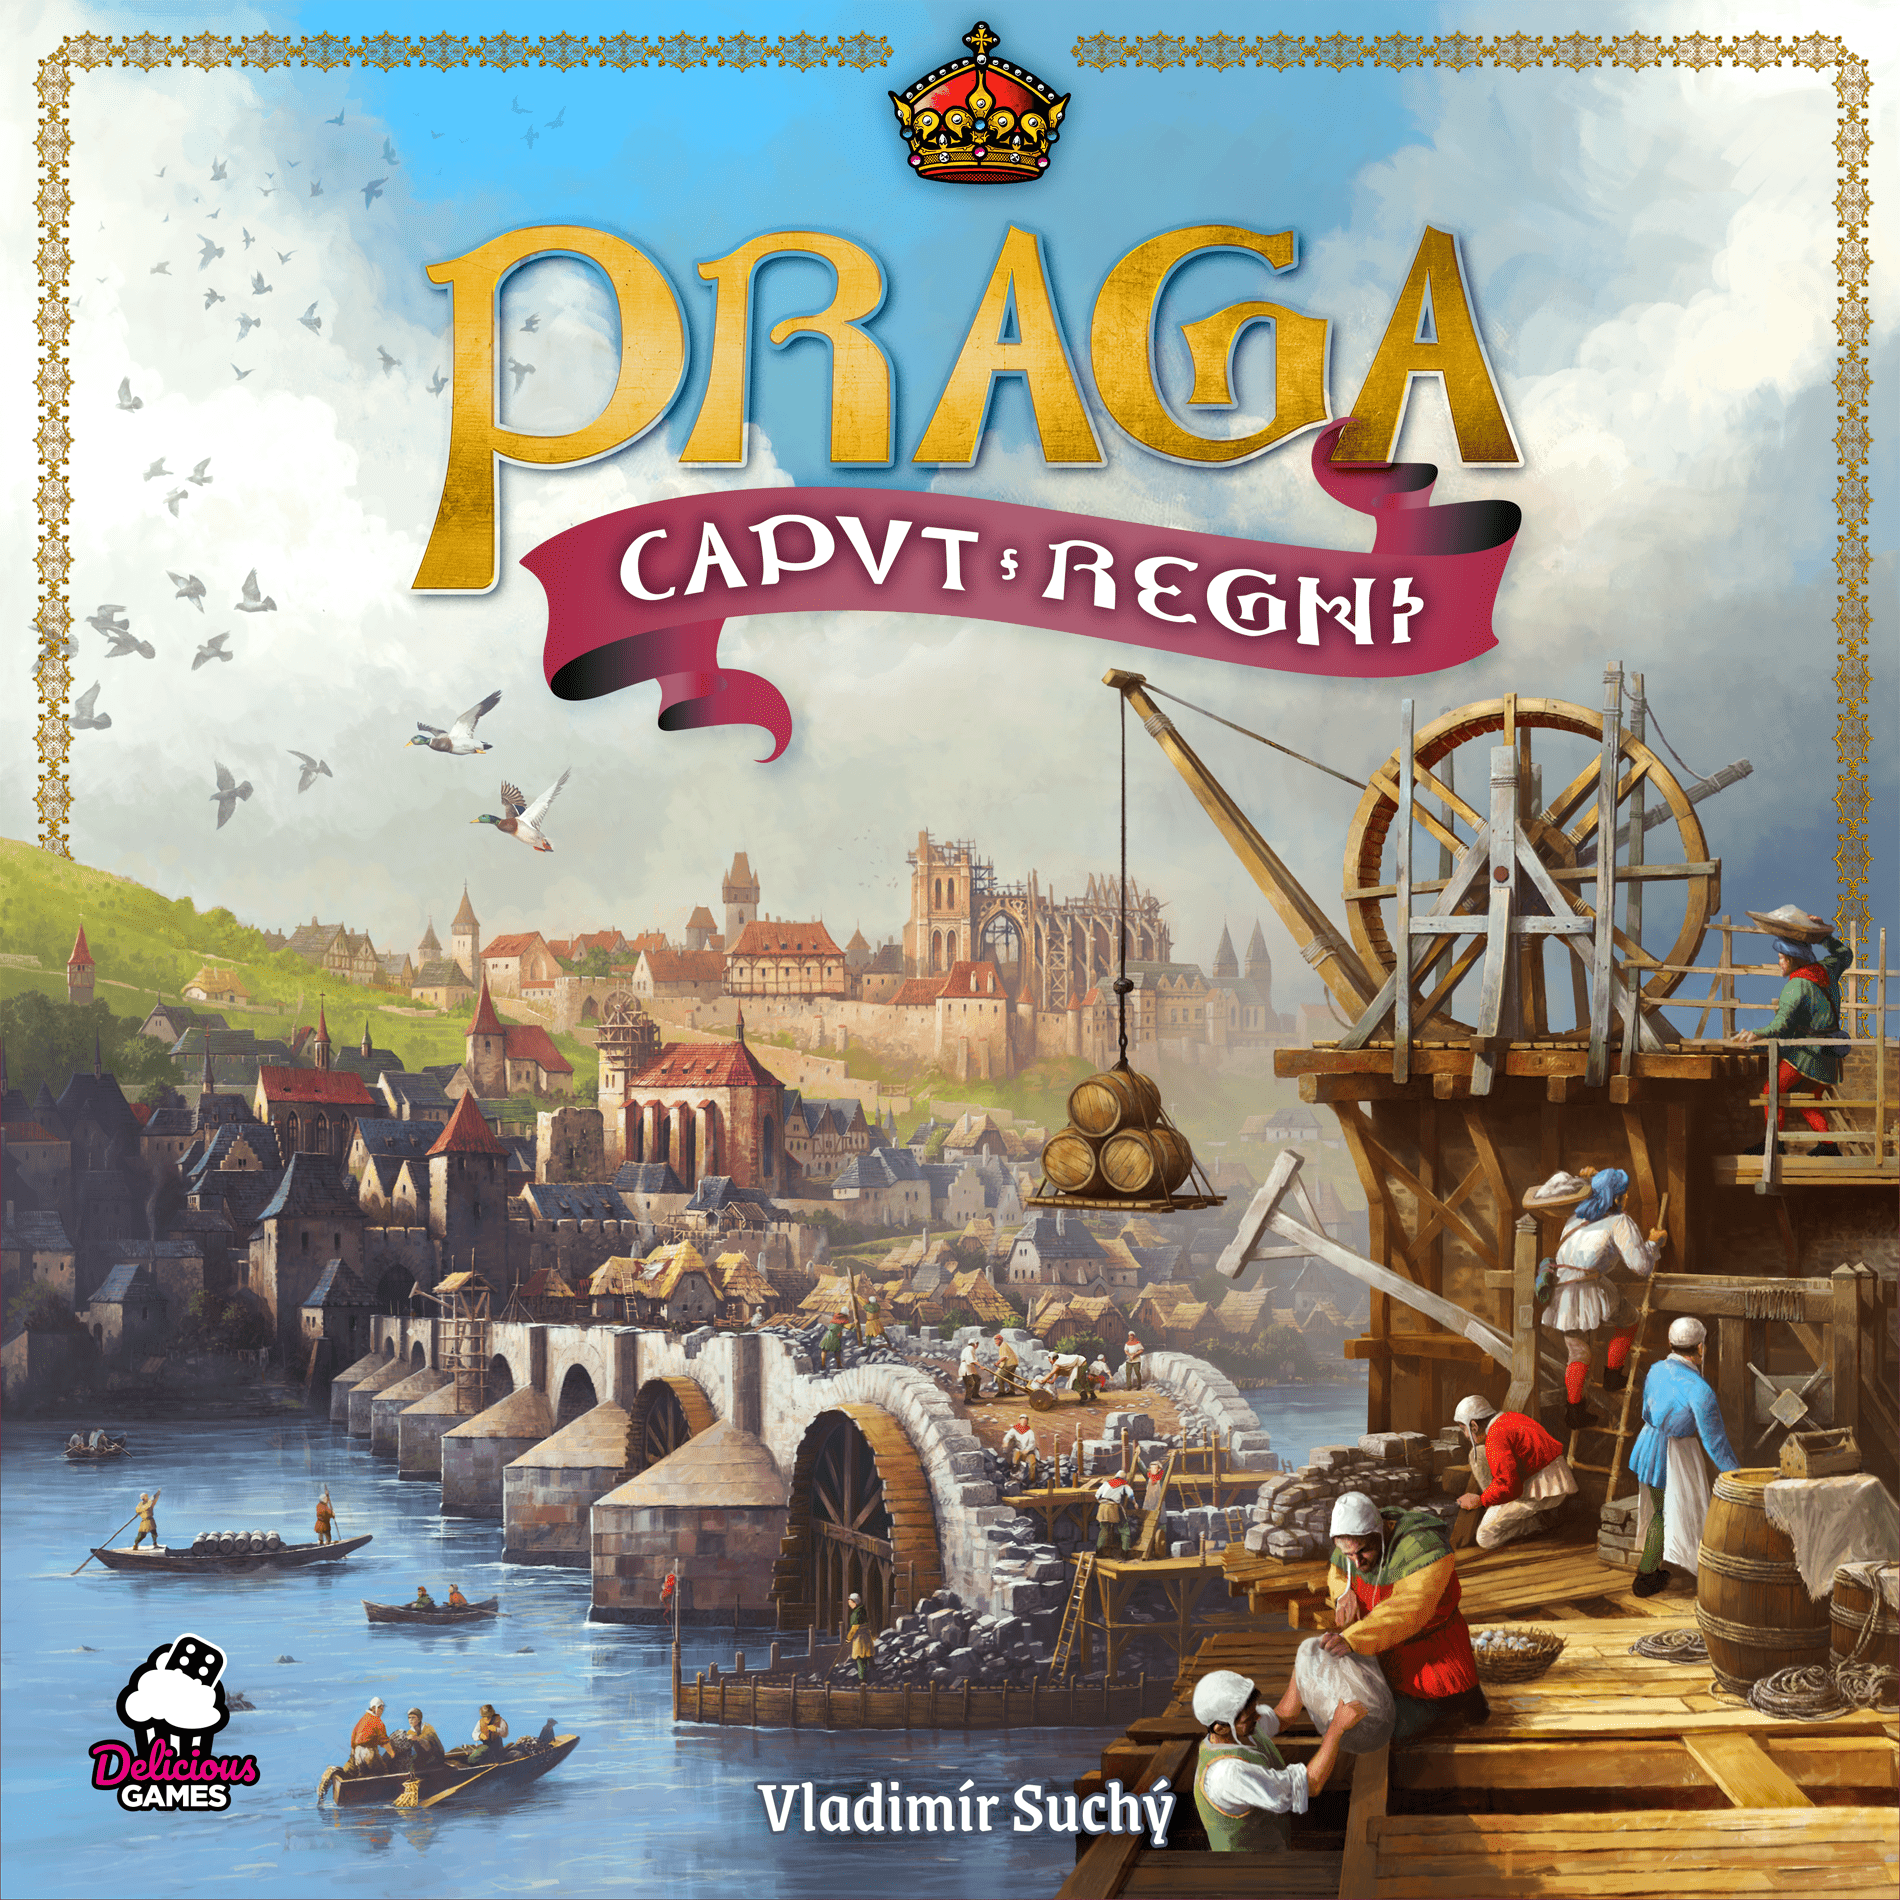
How to Play Praga Caput Regni
Delicious Games, Arrakis Games, Atalia · Board game · 2020What do you want to do now
Ask anything about Praga Caput Regni: rules, setup, components, complexity, price, or whether it fits your group.
Video: How to Play
Start here, then follow the written guide
Step by step
Game Objective: Building Charles IV's Prague!
Hey everyone! Ready to dive into medieval Prague and leave your mark on history? In Praga Caput Regni, you are influential citizens, competing to see who impresses King Charles IV the most with their construction projects. Expand your wealth, erect monumental buildings like Charles Bridge and the Hunger Wall, and contribute to the University and the Cathedral. The player who, at the end of the game, has accumulated the most Victory Points will be the grand master builder of the empire's capital!
Preparation (Setup): Setting Up the Construction Site
Let's set up the table and prepare this city for construction! Follow these steps for setup:
- Main Board: Assemble the parts of the main board. The 3D components of Charles Bridge, Cathedral, and Hunger Wall are optional; if you prefer, use the 2D illustrations on the board.
- Action Crane:
- Rotate the Action Crane wheel so the white arrow points to the icon corresponding to the number of players.
- Place the 6 action tiles in the first six spaces, starting from the first red space at the top of the crane. They should be in the red or green zones, with none in the blue zone.
- Place a turn counter on the wheel, in the indicated space.
- Platform Turn Counter: Place the other turn counter in the platform space corresponding to the number of players.
- Player Preparation:
- Each player chooses a color and receives a player board and all their pieces in that color, as well as an action board.
- On your player board, use 4 cubes to mark your position on the 4 tracks (Gold Mines, Quarries, Technology, and University), at the starting positions indicated in the illustration.
- Place 3 cubes on the bonuses next to the wheels of your gold and stone cranes.
- Adjust the wheel of each of your gold and stone cranes to "2", indicating that you start with 2 gold and 2 stone.
- Keep your action board next to your player board.
- On the main board, place one of your cubes in the bottom right corner of the Hunger Wall and another in the bottom left corner of the Cathedral.
- Your Royal Road pawn is placed next to the board, near the Royal Road.
- Place your scoring marker on zero on the score track.
The Game Turn: Your Actions in Medieval Prague
Whoever last visited Prague starts (or choose randomly)! Turns proceed clockwise. In each turn, you will do the following:
1. Choose 1 Action Tile from the Action Crane
Your action board shows the 6 available actions. You decide which action you want to take and then choose an action tile from the action crane that has the illustration of the desired action. Each tile shows two actions, but you choose only one and ignore the other.
- Wheel Bonus: The chosen action tile always grants a bonus. You can receive it immediately or postpone it until later in your turn.
- Costs and Position Bonuses:
- Red Zone: If the tile is in the red zone (it was chosen recently), you must pay the indicated gold cost. If you cannot pay, you cannot choose that tile.
- Green Zone: Tiles in the green zone have no additional costs or bonuses (but you still receive the wheel bonus!).
- Blue Zone: If the tile is in the blue zone (it hasn't been chosen for a while), you receive the indicated points.
2. Perform 1 Action and, Possibly, One Extra Action
You perform the action chosen on the action tile. Additionally, you can buy an extra action once per turn, paying 2 gold windows or 1 gold window and 1 silver window. The extra action can be any of the 6 actions and can be used at any time during your turn, even before choosing the main action tile.
Actions can be performed in any order during your turn. Remember that you cannot keep more than 2 windows between your turns – use them or discard them!
The 6 Main Actions:
- Manage Mines:
- Receive 1 gold and increase your gold mines by 1 (move your marker 1 space to the right).
- Produce gold: Receive as much gold as the number of gold mines you own, plus all production bonuses to the left of your marker.
Note: When receiving gold, rotate the wheel of your gold crane. You have a limit of 9 gold. The first time you reach 6 or 9 gold, you gain a wealth bonus.
- Manage Quarries: Similar to Manage Mines.
- Receive 1 stone and increase your quarries by 1 (move your marker 1 space to the right).
- Produce stone: Receive as much stone as the number of quarries you own, plus all production bonuses to the left of your marker.
Note: When receiving stone, rotate the wheel of your stone crane. You have a limit of 9 stone. The first time you reach 6 or 9 stone, you gain a wealth bonus.
- Upgrade an Action:
- Choose a hexagonal upgrade tile from the upgrade row.
- Pay the cost (if any) and place it in the corresponding space on your action board. Orientation is important for future adjacency bonuses.
- Advance 1 or 2 spaces on the university track (1 for Era I, 2 for Era II).
- Whenever you perform the upgraded action, you receive the bonus printed in the center of the tile. If you just upgraded an action you already performed this turn, you receive the bonus retroactively!
- Erect a Wall:
- Choose a hexagonal wall tile from the wall row.
- Pay the resource cost (red symbol). If you cannot pay, you cannot choose the tile.
- Receive the immediate rewards shown in the green window.
- Place the tile adjacent to your action board. Adjacency and corner bonuses can be activated by aligning symbols with existing tiles.
- If the tile has the Hunger Wall icon, move your marker one space laterally to the left on the Hunger Wall grid.
- Erect a Building:
- Choose a hexagonal building tile from the building row.
- Pay the resource cost (red shield). If you cannot pay, you cannot choose the tile.
- Receive the immediate rewards shown in the green area.
- Place the tile in any valid construction location on the main board (cannot be on the Royal Road, already built houses, green fields, or city wall-fenced spaces).
- If the building has space for a marker, place a cube of your color, indicating a claim in the adjacent square.
- If it has no space for a marker, receive 1 Victory Point for each building around the square (including the one you just erected).
- If the building completes a square, players with claims in it choose rewards. The player with the most markers receives both rewards.
- If the building is in the Old Town, it costs 1 additional gold, but you receive points. In the New Town, there are no additional costs or advantages.
- If the tile has the Cathedral icon, move your marker one space laterally to the right on the Cathedral grid.
- Build the Royal Road:
- Advance your Royal Road pawn one space forward on the Royal Road (in your color space).
- Resolve the two effects to the left of the space. One of them may require an egg. If you don't spend the egg, you still resolve the other effect.
- When advancing to spaces IV and V (on Charles Bridge), you must pay an egg. You choose and place bridge tiles, receiving bonuses. Once on the bridge, your pawn no longer moves on the Royal Road.
Secondary Actions and Special Movements:
- Claim a Seal: When your marker reaches the end of the gold mines or quarries tracks, you can claim one of the five seals on the main board. Pay the cost and place one of your markers. Seals affect final scoring.
- Technologies: By advancing on the technology track, you acquire technology tiles.
- Levels I and II: Permanent abilities that you use from the next turn.
- Levels III and IV: Single-use benefits, which can be used immediately or saved for a future turn (discard after use).
- Hunger Wall and Cathedral (Movements):
- Lateral Movement: Granted by certain constructions or effects. On the Hunger Wall, always to the left; on the Cathedral, always to the right.
- Upward Movement: Pay 2 silver windows. You can do this as many times as you wish. Crossing from Level I to II, or from II to III, has an additional cost in gold and stone.
- Movement Consequences: Gain points, move laterally or upward again (if there's an arrow), or claim end-game scoring tiles on the Cathedral.
3. End Your Turn by Rotating the Action Crane and Returning the Action Tile
At the end of your turn, do the following:
- Discard windows until you have only 2 left.
- Rotate the action crane one space clockwise (or 2 spaces if the crane arrow is in the special position).
- Return your action tile to the first empty space in the red zone.
- Move the platform cube one space forward, towards the hourglass.
The game progresses like this, with the platform cube counting the turns. Midway through the game, Era I building, wall, and upgrade tiles are replaced by Era II tiles.
End of Game and Scoring: The Judgment of King Charles IV
The game ends when the platform cube moves off the platform, onto the hourglass. Each player will have taken exactly 16 turns. Now it's time for final scoring!
- Unresolved Squares: Any square that was not fully enclosed during the game will now yield rewards. Each player with a claim in the square receives the reward from the bottom part of the square tile.
- Academy Points: You receive points for your position on the technology track, multiplied by your level on the university track. The higher on the university track, the more valuable your advancements in technology.
- Hunger Wall and Cathedral:
- Receive points for the highest row you reached on the Hunger Wall and the Cathedral (value in the black box at the end of the row).
- Receive points for your red and blue bonus markers, multiplying the number of markers by the point value at the base of the column where your marker is.
- Walls: Count the number of walls you built:
- 4 points if you have exactly 3 walls.
- 10 points if you have 4 or 5 walls.
- 18 points if you have 6 or more walls.
- End-Game Scoring Abilities: Use any end-game scoring abilities you claimed (through V tiles on Charles Bridge, in the Cathedral, or seals).
- Remaining Eggs: If you have 4 or more eggs at the end of the game, receive 10 points.
The player with the most Victory Points is the winner! In case of a tie, ties are broken in reverse player order (the last player wins ties).
Tips for Winning: Be Prague's Most Astute Architect!
Praga is a game of many choices, but some strategies can give you an early advantage:
- Synergy between Actions and Rewards: Pay attention to the action crane! Choosing an action tile that is in the blue zone gives you free points. Also, plan your actions so that one benefits the other. For example, using the Manage Mines action to produce gold, and then using that gold to pay for a building in the Old Town that gives you even more points.
- Don't Underestimate Upgrades and Walls: Action upgrades can turn a basic action into a point or resource machine with each use. Similarly, walls not only give you immediate rewards and adjacency bonuses but are also a significant source of points at the end of the game, especially if you manage to build 6 or more!
- Keep an Eye on Squares and the Cathedral/Hunger Wall: Squares are a source of powerful bonuses and points. Try to have the majority of markers in squares you complete to take both rewards! Additionally, investing in the Hunger Wall and the Cathedral can yield many points at the end, both for the height reached and for the marker bonuses. Plan your upward and lateral movements to maximize these points.
Now that you have the complete guide, it's time to build your legend in Praga Caput Regni! Good luck and may your constructions be the grandest!
More videos
More rules explanations from the community
In English
-
 Praga Caput Regni - Tutorial Playthrough - JonGetsGames
-
 Praga Caput Regni - Tutorial & Solo Playthrough
-
 Praga Caput Regni - Tutorial & Playthrough
-
 Peaky Boardgamer Episode #57 - Praga Caput Regni - Full rules explanation (English)
-
 Praga Caput Regni - Tutorial
-
 Praga Caput Regni ... Setup and Rules by the Crabby Dice
-
 Praga Caput Regni Gamesplained - Part 1
-
 How to Play - Praga: Caput Regni
-
 KICK IN 5 - Praga Caput Regni - Tutorial - Español - Como jugar
Rules manual
Official PDF file
Frequently Asked Questions
Quick answers about the rules
