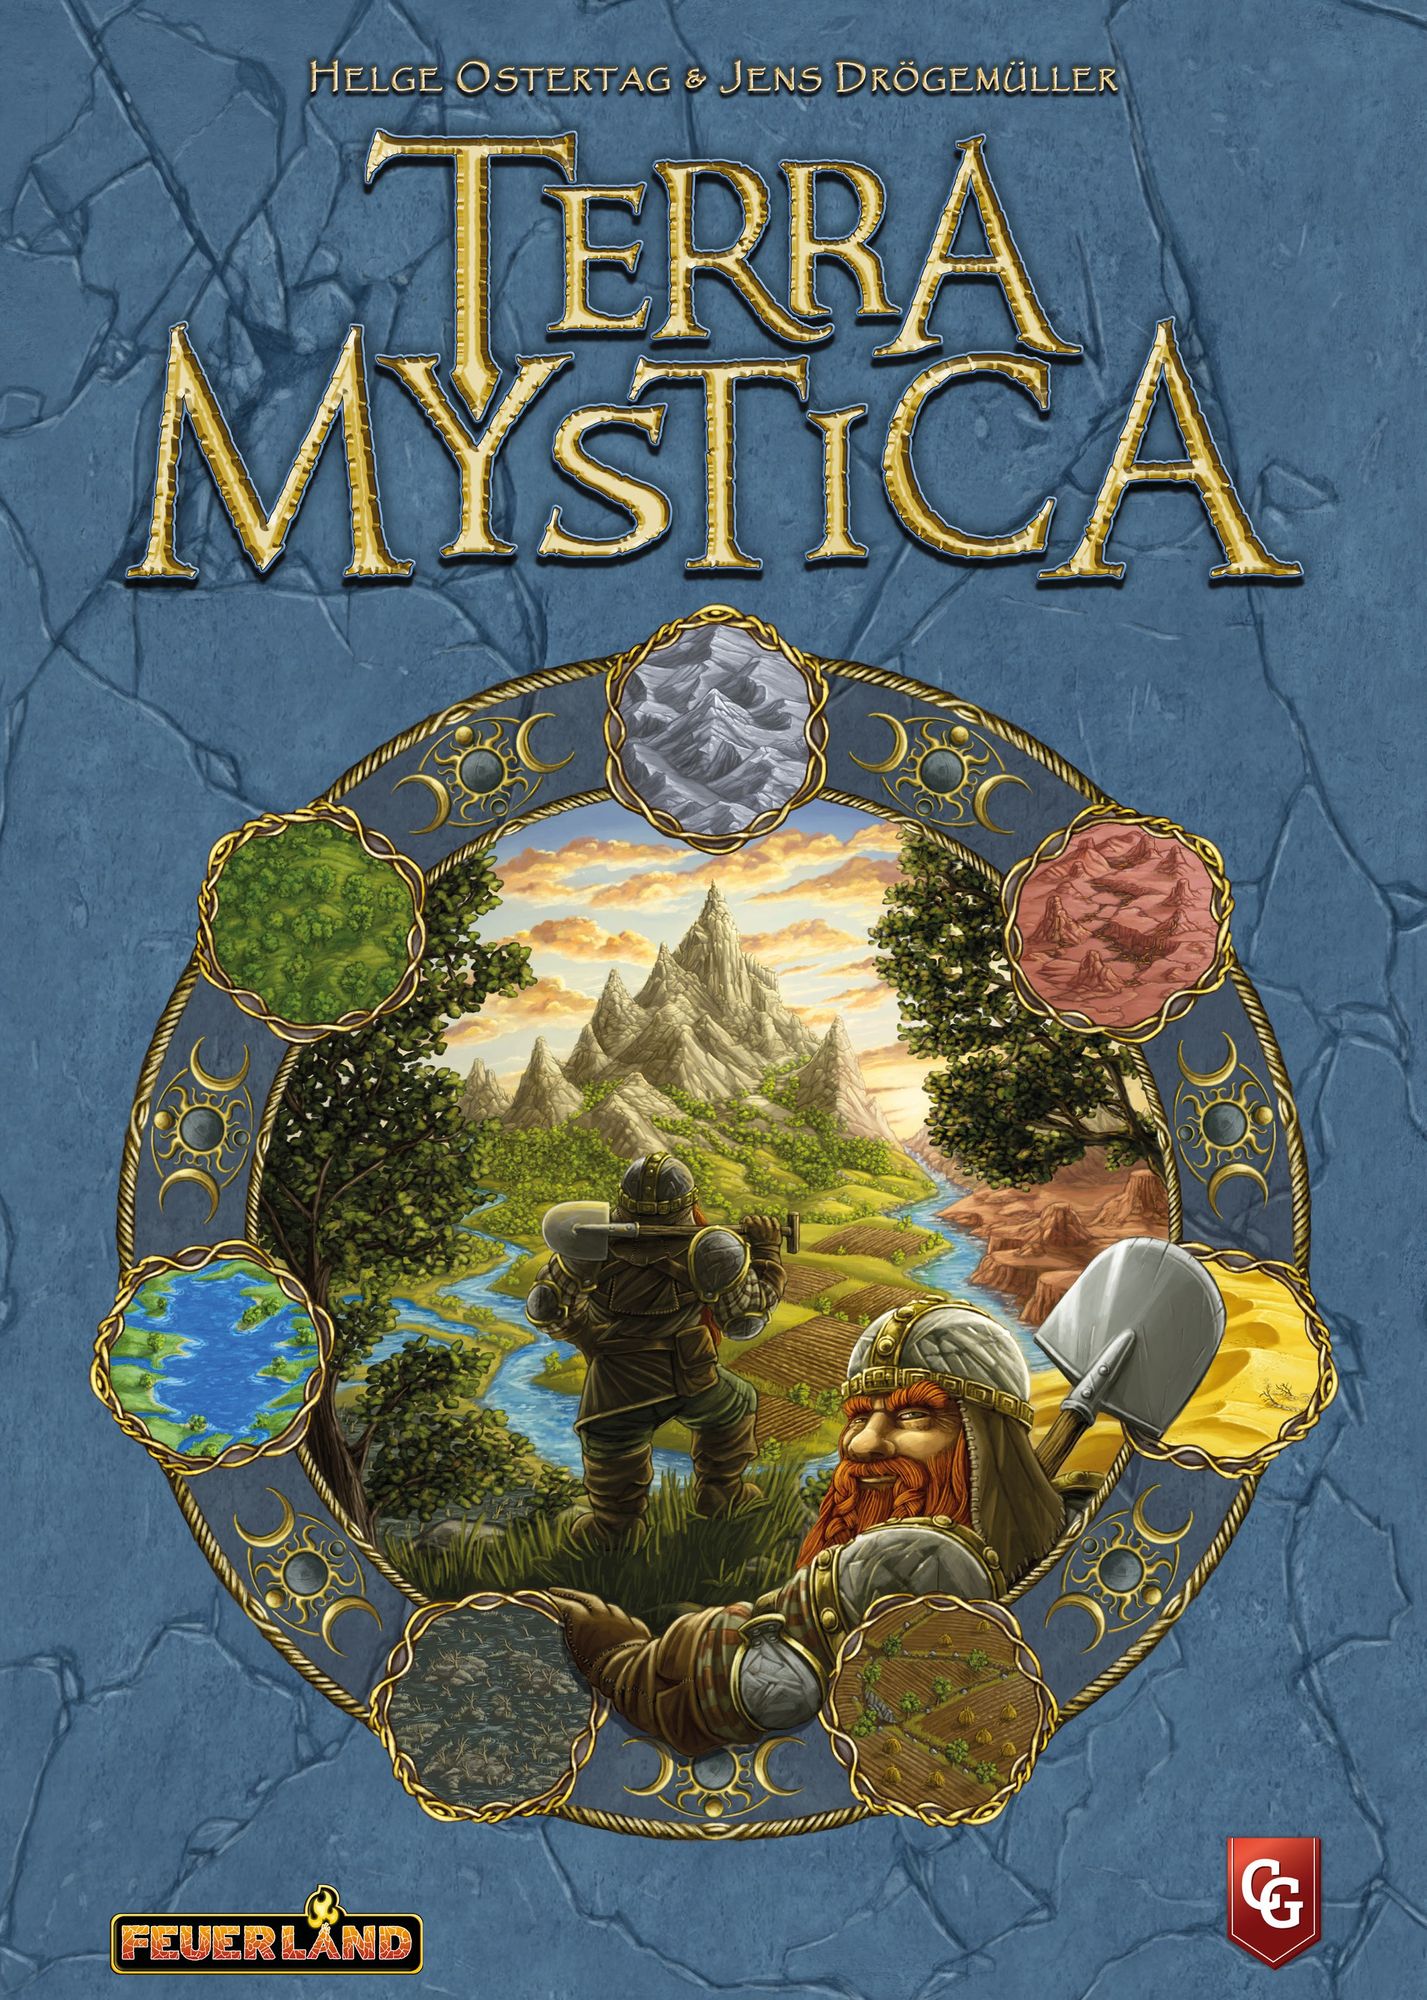
How to Play Terra Mystica: Automa Solo Box
Feuerland Spiele, Capstone Games, Cranio Creations · Board game · 2021What do you want to do now
Ask anything about Terra Mystica: Automa Solo Box: rules, setup, components, complexity, price, or whether it fits your group.
Step by step
Objective of the Game
In Terra Mystica: Automa Solo Box, you're playing against an artificial opponent called Automa. She takes the place of a human player, allowing you to enjoy Terra Mystica solo. Your goal is to outscore Automa by the end of the game. Automa plays by a simplified ruleset, focusing on gaining Victory points through fixed or variable values on her cards, Scoring tiles, Cult scoring, and Area scoring.
Preparation (Setup)
Set up the game as normal with the following changes:
- Choose a Difficulty level for Automa and take the corresponding Difficulty level card. Place it along the left side of the board. For your first play(s), use Automalein.
- Use the double-sided Automa Scoring tiles instead of those from the base game. Place the side face-up that shows the relevant round. The Scoring tile with the Spade on its left side cannot be placed in Round 5 or 6.
- Place the new Game end token as usual, but only cover the top right quarter of the Round 6 Scoring tile.
- You are the first player. Take the Starting player token.
- Choose your faction.
- Choose one of the Automa factions and give her the corresponding Automa Faction card. For your first play(s), choose The Simpletons.
- Choose a Home Terrain type (color) that is different from yours and give Automa the matching Automa Terrain priority (ATP) card. The ATP's Terrain type is indicated by the top and bottom bars and the leftmost circles.
- For Automa, skip the normal faction setup procedure and instead:
- Give her all Structures of her color.
- Return 2 Automa Dwellings to the box. They will not be used.
- Return 2 Automa Trading houses to the box. They will not be used.
- Give her all Priests of her color.
- Place her Markers on the Cult track. For each Cult symbol in the upper left of her Faction card, advance the corresponding Marker.
- Follow any additional setup instructions on the Automa Faction card and familiarize yourself with any special rules for her faction.
- Place a Marker of Automa’s color on space 20 of the Victory point track (as normal).
- Give her all Trade markers and the Shipyard in her color.
- Shuffle the 5 Bonus cards that were drawn earlier and place them face-up in a horizontal line. Give Automa the first one. Choose your own Bonus card.
- Perform Initial Dwelling Placement as described below.
- Build the Automa Deck as described below.
Initial Dwelling Placement
Automa places her initial Dwellings after you place your first Dwelling. Select the Automa Initial Dwelling map card for the map you are using and refer to it as you:
- Place your first Dwelling.
- Draw a random Automa Decision card and consult the Dwelling placement letters and purple circle in its Setup section (lower left corner).
- Match the 2 letters on the Decision card with the corresponding letters in the spaces for Automa’s Home Terrain type on the Initial Dwelling map card. Place Automa’s Dwellings in the corresponding spaces on the Game board.
- When placing the Dwelling for the letter with a purple circle beneath it, also place a Power token in the space with that Automa Dwelling.
Build the Automa Deck
- Separate out Automa Decision cards 1–5 to build Automa’s Starting deck. Their card numbers are marked with an * to make them easier to identify. Replace the cards labeled *2 and *4 with *2 and *4. *2 and *4 are not used. Set aside the card labeled. It will be needed when Automa passes in Round 2 as explained in the Passing section. Place the MotS reminder tile, beside the Scoring tile for Round 2.
- Shuffle the remaining Automa Decision cards face-down and place them off to the side as the Reserve deck. They will be used later.
- Adjust the Starting deck based on a chosen Difficulty level (see table below).
- Automalein: Remove card *3 from the Starting deck and place it on top of the Reserve deck, ensuring it gets added at the end of Round 1.
- Automa: No change.
- Automächtig: Add 1 card drawn face-down from the Reserve deck.
- Ultoma: Add 1 card drawn face-down from the Reserve deck.
- Alptrauma: Add 2 cards drawn face-down from the Reserve deck.
- Shuffle the Starting deck and place it face-down on the table. This is the Automa deck. Turn its 2 bottommost cards sideways so they are perpendicular to the rest of the deck.
Fluxo do Jogo
You will take the first turn of the first round. Automa takes her place in the turn order just as a human player would. Her turns have the following structure:
- Draw 1 Automa Decision card (Draw 2 in the first turn of a round).
- Perform the actions on the Action card from top to bottom or pass.
Draw an Automa Decision Card
At the start of her first turn of each round, draw 2 Decision cards from the Automa deck. Place the second to the left of the first to form an aligned pair.
At the start of the remaining Automa turns:
- Slide the previous Action card to the right, on top of the previous Support card. It is the Support card for this turn.
- If the Automa deck is empty she passes. Skip to the Passing rules. Otherwise:
- Draw 1 card from the Automa deck and place it to the left of the Support card. It is the Action card for this turn.
- If the card drawn is 1 of the bottommost 2 (perpendicular to the others), and there’s a icon in the Passing section of this card, ignore the rest of the card. Automa passes. She does not perform any actions. Skip to the Passing rules.
- Otherwise, Automa performs the actions as shown on the Action card.
Passing
When Automa passes, use this procedure:
- Automa gains a fixed number of Victory points as shown in the lower right corner of the current Scoring tile.
- Automa takes the Bonus card indicated by the arrow on the 3-bar icon on the Support card. If there are any coins on the Bonus card, return them to the general supply.
- Place Automa’s previous Bonus card in the same position as the Bonus card she just took.
- Collect all Automa Decision cards from the current round (the current Action card, the Support card pile, and any remaining cards in the Automa deck).
- Shuffle these together with the topmost card drawn face-down from the Reserve deck. These cards become the Automa deck for the next round. When Automa passes in Round 2, add the card labeled in addition to the usual Reserve deck card.
- Turn the bottom 2 cards perpendicular to the rest.
- If Automa passed before you did, give her the Starting player token.
When you pass and choose a new Bonus card, place your previous card in the same position as the Bonus card you just took.
Instead of turning the Scoring tiles face-down during the Clean-up phase, remove them from the board.
Ações e Como Jogar
If Automa didn’t pass, she will carry out the actions indicated by the symbols in the Action column of the Action card from top to bottom, using the Support column of the Support card. Unless otherwise noted, if the Action card fails to produce a valid action, Automa doesn’t perform any action this turn.
Automa actions follow procedures with this format:
- condition: Unless otherwise noted, if the condition isn’t satisfied, the action fails. Thus, Automa won’t perform that action this turn. Proceed to the next action on the Action card (if any).
- valid options: This step specifies a set of options that are valid for the action. If there are none, skip the action and proceed to the next (if any).
- tiebreaker: If Automa has multiple valid options, go through the tiebreakers from top to bottom until only one valid option remains. For Faction actions, use any faction-specific tiebreakers shown on Automa’s Faction card before applying the general ones.
- execute: This specifies what Automa does. Perform the actions described on Automa’s Faction card from top to bottom. Where necessary, use any element on the Support card as you would with other Automa actions.
Block Power Action
- condition: There is at least one Power action without an Action token.
- valid power actions: All Power actions on the game board not covered by an Action token.
- tiebreaker: Directional Selection.
- execute: Place an Action token on the selected Power action. Automa gains no benefit from this.
Perform an additional Block Power Action with the following change:
- valid power actions: All Power actions on the Merchants Power Action board not covered by an Action token.
Gain Victory Points
Automa gains the number of Victory points shown in the icon. If the Victory points icon shows an X, consult the Difficulty level card. It shows how many Victory points X represents in Rounds 1–2 (bottom section), Rounds 3–4 (middle section), and in Rounds 5–6 (top section).
Faction Action
Perform the actions described on Automa‘s Faction card.
For the Gognomes faction:
- Setup: Randomly draw 3 Gognome Tokens and place them face up on the matching spaces of the achievement cards.
- When Automa completes an achievement with a token, immediately remove the token and she scores VP:
- 5VP for the 1st achievement.
- 10VP for the 2nd achievement.
- 15VP for the 3rd achievement.
- Achievement I: Automa offers you 3 or more Power by building or upgrading a structure.
- Achievement II: Automa leads on at least 3 Cult tracks.
- Achievement III: Automa passes before you 3 times. Place Power Tokens to keep track.
Advance Cult Track
- condition: Automa can advance on a Cult track.
- valid cult tracks: Any Cult track without a Marker on space 10. Remember: Automa does not need a key to advance to space 10 of a Cult track.
- tiebreaker: Depending on the icon shown on the Support card, Automa will either try to advance per Scoring tile or Catch-up.
- Scoring tile: The Cult track matching the color of the Automa icon on the current Scoring tile. If this is not a valid track, use the Catch-up tiebreaker.
- Catch-up:
- The Cult track where Automa‘s Marker is at 0.
- The Cult track where Automa‘s Marker is nearest to your Marker; it can be on the same space or above or below you.
- The Cult track, where Automa‘s Marker is nearest to the highest Marker; it can be on the same space or above or below the other marker.
- Directional Selection.
- execute:
- Place an available Automa Priest on the highest numbered Priest space below the chosen track and advance Automa‘s Marker the corresponding number of spaces.
- If Automa has no more available Priests, or if there’s no empty Priest space available below the track, advance Automa‘s Marker by 1 on that track without placing a Priest.
Upgrade
- condition: Automa can perform an upgrade.
- valid Structures: Any Structure that Automa can upgrade.
- tiebreaker:
- If Automa has a Trading house available: Automa Dwellings adjacent to any of your Structures. Otherwise, any Structure that Automa can upgrade.
- Giving you as little Power as possible.
- Directional Selection.
- execute: Replace the chosen Structure with the highest Power value Structure it can be legally upgraded to. If there’s a tie between Stronghold and Shipyard, Automa builds her Shipyard.
Take Favor Tile
- condition: This action is only performed in Rounds 5 and 6. Ignore this icon during Rounds 1–4.
- valid Favor tiles: Available +3 Cult Favor tiles for Cult tracks without a Marker on space 10.
- tiebreaker: Automa chooses a Favor tile using the Cult track icon ( or ) on the Support card. Apply the same tiebreaker rules as for the Advance Cult Track action (i.e., use Scoring tile or Catch-up depending on the icon on the Support card).
- execute: Give the chosen tile to Automa and increase her Marker by 3 on the track shown on the tile.
Transform and Build
- condition: Automa has at least one Dwelling to place. Otherwise, perform an Upgrade action.
- valid Spaces: Based on the marked/unmarked icon on the Support card, all empty Terrain spaces:
- within Range of any marked Structure, or
- within Range of any unmarked Structure.
- reaching— If none of the marked Structures are adjacent (directly or indirectly) to any of the unmarked Structures, the valid spaces are further limited to only those that would decrease the current shortest distance between marked and unmarked Structures. If there are none that would decrease it, all the spaces previously identified remain valid.
- tiebreaker:
Rules manual
Official PDF file
Prefer the Official PDF? Download the official Terra Mystica: Automa Solo Box rulebook or browse it online with our AI rules assistant.View Rulebook PDFFrequently Asked Questions
Quick answers about the rules
What is the objective of Terra Mystica: Automa Solo Box?
In Terra Mystica: Automa Solo Box, you're playing against an artificial opponent called Automa. She takes the place of a human player, allowing you to enjoy Terra Mystica solo. Your goal is to outscore Automa by the end of the game. Automa plays by a simplified ruleset, focusing on gaining Victory points through fixed or variable values on her cards, Scoring tiles, Cult scoring, and Area scoring.How do you set up Terra Mystica: Automa Solo Box?
Set up the game as normal with the following changes: Choose a Difficulty level for Automa and take the corresponding Difficulty level card. Place it along the left side of the board. For your first play(s), use Automalein. Use the double-sided Automa Scoring tiles instead of those from the base game. Place the side face-up that shows the relevant round. The Scoring tile with the Spade on its left side cannot be placed in Round 5 or 6. Place the new Game end token as usual, but only cover the…How do you play Terra Mystica: Automa Solo Box?
You will take the first turn of the first round. Automa takes her place in the turn order just as a human player would. Her turns have the following structure: Draw 1 Automa Decision card (Draw 2 in the first turn of a round). Perform the actions on the Action card from top to bottom or pass. Draw an Automa Decision Card At the start of her first turn of each round, draw 2 Decision cards from the Automa deck. Place the second to the left of the first to form an aligned pair. At the start of…Want to compare prices and check reviews? Find where to buy at the lowest price, price history, and our full game review.View Terra Mystica: Automa Solo BoxExpansion for
Published additional content