
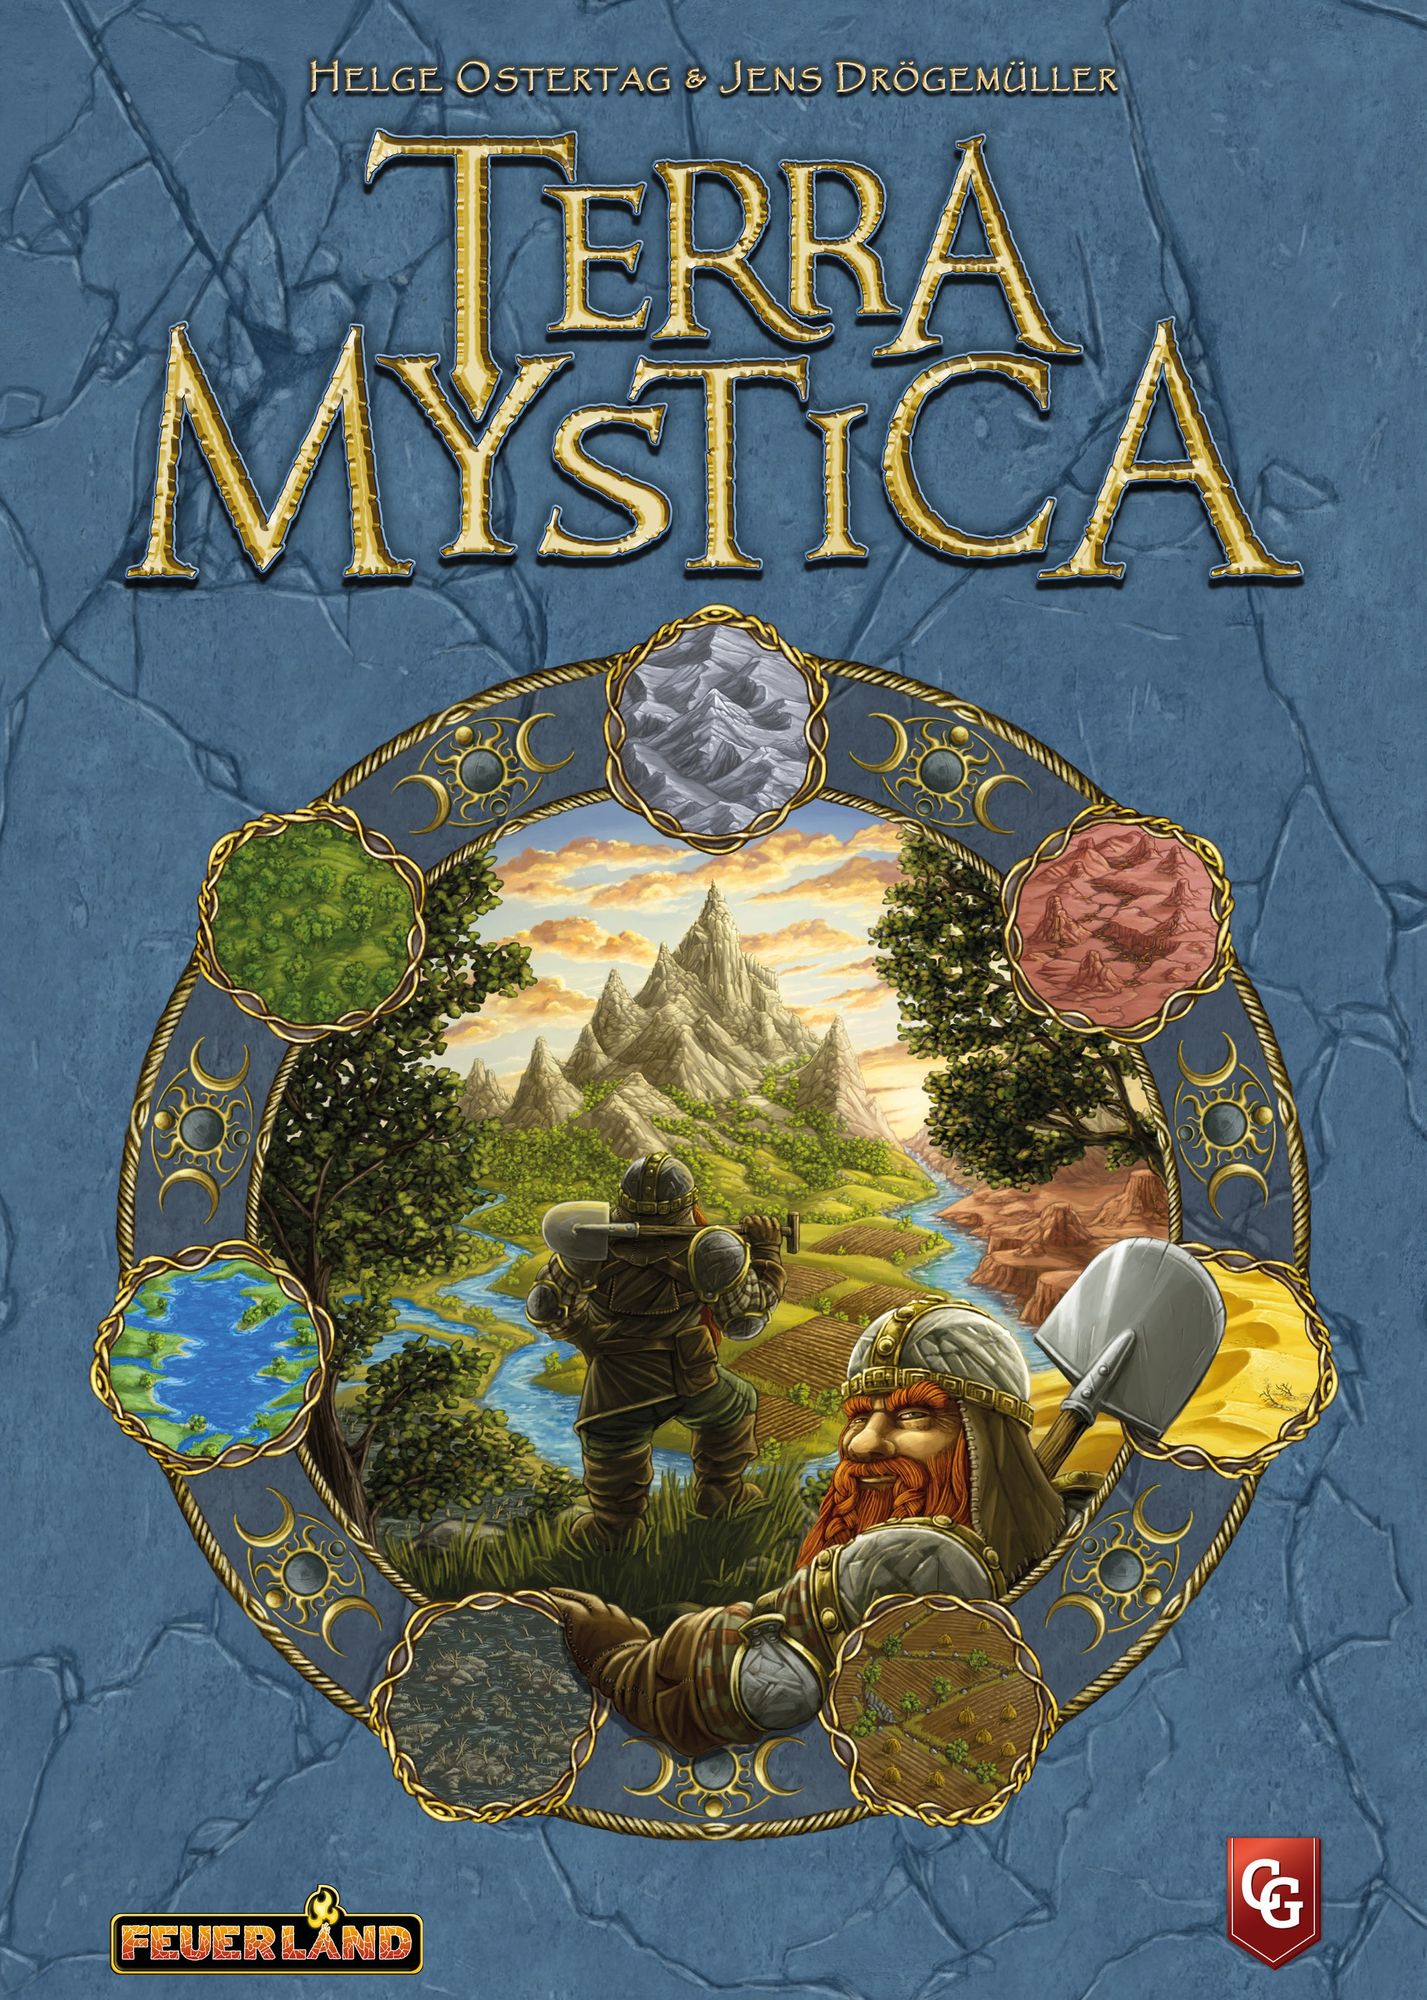
How to Play Terra Mystica
Feuerland Spiele, Bard Centrum Gier, Capstone Games · Board game · 2012What do you want to do now
Ask anything about Terra Mystica: rules, setup, components, complexity, price, or whether it fits your group.
Video: How to Play
Start here, then follow the written guide
Step by step
Objective of the Game
Welcome, aspiring mystics, to the world of Terra Mystica! Here, you'll lead one of 14 unique factions, each with its own special abilities and home terrain. Your goal? To transform the landscape to suit your needs, expand your territory, and develop your structures to become the most powerful faction. The player who has accumulated the most Victory Points (VP) by the end of the sixth round will claim ultimate victory and prove their faction's dominance!
Preparation (Setup)
Alright, let's get this mystical world ready for some action! Follow these steps to set up your game:
- Each player picks a Faction and takes their matching Faction Board and all the wooden tokens (Priests, Structures, Markers, Bridges) in their color. Keep the Priests and Bridges in a supply for now.
- Place your Structures on their corresponding spaces on your Faction Board. The leftmost Dwelling track space will remain empty.
- Put markers on the "0" space of the Shipping track, the "3" space of the Spade Exchange track, and the "20" space of the Victory Point (VP) track.
- Place the remaining markers on the "0" spaces of each Cult track, then advance one space for each corresponding Cult symbol on your Faction Board.
- Distribute 12 Power tokens among Bowls I and II as shown on your Faction Board.
- Take the number of starting Workers and Coins depicted on your Faction Board.
- Place Action tokens next to each of the 6 Power Action spaces on the game board.
- Randomly draw 6 Scoring Tiles and place them randomly to the left of the game board. Return the rest to the box. Cover up the rightmost bonus of the highest tile with the Game End token.
- Lay out all the Favor tiles in separate stacks corresponding to their symbols.
- Randomly place out Bonus Tiles equal to the number of players +3. Return the rest to the box.
- Placing First Structures: Choose a starting player and give them the Starting Player token. Starting with that player and going clockwise, each player places one Dwelling on any tile with their Faction’s home terrain. Then, in reverse order (starting with the last player), each player places a second Dwelling. (Remember to take each Dwelling from the leftmost available one on the Dwelling track.)
- Starting Bonuses: Starting with the last player and going counterclockwise, each player takes one Bonus tile. Put one Coin on each of the 3 unselected Bonuses.
The Game Turn
A round in Terra Mystica is a dance of three phases. Let's break them down:
Phase 1: Income
Time to collect your goodies! In this phase, everyone simultaneously gains resources:
- Take the resources displayed with the income symbol on your Faction Board.
- As you build Structures and remove them from their tracks, more resources become available. Take as many resources as displayed (uncovered) on the following tracks:
- Workers from Dwelling spaces.
- Coins from Trading House spaces.
- Priests from Temple/Sanctuary spaces.
- Power from Trading House and possibly Stronghold spaces.
- Also, gain any income resources depicted on any Favor Tiles or Bonus Cards you possess.
Phase 2: Actions
This is where the magic happens! Starting with the starting player and going clockwise, each player takes one action or passes. You'll keep taking actions until everyone has passed. If you pass, you're out for the rest of the round, so choose wisely!
Here are the actions you can take:
- Transform and Build:
- Transformation: You can transform one terrain tile if it's directly or indirectly adjacent to one of your Structures and isn't occupied. Each step of terrain transformation on the transformation cycle wheel costs one Spade. You can buy Spades with Workers at the rate indicated on your Faction Board's Exchange track. These purchased Spades can only be used for the current transformation. You can transform as many steps as you want and are able to. Once done, place a terrain tile of the new type over the space.
- If you transform the terrain into your Home Terrain type, you can immediately pay to build a Dwelling on that space without taking another action. (If a Power Action or bonus allows transforming two spaces, only the first one can receive a Dwelling this way.)
- Building a Dwelling: You can build a Dwelling if the target space is unoccupied, is your Home Terrain type, and is directly or indirectly adjacent to another of your Structures. The cost is on the left of the Dwelling track. Take the leftmost Dwelling token and place it. You can build Dwellings without transforming first. Only one Dwelling can be built per action. When building a Dwelling directly adjacent to other players, they might gain Power!
- Advance Shipping Track: Pay the cost on the left of the Shipping track to move your marker one space. You'll immediately gain the Victory Points listed on the new space. Now, tiles separated by a number of river tiles equal to your Shipping track number are considered indirectly adjacent for you!
- Lower Exchange Rate: Pay the cost below the Exchange track to move your marker up one space. You'll immediately gain the Victory Points listed on the new space. Each Spade for you now costs fewer Workers!
- Upgrade Structure: Pay the cost on the left of the target Structure on your Faction Board to upgrade one of your Structures. Take the leftmost token for the new Structure and place it on the target tile. Remove the previous Structure and place it in the rightmost space of its corresponding area on your Faction Board (this will reduce your income). When upgrading a Structure directly adjacent to other players, they might gain Power!
- Trading House: Upgrades from a Dwelling. Pay the lower Coin cost if the Trading House will be placed directly adjacent to another player’s structure. Otherwise, pay the higher Coin cost.
- Stronghold: Upgrades from a Trading House. You immediately gain your Faction’s Special Ability located on the Stronghold space.
- Temple: Upgrades from a Trading House. Immediately take one Favor Tile (it must be different from any you already own).
- Sanctuary: Upgrades from a Temple. Immediately take one Favor Tile (it must be different from any you already own).
- Send a Priest to a Cult: Place a Priest on any open space at the bottom of a Cult track to move your marker up the corresponding number of spaces on that Cult track. That Priest stays there for the rest of the game. Alternatively, you can place one Priest to only advance 1 space, then return the Priest to your supply (it's not an available resource; you'll need to acquire it again). If your marker passes any Power icons along the Cult track, gain that much Power. Only one marker can be in any given "10" space on a Cult track, and you must have one Town for each "10" space occupied.
- Power Actions: Spend Power to use any of the Power Actions along the bottom of the game board. Cover the action with an Action token. That Power Action cannot be used again this turn.
- Special Actions: Take any Special Action denoted on your Faction Board (from building a Stronghold), Bonus Card, or Favor Tile (look for the orange octagon background). Cover the action with an Action token. That Special Action cannot be used again this turn.
- Pass: If you pass, you can't take any more actions this round. Obtain any bonuses on your Bonus Card that are received when passing (depicted by the Pass icon). Then, return your Bonus Card face up and take one of the three available ones (and any Coins on them). Turn it face down in front of you until the next round. The first player to pass becomes the new starting player and takes the Starting Player token.
Phase 3: Cult Bonus and Clean-Up
After all players have passed, it's clean-up time and cult rewards!
- Players gain the Cult Bonuses listed on the right side of the Scoring Tiles. For every multiple of the number of steps on the depicted Cult track, the player gains the depicted bonus. Any acquired Spades may be divided between spaces but cannot be saved for future rounds.
- Remove Action Tokens from used spaces on the Game board, Faction Board, Favor tiles, or Bonus cards.
- Put 1 Coin on each leftover Bonus Card.
- Flip over the Scoring Tile from this past round. Then, proceed with Phase 1 of the new round!
Important Concepts to Remember:
- Adjacency:
- Directly adjacent: Spaces are physically touching or connected over a river by a Bridge.
- Indirectly adjacent: Spaces are separated by a number of contiguous river spaces equal to or less than your value on the Shipping Track.
- Indirect adjacency matters for transforming spaces and building Dwellings. Direct adjacency matters for building Upgrades (and gaining Power from doing so) and founding Towns. Both matter for end game scoring.
- Gaining and Using Power:
- When you gain Power, move tokens from Bowl I to II. If Bowl I is empty, move from Bowl II to III. If Bowl II is also empty, no more Power can be gained.
- You can also move Power directly from Bowl II to III (even if Bowl I is empty) by removing one other Power token from Bowl II from the game for each token moved this way.
- To spend Power (for Power Actions or conversions), move tokens from Bowl III to I.
- Gaining Power from Opponents’ Structures: When a player builds or upgrades a Structure directly adjacent to opponents' Structures, those opponents can choose to gain Power. Add the Power Values of all their adjacent Structures. The opponent can gain that much Power at a cost of one fewer Victory Point than Power gained. They can't gain a partial amount or end with negative VP.
- Power Values of Structures: Dwelling: 1; Trading House, Temple: 2; Stronghold, Sanctuary: 3.
- Conversions: At any time during your turn (or at the end of the game), you can convert Power into resources (Priests, Workers, Coin) and resources into one another. This doesn't count as an action. The conversion rates are displayed below Power Bowl III.
- Bridges: You can build Bridges using a Power Action. Place a Bridge over the edge of a river space. One end must touch a space with your Structure. The space on the other side is now directly adjacent. Bridges cannot be removed.
- Towns: A Town forms automatically if you have an area of four directly adjacent Structures (three if one is a Sanctuary) with a combined Power Value of at least 7. When a Town forms, take an available Town tile, gain its VP and benefits. For each Town tile, you can advance to the "10" space of one Cult track.
Game End and Scoring
The game concludes after the sixth round. You won't gain any Cult bonuses for this final round (it should be covered by the Game End token). Then, it's time for the final tally of Victory Points on the VP track:
- Cult Scoring: For each Cult track:
- The highest player gets 8 VP.
- The second highest gets 4 VP.
- The third highest gets 2 VP.
- Area Scoring: An area consists of all of a player’s Structures that are directly or indirectly adjacent.
- The player with the largest area gets 18 VP.
- The second largest gets 12 VP.
- The third largest gets 6 VP.
- Resource Conversion: Convert all remaining resources into Coins. You gain 1 VP for every 3 Coins.
The player with the most VP wins! If there's a tie, all tied players win.
Tips for Winning
Alright, future Terra Mystica champions, here are a few pointers to get you started on the path to victory:
- Master Your Terrain Transformation: Don't underestimate the power of Spades! Efficiently transforming terrain to your Home Terrain is crucial for expanding your territory and building Dwellings. Remember that Spades gained from exchanging Workers during a Transformation action must all be used for a single space. However, Spades from Power Actions or bonuses can be used more flexibly, even for a second space if you have enough!
- Strategic Upgrades and Power Plays: Upgrading your Structures not only gives you better income but also unlocks powerful abilities. Consider the cost-benefit of upgrading to a Trading House (especially if you can get the cheaper cost by building adjacent to an opponent!), a Stronghold for its special ability, or Temples/Sanctuaries for valuable Favor Tiles. Also, keep an eye on your Power Bowls; knowing when to gain Power and when to spend it on crucial Power Actions (like building Bridges or getting extra Spades) can be a game-changer.
- Cults and Area Control for End Game Points: Don't forget the end-game scoring! Actively participating in the Cult tracks throughout the game can net you significant VP. Similarly, focusing on creating a large, contiguous area of your Structures will be vital for the Area Scoring bonus. Remember that both direct and indirect adjacency count for this, so leverage your Shipping Track and Bridges to connect your empire!
More videos
More rules explanations from the community
In English
-
 Nights Around a Table - How to Play Terra Mystica
-
 How to Play Terra Mystica | Roll For Crit
-
 Learn how to play Terra Mystica
-
 Terra Mystica - board game tutorial by JustLetTerenceExplainIt
-
 Terra Mystica 101 Strategy with Sarterus of MeeplesIncluded.com
-
 Peaky Boardgamer Episode #45 - Terra Mystica - How to play (English)
-
 Terra Mystica - How to play
-
 Terra Mystica - Gameplay Runthrough - Part1
-
 Terra Mystica - Gameplay Runthrough - Part3
-
 Terra Mystica How to Play Overview
-
 Terra Mystica - Gameplay Runthrough - Part2
Rules manual
Official PDF file
Frequently Asked Questions
Quick answers about the rules
