
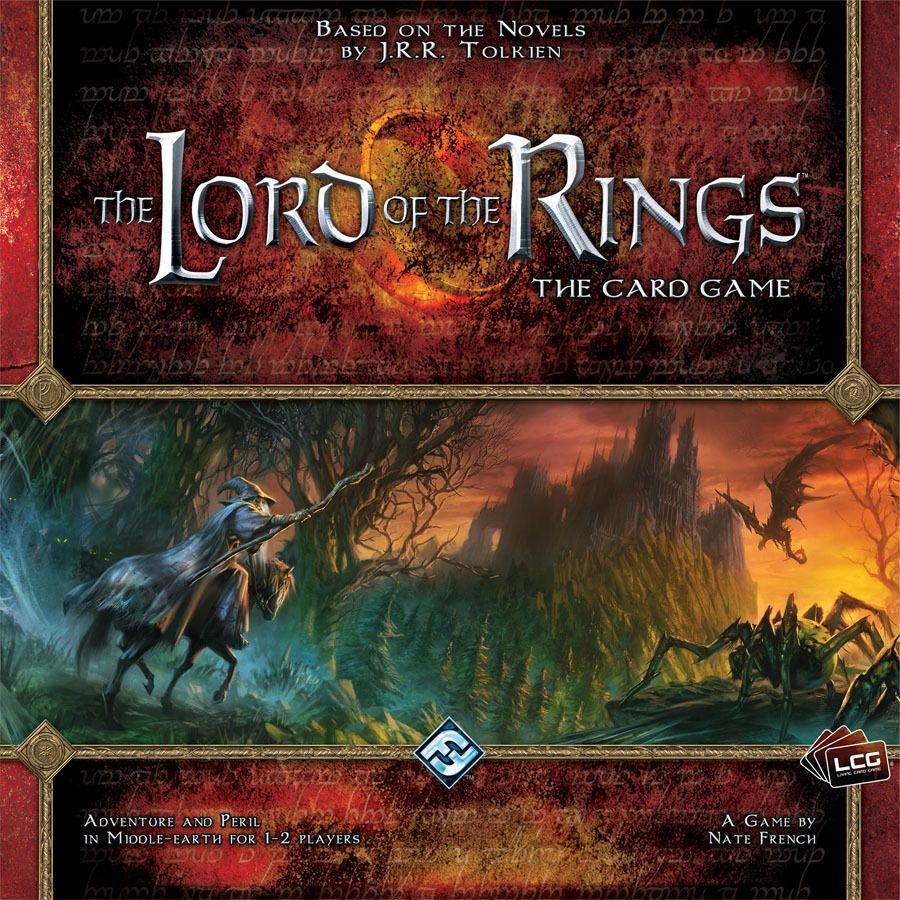
The Lord of the Rings: The Card Game — How to Play
Fantasy Flight Games, ADC Blackfire Entertainment, Edge Entertainment · Board game · 2011Video: How to Play
Start here, then follow the written guide
Step by step
The Lord of the Rings: The Card Game - Your Definitive Guide to Adventure!
Gather 'round, fellow adventurers! Ready to dive into the epic world of Middle-earth? The Lord of the Rings: The Card Game isn't just a game; it's a cooperative journey where you and your friends become the heroes, facing down the dark forces of Sauron. Forget those dusty rulebooks – we're going to get you questing in no time with this fun, friendly guide!
Objective of the Game
Your grand quest in The Lord of the Rings: The Card Game is to lead a fellowship of heroes through perilous scenarios, completing stages of a chosen quest. You'll need to manage your resources, strategize your attacks, and overcome the ever-present threat of the encounter deck. The ultimate goal? To successfully complete the final stage of your chosen scenario as a team. If at least one player survives to see the final quest stage completed, you all win! But beware, if all players are eliminated before that glorious moment, Middle-earth falls, and you all lose.
Preparation (Setup)
Alright, let's get your adventure started! Here’s how to set up your game:
- Shuffle Your Decks: Each player shuffles their personal player deck (keeping their hero cards separate) and places it facedown in front of them.
- Heroes Assemble!: Place your heroes faceup in front of you. Add up their threat cost and set your threat tracker to this starting level.
- First Player: Choose or randomly determine who gets the first player token. This player kicks off the action!
- Starting Hand: Each player draws 6 cards from their player deck. Not happy with your hand? You can take a single mulligan: shuffle those 6 cards back into your deck and draw 6 new ones. You must keep this second hand!
- The Quest Awaits: Choose a quest you want to embark on. Arrange the quest cards in sequential order, with Stage 1A on top and the numbers increasing underneath.
- Encounter Deck: Remove any cards from the encounter deck that don't belong to your chosen quest. Shuffle the remaining cards and place the deck facedown next to the quest deck in the center of the play area.
- Tokens Galore: Place piles of damage, progress, and resource tokens nearby. You'll need these!
- Final Touches: Check the first quest card for any additional setup instructions. Follow them, then flip the first quest card faceup.
And just like that, you're ready to begin your first round!
The Turn of Play
A round in The Lord of the Rings: The Card Game is a series of phases where you and your fellow players will take actions, face challenges, and hopefully, make progress on your quest. Here’s the breakdown:
1. Resource Phase
- Each player simultaneously adds 1 resource token to each of their heroes' resource pools.
- Then, each player draws 1 card from their player deck and adds it to their hand.
- Actions may be taken by any player.
2. Planning Phase
- Starting with the first player and going clockwise, players can play ally and attachment cards from their hand.
- To play a card, you need to spend resource tokens from a hero's pool. The hero must have a resource icon that matches the card's sphere of influence (a "resource match").
- Neutral cards (no sphere of influence) don't require a resource match; you can pay for them with any hero's resources. You can even combine resources from different heroes!
- Played ally or attachment cards are placed faceup and ready in your play area. Attachments partially overlap the card they're attached to.
- Actions may be taken by any player.
3. Quest Phase
This is where you commit your heroes to the current quest!
- Step 1: Commit Characters
- As a team, starting with the first player and going clockwise, each player can commit as many characters as they want to the current quest card, exhausting them.
- Actions may be taken by any player.
- Step 2: Staging
- Reveal 1 card per player from the encounter deck, one at a time. Resolve any 'when revealed' effects before the next card is revealed.
- Enemy and location cards go into the staging area. Treachery cards are resolved and usually discarded.
- If the encounter deck runs out, shuffle its discard pile to form a new one.
- Actions may be taken by any player.
- Step 3: Quest Resolution
- Compare the combined willpower of all committed characters against the combined threat of all cards in the staging area.
- If willpower is higher: Place progress tokens on the current quest card equal to the difference. If there's an active location, tokens go there first until it's explored, then the rest go to the quest.
- If threat is higher: Each player must raise their threat dial by the amount that threat exceeded willpower.
- If willpower equals threat: Nothing happens.
- Committed characters remain exhausted.
- Actions may be taken by any player.
4. Travel Phase
- Players may travel as a group to one location in the staging area, making it the active location. You can only travel to one location at a time, and not if another location is already active. The first player makes the final decision.
- An active location no longer contributes its threat to the staging area but acts as a buffer for progress tokens.
- If an active location accumulates as many progress tokens as its quest points, it's explored and discarded.
- Actions may be taken by any player.
5. Encounter Phase
Time to face those enemies!
- Step 1: Player Engagement
- Each player has the option to engage one enemy by moving it from the staging area to in front of them.
- Actions may be taken by any player.
- Step 2: Engagement Checks
- Starting with the first player, each player compares their threat level against the engagement cost of enemies remaining in the staging area. The enemy with the highest engagement cost equal to or lower than their threat engages that player.
- Continue clockwise until no more enemies can engage players.
- Actions may be taken by any player.
6. Combat Phase
Swords clash and arrows fly!
- Deal Shadow Cards: Deal 1 shadow card (the top card of the encounter deck) facedown to each engaged enemy. Deal to the first player's enemies first, then clockwise. For a single player, deal to the enemy with the highest engagement cost first.
- Actions may be taken by any player between each combat step.
- Resolving Enemy Attacks:
- Choose an enemy: The first player chooses which enemy attack to resolve first.
- Declare defender: Only one character can be declared as a defender against each attacking enemy, and must exhaust to do so. An attack can also go undefended.
- Shadow effect: Flip the enemy's shadow card faceup and resolve any shadow effect.
- Determine damage: Subtract the defending character's defense strength from the attacking enemy's attack strength. This is the damage dealt to the defender. If undefended, all damage goes to a single hero.
- The first player repeats these steps for all enemies they are engaged with, then proceed clockwise for other players.
- Attacking Enemies:
- Starting with the first player and going clockwise, each player can declare one attack against each enemy they are engaged with.
- Declare target and attackers: Choose an engaged enemy and exhaust any number of characters as attackers.
- Determine attack strength: Add up the total attack strength of your attacking characters.
- Determine combat damage: Subtract the target enemy's defense strength from your total attack strength. This is the damage dealt to the enemy.
- Once all attacks are resolved, discard all shadow cards dealt this round.
- Actions may be taken by any player.
7. Refresh Phase
- All exhausted cards become ready again.
- Each player increases their threat by 1.
- The first player token passes to the next player clockwise.
- Actions may be taken by any player.
End of Game and Scoring
You and your fellow players win or lose as a team. The game concludes in one of two ways:
- Victory!: If at least one player survives through the completion of the final stage of the scenario, your team achieves victory!
- Defeat: If all players are eliminated before completing the final stage of the scenario, the forces of evil prevail, and your team loses.
A player is eliminated if:
- All their heroes are killed.
- Their threat level reaches 50.
- A card effect forces their elimination.
If a player is eliminated, their cards are removed, and any encounter cards they were engaged with return to the staging area. The remaining players continue the game, but with one less encounter card revealed during the quest phase.
Some cards have a Victory X keyword. When these cards leave play, they are placed near a player's threat dial to remind everyone of the victory points they contribute to the group's score at the end of the game. While the manual doesn't detail specific "scoring" beyond win/loss conditions, these points often serve as a measure of how well you performed!
Tips for Winning
Middle-earth is a dangerous place, but with a few pointers, you'll be ready for anything:
- Resource Management is Key: Pay close attention to your heroes' resource pools and their sphere of influence. Planning ahead for which allies and attachments you want to play is crucial. Remember, neutral cards are flexible and can be paid for by any hero's resources, making them great for filling gaps!
- Teamwork in Questing: In the Quest Phase, openly discuss with your teammates how many characters to commit. Sometimes, holding back characters for combat is essential, even if it means raising your threat. Other times, you need to go all-in to clear a tricky quest stage. Balance is everything!
- Understand Card Effects: This game has a lot of keywords and effects! Pay attention to whether an effect is a Constant Effect, an Action, a Response, or a Forced Effect. Knowing when and how these trigger (or if they're mandatory!) can make or break your strategy. For example, a Peril effect must be resolved by the player who revealed it without conferring, so be ready to make a quick decision!
More videos
More rules explanations from the community
In English
-
 Complete Tutorial and How to Play Guide - The Lord of the Rings: the Card Game
-
 Strategy - Sphere Priorities
-
 How To Play - The HARDEST rules
-
 How To Play - the EASY way!
-
 Top 35 Tips for New Players
-
 LOTR LCG - Deck Tech - Mono Tactics Direct Damage
-
 Lord of the Rings: The Card Game - Storage
-
 All Archetypes Explained for Lord of the Rings the Card Game! Gondor, Rohan, Dale, Noldor and more!
-
 Getting Started In 2024 With Lord of the Rings the Card Game
-
 How to Play the LORD OF THE RINGS the Living Card Game
-
 Glurung about rules LOTR LCG
Rules manual
Official PDF file
