
How to Play Raiders of the North Sea: Fields of Fame
Garphill Games, Angry Lion Games, Games Factory · Board game · 2018What do you want to do now
Ask anything about Raiders of the North Sea: Fields of Fame: rules, setup, components, complexity, price, or whether it fits your group.
Step by step
Objective of the Game
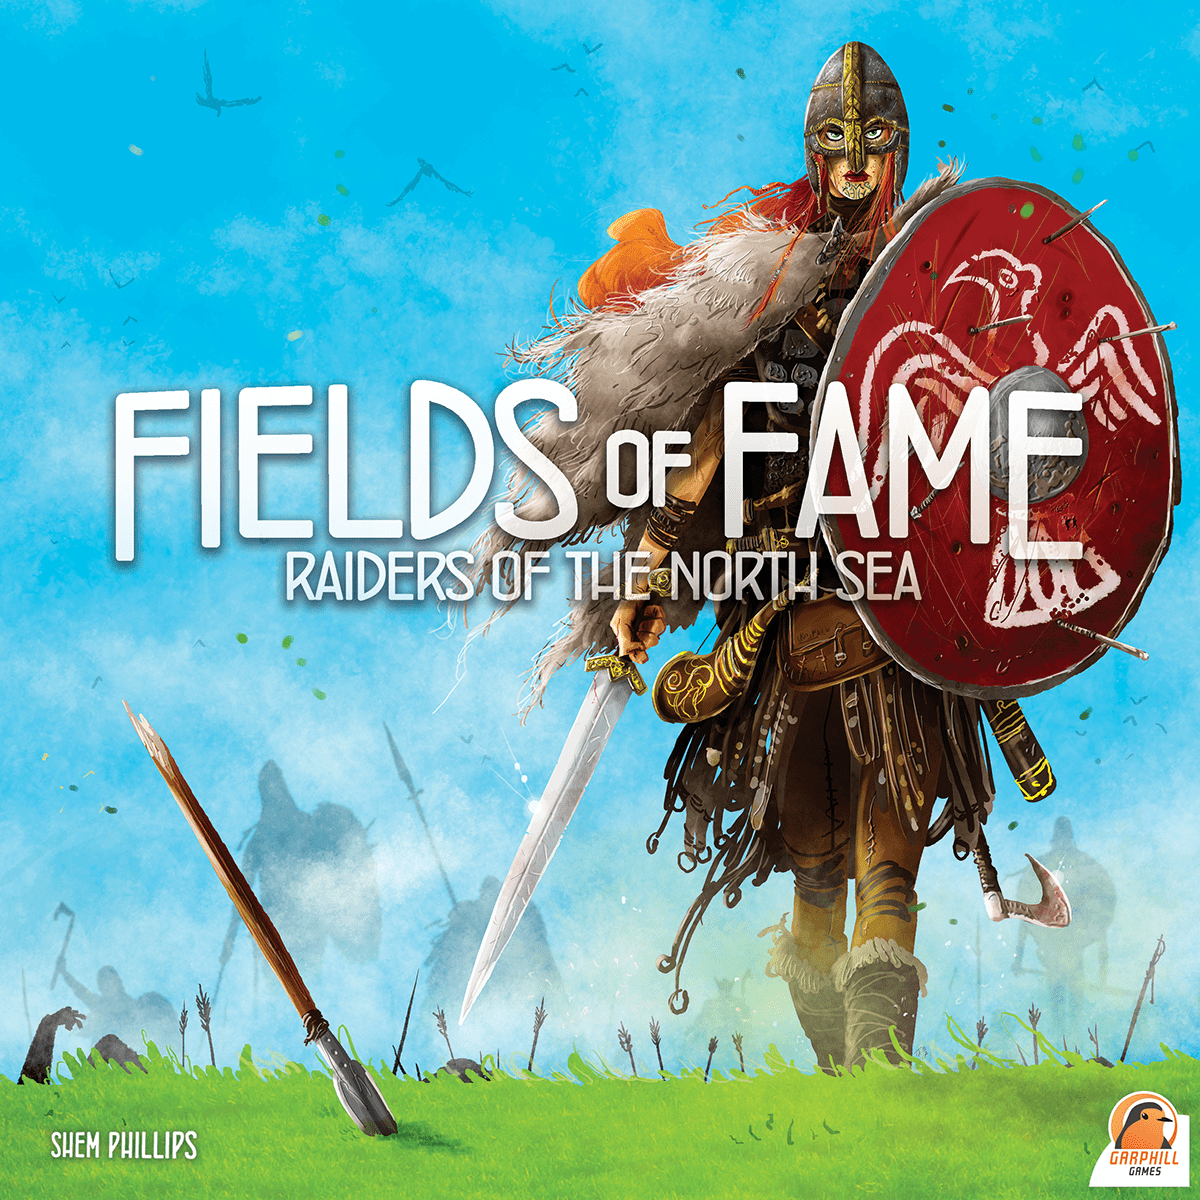
In Raiders of the North Sea: Fields of Fame, enemy jarls have united to defend against your raids. Despite their threats, fame awaits those brave enough to confront them. Encountering a jarl is sure to bring injury, but this is no time for the faint-hearted. Onwards to the battlefield!
Preparation (Setup)
Set up Raiders of the North Sea as described in the original rulebook, with the following changes and additions:
- Place the Township Board alongside the bottom-right side of the Main Board.
- Shuffle all Jarl Cards and place them facedown on the lower card space of the Township Board, forming the Jarl Draw Pile. The space above is for the Jarl Discard Pile.
- Add all Jarl Tokens into the Black Bag before placing any Plunder or Valkyrie. When placing Plunder, Valkyrie, and Jarl Tokens, remember to place the required amounts on the new Township spaces, along with the 3 Grey Workers too.
- Place 1 Score Marker of each player’s color on the ‘0’ space of the Fame Track, on the Township Board.
- Place all Wounds in the Main Supply.
- Each player receives 1 Encounter Board. This will be used to keep track of any Jarl encounters during the game.
- Shuffle all new Townsfolk Cards together with all cards from the base game of Raiders.
- When playing with 4 or more players, a new card draft is recommended. However, this may also be used with fewer players. To use the new draft follow these steps:
- Deal 5 cards facedown to each player.
- Each player looks at their hand of cards and chooses one card to hire for free (no silver required). For now, players should place this card facedown in front of them.
- Of their remaining 4 cards, all players pass 1 card to the player on their left and 1 card to their right.
- All players must now turn their previously hired crew card faceup.
- All players should now have a hand of 4 cards (2 from their starting hand and 1 from each neighbor).
Flow of the Game
Consulte o manual para detalhes sobre esta seção.
Ações e Como Jogar
Encountering Jarls
During setup, Jarl Tokens were added to various sets of Plunder and Valkyrie. When a player claims a set containing a Jarl Token, they must turn over the top Jarl Card from the Jarl Draw Pile. After seeing the Jarl Card, they must choose from 1 of 3 options:
- Kill
- Subdue
- Flee
When picking up more than 1 Jarl Token in a single raid, reveal as many Jarl Cards as there are Jarl Tokens. The current player must decide in which order they will encounter each Jarl (the order in which they are drawn is irrelevant). However, all encounters must be resolved in the order shown above (Kill > Subdue > Flee). A player cannot Flee from the first Jarl and then choose to Kill the second.
Important Notes:
- Jarl encounters happen before resolving any Valkyrie in the same raid.
- Once a player has revealed a Jarl Card, they must encounter them (they cannot change their mind and choose a different set of Plunder).
- When resolving each encounter, the current player should place the Jarl Token onto the associated area on their Encounter Board. Once placed, Jarl Tokens will remain there for the rest of the game.
- It is important to let new players know that all Jarl Cards have a Military Strength of 5 or 6 and a Silver cost of 3 or 4. As you will discover, it helps to know this before entering any encounters.
1. Kill
When Killing a Jarl, the current player will need to take Wounds, equal to the Jarl’s Military Strength +1.
Taking Wounds: Killing and Subduing Jarls will always result in your crew getting wounded in the battle. In both cases, the current player must take the required Wounds from the Main Supply and place them onto their crew.
- Each Crew Member may take a number of Wounds, up to the same value of their printed Military Strength.
- For every Wound a Crew Member takes, their Military Strength is reduced by 1 in future raids.
- Even though they may have more strength, Heroes can still not take more Wounds than their printed value.
- Crew Members with 0 Military Strength cannot take any Wounds.
- Crew Members cannot die from taking Wounds.
Wounds should not be limited by the supply. Should the Main Supply ever run out, players should use another token in place of Wounds temporarily.
After taking the required number of Wounds, the current player receives the bonus Kill action, shown on the bottom-right of the encountered Jarl Card. They also gain 2 Fame for each Kill. This is done by moving the current player’s score Score Marker 2 spaces up the Fame Track. Lastly, they place the Killed Jarl into the Jarl Discard Pile.
2. Subdue
When choosing to Subdue an enemy Jarl, the current player will need to take Wounds, equal to the Jarl’s Military Strength -1.
After taking the required number of Wounds, the current player must pay the Silver cost indicated on the Jarl Card, to the Main Supply. The Jarl Card is then placed into the current player’s crew.
Note: Subdued Jarls cannot take Wounds or be targeted by Valkyrie in the same raid that they were encountered. However, they can take Wounds and be targeted by Valkyrie in future raids.
Once an enemy Jarl has been Subdued, it is considered a hired crew. However, there is one exception: Jarl Cards can never be added to a player’s hand. Players are limited to having no more than 5 Crew Members (including Jarls) at the end of their turn (after resolving Valkyrie).
3. Flee
When choosing to Flee an enemy Jarl, the current player discards the Jarl Card without taking any Wounds. They must then choose to lose either 1 Fame or 1 Victory Point. If they have neither, nothing happens.
If a player cannot Kill or Subdue a Jarl, they must flee.
Fame in Battle
When players exceed the maximum Military Strength for scoring on their current raid, they may gain Fame for their excess Military Strength.
Any Fame received during a raid is recorded by moving the current player’s score Score Marker up the Fame Track. Just as Harbours do not award Victory Points for Military Strength, they also do not award players with Fame when raiding.
Curing Wounds
The only way to cure Wounds is by some Town Hall actions, or if a Crew Card is removed for any reason (Valkyrie, Crew action, Town Hall action, or anything else). All Wounds on that card are returned to the Main Supply (they are not transferred to other Crew Members).
Valkyrie Dice
The 2 supplied Valkyrie Dice offer an optional variant for players who enjoy some added risk. During setup, replace the original red dice with these. They have the same die results, but also have a Valkyrie icon on each ‘2’ side. When rolling a Valkyrie icon, the raiding player must treat it just as if there is an extra Valkyrie in the plunder they choose. If they happen to roll 2 Valkyrie icons (1 on each die), they must resolve both.
The Township
The new Township offers 3 additional raids for Black or Grey Workers to enter. There is an opportunity to score Victory Points from Military Strength, however no dice are rolled when raiding the Township.
Fim de Jogo e Pontuação
End Game Scoring
At the game’s end, players will score final Victory Points, as outlined in the original rulebook.
Players will also score Victory Points for how high their Score Marker is up the Fame Track (in the same manner as the Armour and Valkyrie Tracks).
Additionally, players may also score Victory Points for any Jarls still alive in their crew. These Victory Point conditions are shown on the bottom left side of each Jarl card. For example, if Jarl Borg is still in a player's crew at the game’s end, they will score 3 VP if they have not fled any Jarls.
Dicas para Vencer
- When encountering Jarls, remember that all Jarl Cards have a Military Strength of 5 or 6 and a Silver cost of 3 or 4. Knowing this beforehand can help you decide whether to Kill, Subdue, or Flee.
- Consider Subduing Jarls if you can afford the Silver cost, as they can provide additional Victory Points at the end of the game if they remain in your crew and their conditions are met.
- Aim to gain Fame in battle by exceeding the maximum Military Strength for scoring during raids, as this will move your Score Marker up the Fame Track, contributing to end-game Victory Points.
Rules manual
Official PDF file
Frequently Asked Questions
Quick answers about the rules
What is the objective of Raiders of the North Sea: Fields of Fame?
How do you set up Raiders of the North Sea: Fields of Fame?
How do you play Raiders of the North Sea: Fields of Fame?
How does Raiders of the North Sea: Fields of Fame end, and how do you score?
What are some tips for winning Raiders of the North Sea: Fields of Fame?
Expansion for
Published additional content

