How to Play Crossing Oceans
PD-Verlag, Rio Grande Games · Board game · 2022- Players
- 2–4 · best 4
- Play Time
- 60–90 min
- Weight
- Weight 2.5/5
- Year
- Year 2022
- Minimum age
- Minimum age 14+
What do you want to do now
Ask anything about Crossing Oceans: rules, setup, components, complexity, price, or whether it fits your group.
Video: How to Play
Start here, then follow the written guide
Step by step
Game Objective
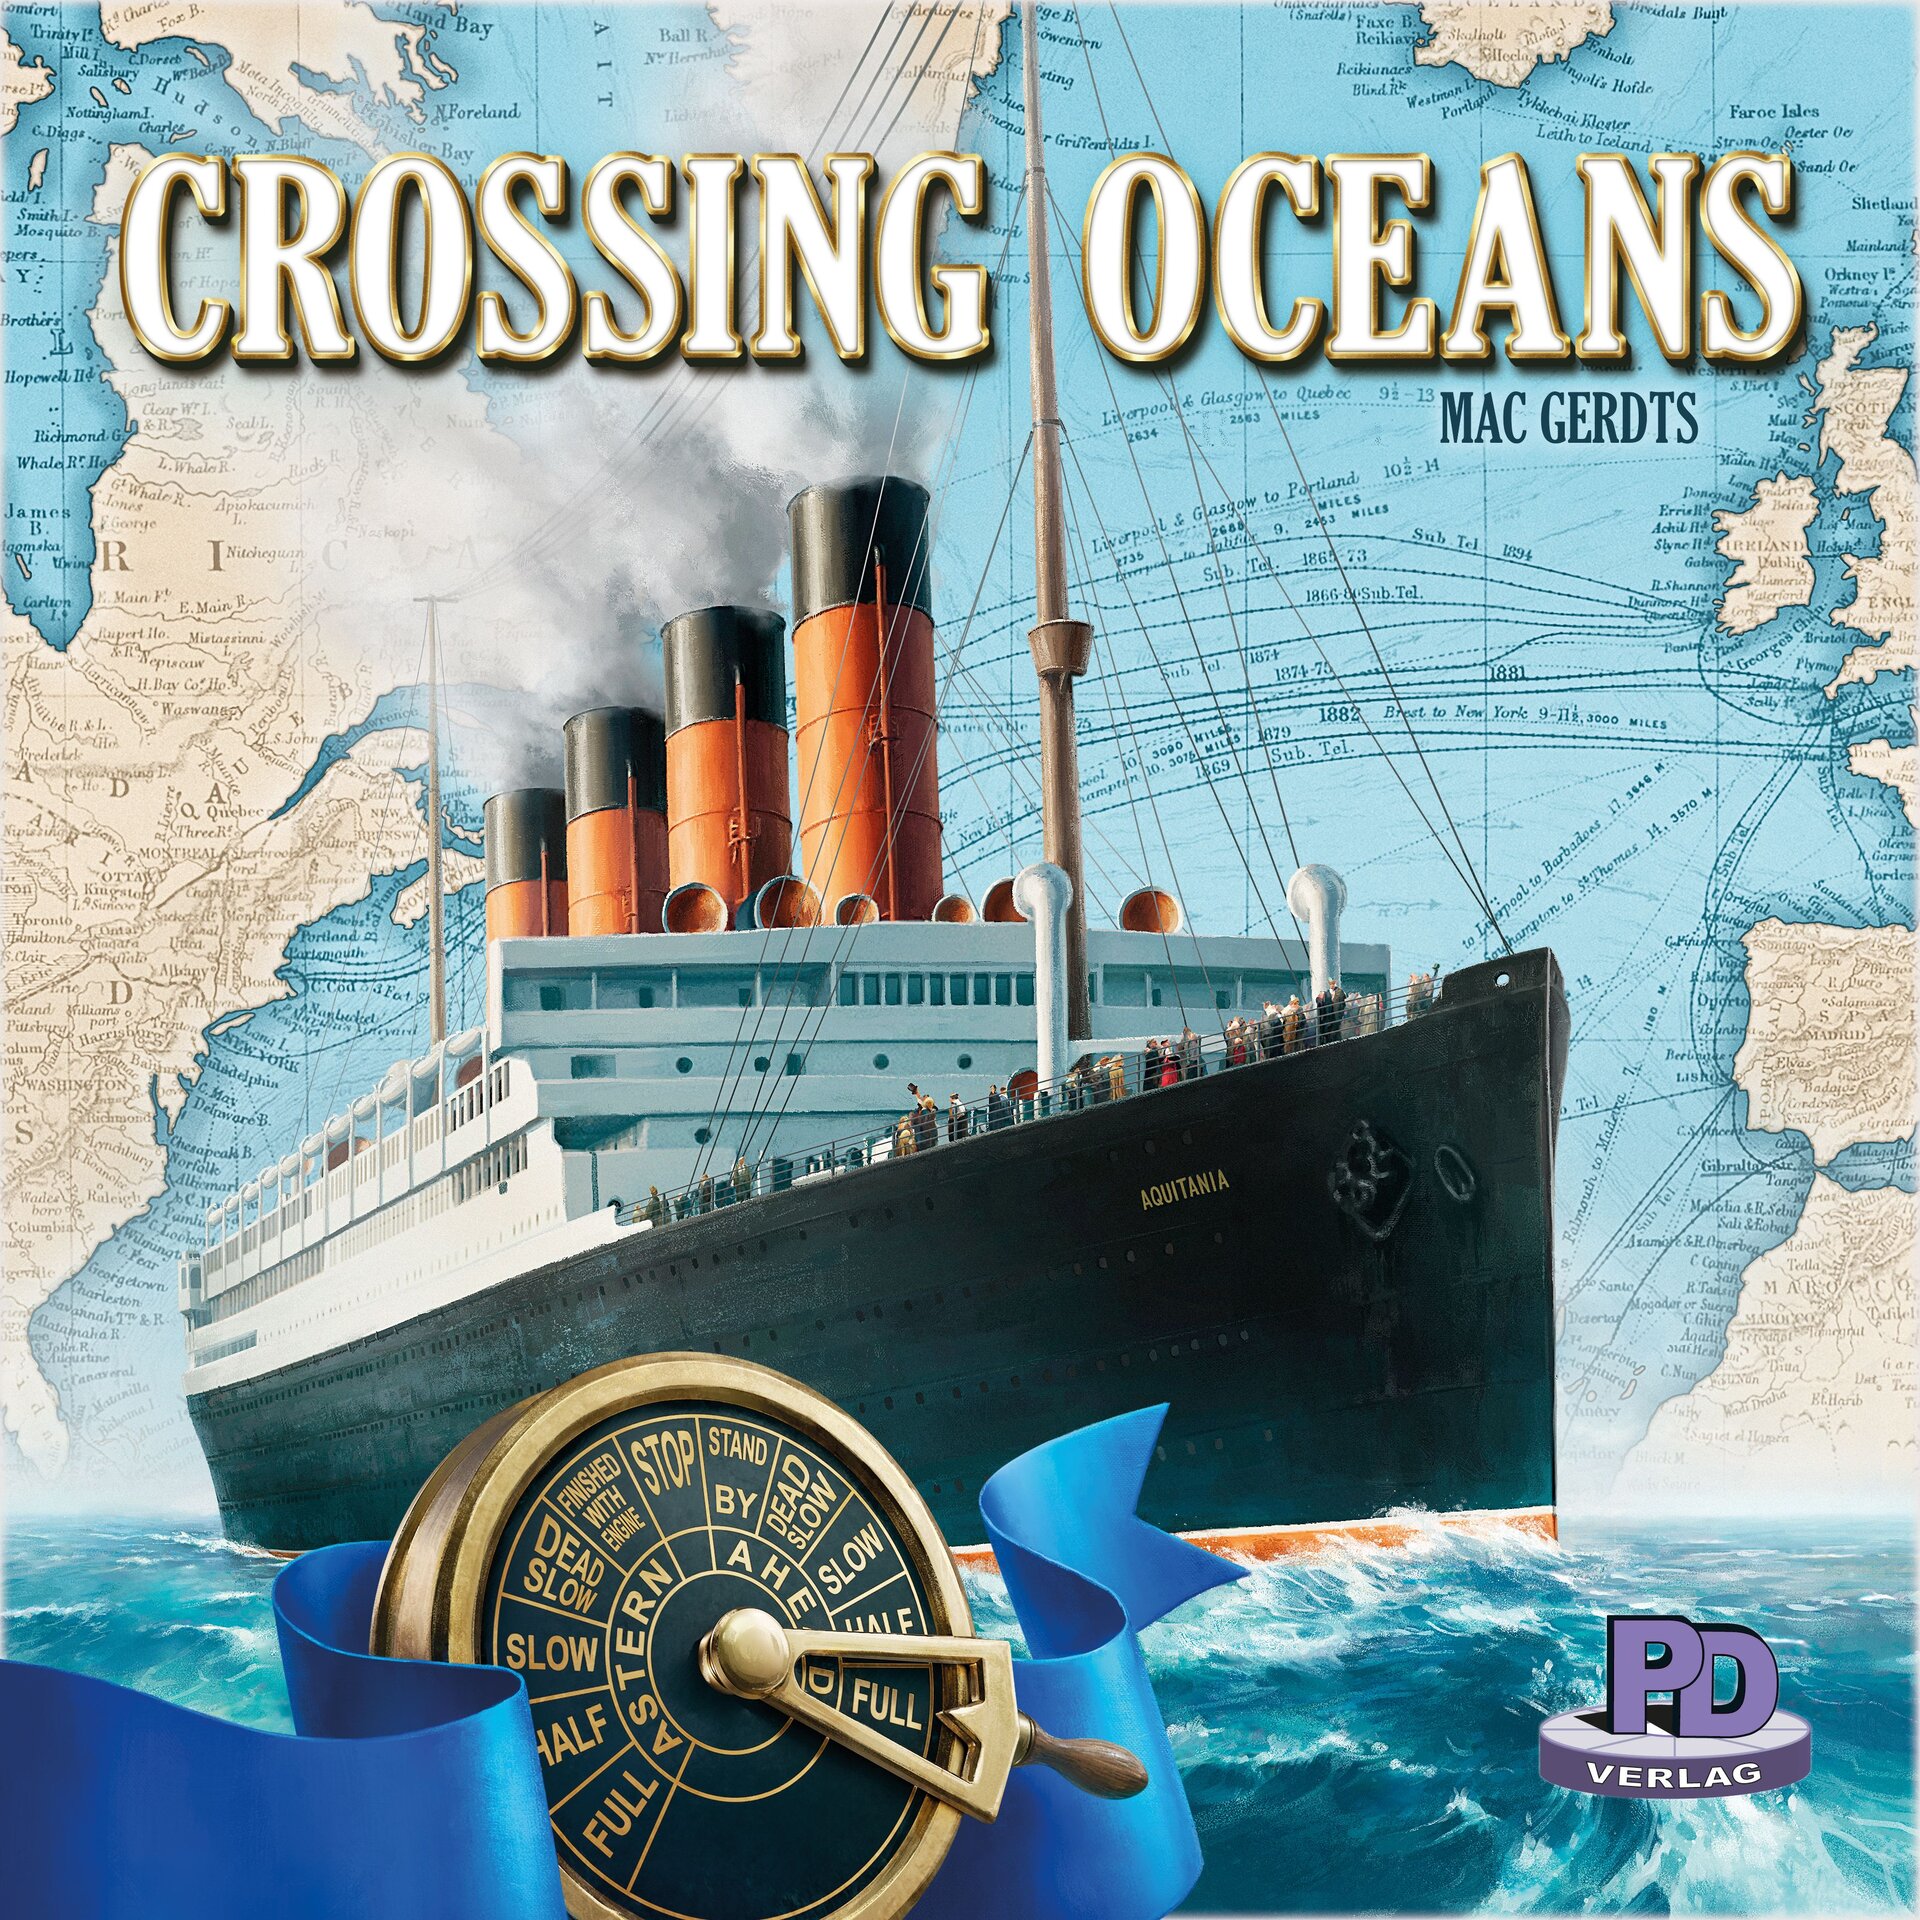
In Crossing Oceans, you take on the role of a skilled shipping agent around 1900, with the goal of building a prosperous merchant fleet. With your steamships, you establish regular lines from Europe to important ports around the world. You seek to outdo your rivals, pushing them out of their traditional ports and competing for the prestigious Blue Riband in the North Atlantic. It is crucial to supply your steamships with coal so that they generate income and to build trading houses in ports to gain additional revenue. The game requires you to act cleverly to maintain your cash flow, as ships built between 1870 and 1914 become increasingly larger and more expensive. Keep an eye on your rivals, as they will try to buy the best ships, occupy desired ports and lines, and outpace your fastest ships in the competition for the Blue Riband. The game ends when the ship (and headquarters) pile runs out, and the winner is determined by the final score, which values the right combination of flags and the development of your player board.
Preparation (Setup)
Refer to the manual for details on this section.
Game Flow
The game is set up as described in the separate preparation. The owner of the Cutty Sark is the starting player. The game continues clockwise from the starting player. Each player's turn consists of the following three phases:
- Either place a ship on the board or take a contract.
- Use one or more contracts (optional).
- Move to a new rondel action space and perform its action.
The rondel has 8 action spaces, two of which are for "ships".
Actions and How to Play
Phase 1: Place a Ship or Take a Contract
A) Place a Ship
Take 1 ship from your personal supply and place it on a ship space on the game board. If there are empty spaces in the chosen region, you must choose one of these empty spaces. If every space already contains a ship, you must replace the oldest ship in the region. Replacement is only possible if your ship is newer than the ship you are replacing.
- Place 1 captain of your color from your personal supply and 1 coal from the common supply on your placed ship. (Clippers, i.e., sailing ships until 1869, do not receive coal. They are wind-powered!)
- Each ocean region on the board contains 2 to 4 ports, and each port is linked to a ship space. Ships mark a regular line between a port and a port in Europe. Each port can be served by only a single ship.
- The oldest ship (lowest year of construction) in a region will always be marked with a Red Lantern token.
If you replace a ship, perform these steps:
- Remove any coal from the replaced ship and place it in the common supply.
- Return the replaced ship and its captain to its owner. It can be used again if it can be legally placed.
- Mark the oldest ship (lowest year of construction) with the Red Lantern token of the region.
B) Take a Contract
If you cannot or do not want to place a ship, take 1 contract from the common supply. (Contracts count as unlimited. If they run out, take a substitute.)
Phase 2: Use Contracts (Optional)
You can trade any number of contracts with the bank for money, coal, and trading houses, or for extra steps on the rondel:
- Money: Take £20 from the bank for 1 contract.
- Coal: Take 1 coal from the common supply and place it on one of your ships on the game board for 1 contract.
- More than three steps on the rondel: Pay 1 contract for this.
- Open a trading house: This action requires a ship in a port without one of your trading houses. Pay 2 contracts. Build 1 trading house in a port with one of your ships and take a green, red, or white trade marker for your player board. Perform steps 2 and 3 which are explained in detail for the "House" action of the rondel. Unlike the rondel action, your ship will not generate income, so skip step 1.
Phase 3: Perform a Rondel Action
The rondel has eight action spaces through which players' captains walk clockwise. Captains do not block spaces and can be placed on the same spaces as other captains.
- On the first turn, you can choose any space on the rondel. Place your captain on the chosen space and perform its action.
- On all subsequent turns, you must move the captain to another space. Move the captain 1, 2, or 3 steps clockwise. If you pay 1 contract to the common supply, you can move more than 3 steps. You can never stay on the same space or move forward in such a way that you reach the same space you left.
The available actions are described below. If an action consists of more than one step, you must perform the steps in their exact order.
Action: Ships
- Buy: You can buy up to 3 ships (or headquarters) from the ship market and/or the docks. You must pay the extra costs listed for the current position, in addition to the printed price of the ship (+£10 in position 1, +£20 in position 2, and so on). Buying from the docks only costs the price listed on the ship.
- Take all ships you bought with their flags and place them in your personal supply, sort the flags above your player board according to their color.
- If you bought a headquarters, place it in your personal supply. Place the multicolored flag next to your player board.
- Additionally, take the trade token that is represented in the bottom right corner of the headquarters (Blue Riband, coal dock, or a trade token of a certain color) from the common supply and place it without the usual additional costs in the highest empty space of the corresponding column. If the column is full, take a token for the column in which you have the fewest, without paying any costs.
- Fill the ship market: The ship market receives 3 new ships/headquarters from the pile. To make space for the 3 ships, empty the spaces to the right. If ships are moved beyond position 1, they are placed in the docks. There is enough space for 1 single ship of each flag color. So, if there is already a ship with that flag color, you must remove that ship from the game and place the moved ship from the ship market there. Instead, then, place a corresponding flag from the common supply on each ship that just entered the market. If the ship pile is empty, the headquarters (and ships) in the market just move to the left.
Action: Fleet
All your ready ships generate their income. Each steamship uses 1 coal for this (except clippers). Take the income from the bank, return the coal to the common supply.
- Steamships are only ready if they carry at least 1 coal. The 4 clippers (sailing ships) do not require coal, they are always ready. (You cannot place coal on clippers.) If steamships transport and generate their income, they use 1 coal, which is returned to the common supply.
Action: Cargo
Designate one of your ready steamships; this steamship performs a large cargo job and uses 1 coal for this. The profit generated by this job depends on the tonnage of the ship; take £10 per 1,000 tons from the bank. Return one coal from the ship to the common supply. Ships without listed tonnage are excluded from this action.
Action: Region
Designate a region: All owners of ready ships in this region earn their income and use one coal for this from their ships (except clippers). Return the coal to the common supply. Each owner of a ship that earned income this way, takes it from the bank. As you initiated this action, you receive a bonus of £30 from the bank for each of your own trading houses within this region.
Action: Blue Riband
The Blue Riband can only be acquired by the fastest ship in the North Atlantic. You receive double income and return 1 coal for your record-breaking North Atlantic Ocean crossing. If at least one other ship has the same fastest speed in the North Atlantic, you can acquire the Blue Riband by returning 2 coals from your ship for the record-breaking crossing - your stokers almost explode their engines to be faster! In this case, you still only receive double income. At the start of the game, the Scota blocks the North Atlantic, so ships with a speed of less than 15 knots cannot acquire the Blue Riband, as it holds the speed record.
Additionally, you take a Blue Riband from the common supply and place it in the first column of your player board. If the column is already full, you cannot take another Blue Riband. Instead, take a trade token or coal dock for the column in which you have the fewest, pay the costs to the bank, if any.
Actions: Coal, House, Region, Fleet, Cargo
Refer to the manual for details on these sections.
End of Game and Scoring
The end of the game is triggered when the pile of ships (and headquarters) runs out. This round is completed and then you play 3 full rounds. At the end of the game, you score. Although you score some points for money, built trading houses, and captains at sea, most points can be scored by having the right combination of flags and the correct development of your player board.
Tips for Winning
- Pay attention to increasing the value of the flags you collect and also to collecting the ships with the flags whose value you are increasing.
- Keep an eye on your rivals when making your decisions throughout the game. They are eager to buy the best ships before you or occupy ports and lines you would have desired, as well as beat your fastest ships in the competition for the prestigious North Atlantic Blue Riband!
More videos
More rules explanations from the community


Rules manual
Official PDF file
Frequently Asked Questions
Quick answers about the rules
What is the objective of Crossing Oceans?
How do you set up Crossing Oceans?
How do you play Crossing Oceans?
How does Crossing Oceans end, and how do you score?
What are some tips for winning Crossing Oceans?
Other Games You'll Like
Based on mechanics and theme