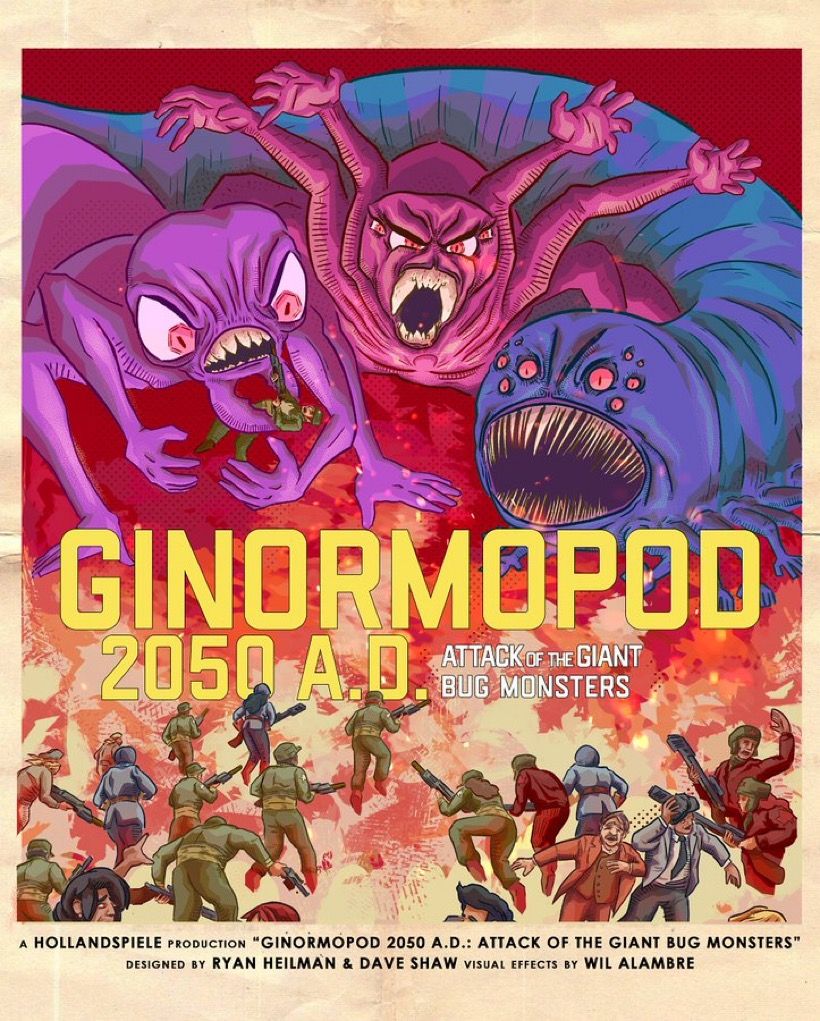
How to Play Ginormopod 2050 A.D.: Attack of the Giant Bug Monsters
Hollandspiele · Board game · 2022What do you want to do now
Ask anything about Ginormopod 2050 A.D.: Attack of the Giant Bug Monsters: rules, setup, components, complexity, price, or whether it fits your group.
Step by step
Objective of the Game
Welcome to Ginormopod 2050 A.D.: Attack of the Giant Bug Monsters! This is a two-player game where one player takes on the role of the Swarm Player, controlling giant bug monsters called Ginormopods, and the other plays as the Human Player, commanding infantry and tanks. The year is 2050, and the Swarm is launching an all-out attack as human scientists race to complete an Anti-Mutagen.
The Swarm Player wins by destroying any two of the following key cities: New York City, Washington DC, or Atlanta. They must achieve this before the end of the tenth turn to prevent the completion of the Anti-Mutagen.
The Human Player wins if at least two of those same cities (New York City, Washington DC, or Atlanta) remain undestroyed at the end of the tenth turn. Be careful though, as using certain Special Effects [FX] can endanger the planet, leading to an immediate loss for the player who causes the end of the world.
Preparation (Setup)
Let's get this game set up!
- Into each Hive City, place two ants, one spider, and one worm of the matching formation.
- Place Human Units and cubes as indicated in the diagram on the opposite page of the manual.
- Roll twelve times on the National Guard Table. For each roll, place a National Guard in the indicated City. If more than two Guards would be placed in a City, reroll. Guards are deployed with their diceless side face-up.
- Set aside all other Human Units for now.
- Place the following ten Activation Chits in a cup:
- Swarm: All three Swarm activation chits and Wasp and Roly Poly.
- Humans: All Three Human activation chits and Drone and Laser Tower.
- Place the following Activation Chits on Turn 2 of the Time Tracker: Tectonic Telekinesis and Nuclear.
- Place the following Activation Chits on Turn 6 of the Time Tracker: Canadian Kingdom, French, Latin Coalition.
- Place the Game Turn Marker on Turn 1 of the Time Tracker, and the Danger Marker on the first space of the Danger Track.
Flow of Play
Each turn generally consists of three phases performed in this order:
- Fade In
- Action
- Fade Out
Fade In Phase
This phase is skipped on Turn 1. During the Fade In Phase that begins each turn except the first, perform the following steps in order:
- Swarm Units retrieved from the Time Tracker during the previous Fade Out Phase are returned to the map in Hives matching their Formation, not occupied by the enemy. Obey stacking limits. If unable to do so, any unplaced Swarm Units are placed on the next turn of the track.
- If the Swarm Player holds an Activation Chit from the previous turn, they Activate that Formation now.
- If the Human Player holds an Activation Chit from the previous turn, they Activate that Formation now.
Play then proceeds to the Action Phase.
Action Phase
During the Action Phase, chits are randomly drawn from the cup and resolved one at a time, until three …The End??? are drawn.
- If an Activation Chit is drawn, Units from that Formation are activated for Movement and Combat.
- If an FX is drawn, that Special Effect is available for the owning player to use this turn.
- If …The End??? is drawn, place it on the Turn End Track.
Fade Out Phase
During the Fade Out Phase, perform the following steps in order:
- If any Formations were Activated, each side can choose one of their unactivated Activation Chits to hold for the start of the next turn. Return all other chits to the cup.
- Roll For Danger.
- Check For Victory.
- Advance the Game Turn Marker. If there are Swarm Units on the new space give them to the Swarm Player for the next turn’s Fade In Phase. When you advance to Turn 6, add the Allied Reinforcement Chits to the cup.
Ações e Como Jogar
Movement
Activated Units move one at a time from City to adjacent City, with each new City entered costing one Movement Point [MP]. Each turn:
- Worms have one MP.
- Infantry and Spiders have two MP.
- Tanks and Ants have three MP.
Six Units from each side may occupy the same City. For this purpose, each box of strength possessed by a Fort counts as a Unit.
When you move into a City occupied by the enemy, you must cease that Unit’s movement for this turn.
If a Swarm Unit enters a City occupied by unrevealed National Guard, flip the Guard over. If the Guard’s die symbol is blank, remove the Guard; if there are no other Human Units or Guard present in the City, the Swarm Unit may keep moving.
Swarm movement is hindered by the Fusion Fence. Swarm Units cannot move east of the Fusion Fence while it is active. Destroying two adjacent Forts will deactivate a portion of the Fence, allowing movement east through the hole created. That is, they may use the roads leaving the destroyed Forts to move east.
After completing all movement for a Formation, Combat is resolved.
Combat
During this step of a Formation's Activation, resolve all Combats, one at a time in the order of the acting player’s choosing. If needed, you can move the Units from the City being resolved to the side of the map; use the Combat Marker to mark that City.
- Players roll dice for each of their Units, keeping track of Hits scored; all Hits are applied simultaneously.
- Each Unit rolls the number of dice indicated on their counter.
- A Hit is scored when a die result is equal to or greater than the pips indicated on the individual die symbols. Note that this number may be modified by FX.
- Fresh Tanks roll two dice and score one Hit if one or both dice are equal to or greater than the indicated pips. If the Tank rolls doubles and is within that range, it scores two Hits.
- For each Hit suffered, the owning player must either flip a Fresh Unit or eliminate a reduced Unit (removing it from the game).
- Guard Units do not have a reduced side and are Eliminated when they suffer a Hit.
- Eliminated Swarm Units are placed on the Turn Track two spaces ahead of the current turn; e.g., if it is Turn 5, place them on the Turn 7 space. If it is Turn 9 or 10, simply remove them from the game.
The side that suffered more Hits must Retreat (acting side if tied). If the side that suffered fewer Hits has no Units left, the other side does not Retreat. Acting Units that Retreat must return to the City from which they moved into battle. Non-acting Units that Retreat cannot end the Retreat in an enemy City.
- A City is enemy if it only contains enemy Units. Cities that contain Units from both sides are contested and may be Retreated into if they were not enemy Cities at the start of the current Activation. In that case, the Retreating Units do not take part in any Combat to be resolved in that City during this Activation.
- Undestroyed Forts are always enemy to the Swarm.
- If Retreating into a City would bring the number of friendly Units in that City to more than six, some Units from that City must be displaced, moving them to another City.
- If the only possible Retreat option is an enemy City, the Retreating Units each suffer an additional Hit and continue Retreating until they can end their Retreat in a non-enemy City.
- National Guard cannot Retreat, and if required to do so are Eliminated.
If the acting player has at least five Units and the enemy only one:
- the enemy Unit is eliminated and,
- the acting Units do not suffer any Hits,
- the acting Units may immediately advance one additional space regardless of MP, keeping those Units together. They may use this special move to initiate another battle. A given Unit may only advance once per turn.
Fort Combat
When the Swarm attacks a Fort, the Fort itself rolls dice equal to its current strength, scoring hits on a 5+. The Fort can suffer Hits, reducing its strength, but can only do so if there are no friendly Units left to absorb losses.
When a Fort loses its last point of strength, remove the cube from its track and place a Destroyed marker on the Fort.
If the Swarm would be forced to Retreat as the result of the Combat it does so; if the Humans would be forced to Retreat, they may choose to ignore it. If the Swarm is not forced to Retreat, they may stay in the Fort space and attack again on a subsequent Activation. Units from both sides may leave or enter the Fort on future Activations so long as they comply with stacking limits.
Forts like Units have a Formation:
- A: Chicago, New York, Washington
- B: St. Louis, Memphis
- C: Jackson, New Orleans, Atlanta
When a Fort’s Formation is Activated, or when Units within the Fort are Activated, an undestroyed Fort whose space is occupied by Swarm Units may exercise one of the following three options:
- Full Attack: Resolve as a normal Fort Combat.
- Barrage: Only the Fort itself rolls dice. The Swarm does not get to fire back unless they use the Wasp’s FX.
- Withdrawal: Any/all Human Units in the Fort may leave. Note that they may do this when the Fort’s Formation is Activated even if their own is not.
- Sortie: If there are no Swarm Units in the undestroyed Fort, Human Units in the Fort may launch a Sortie against adjacent Swarm Units. This is resolved as a normal Combat, but if the Humans win the battle, they may either remain in the new space or return to the Fort.
Special Effects (FX)
When an FX Chit is drawn, hand it to the owning player. They may use that FX during that Game Turn.
- An FX may only be used once per Game Turn.
- In any given Combat, each side may only use one FX.
Allied Reinforcements
On Turn 6, the three Activation Chits for foreign troops are added to the cup. Whichever of these is drawn first will come to the rescue; the other two are removed when drawn. In the Fade Out Phase of the turn in which one of these chits is first drawn, add the Activation Chit back to the cup along with the FX Chit for that Formation. Then, place the Units for that Formation in Cities bearing that nation’s flag. You must obey stacking limits, and cannot deploy these troops into Cities occupied by the Swarm.
Fim de Jogo e Pontuação
The game ends at the end of the tenth turn, or immediately if the planet is destroyed.
Victory Conditions
- The Swarm Player wins if they have destroyed at least two of the following Cities: New York City, Washington DC, or Atlanta.
- If the Swarm has not accomplished this by the end of the last turn (Turn 10), the Humans win.
Danger and Immediate Loss
When the FX Tectonic Telekinesis or Nukes are used, the Danger Marker is advanced: flip the marker to the side representing that FX and move it one space to the right on its track. During the Fade Out Phase, if the Danger Marker is on a space with die symbols, the player whose FX is visible must Roll For Danger. They roll two dice; if the sum is equal to or greater than the die symbols, you have destroyed the Earth and lose the game immediately. Note that you Roll For Danger before checking for victory, so it is possible to lose the game despite having fulfilled your victory condition.
Dicas para Vencer
- Swarm Player: Focus your attacks on the key cities (New York City, Washington DC, Atlanta) to achieve your victory condition before the tenth turn.
- Human Player: Strategically defend the key cities to ensure at least two remain undestroyed by the end of the tenth turn.
- Both Players: Be mindful of the Danger Track when considering using the Tectonic Telekinesis or Nukes FX, as causing the end of the world results in an immediate loss.
Rules manual
Official PDF file
Frequently Asked Questions
Quick answers about the rules
What is the objective of Ginormopod 2050 A.D.: Attack of the Giant Bug Monsters?
How do you set up Ginormopod 2050 A.D.: Attack of the Giant Bug Monsters?
How do you play Ginormopod 2050 A.D.: Attack of the Giant Bug Monsters?
How does Ginormopod 2050 A.D.: Attack of the Giant Bug Monsters end, and how do you score?
What are some tips for winning Ginormopod 2050 A.D.: Attack of the Giant Bug Monsters?
Other Games You'll Like
Based on mechanics and theme